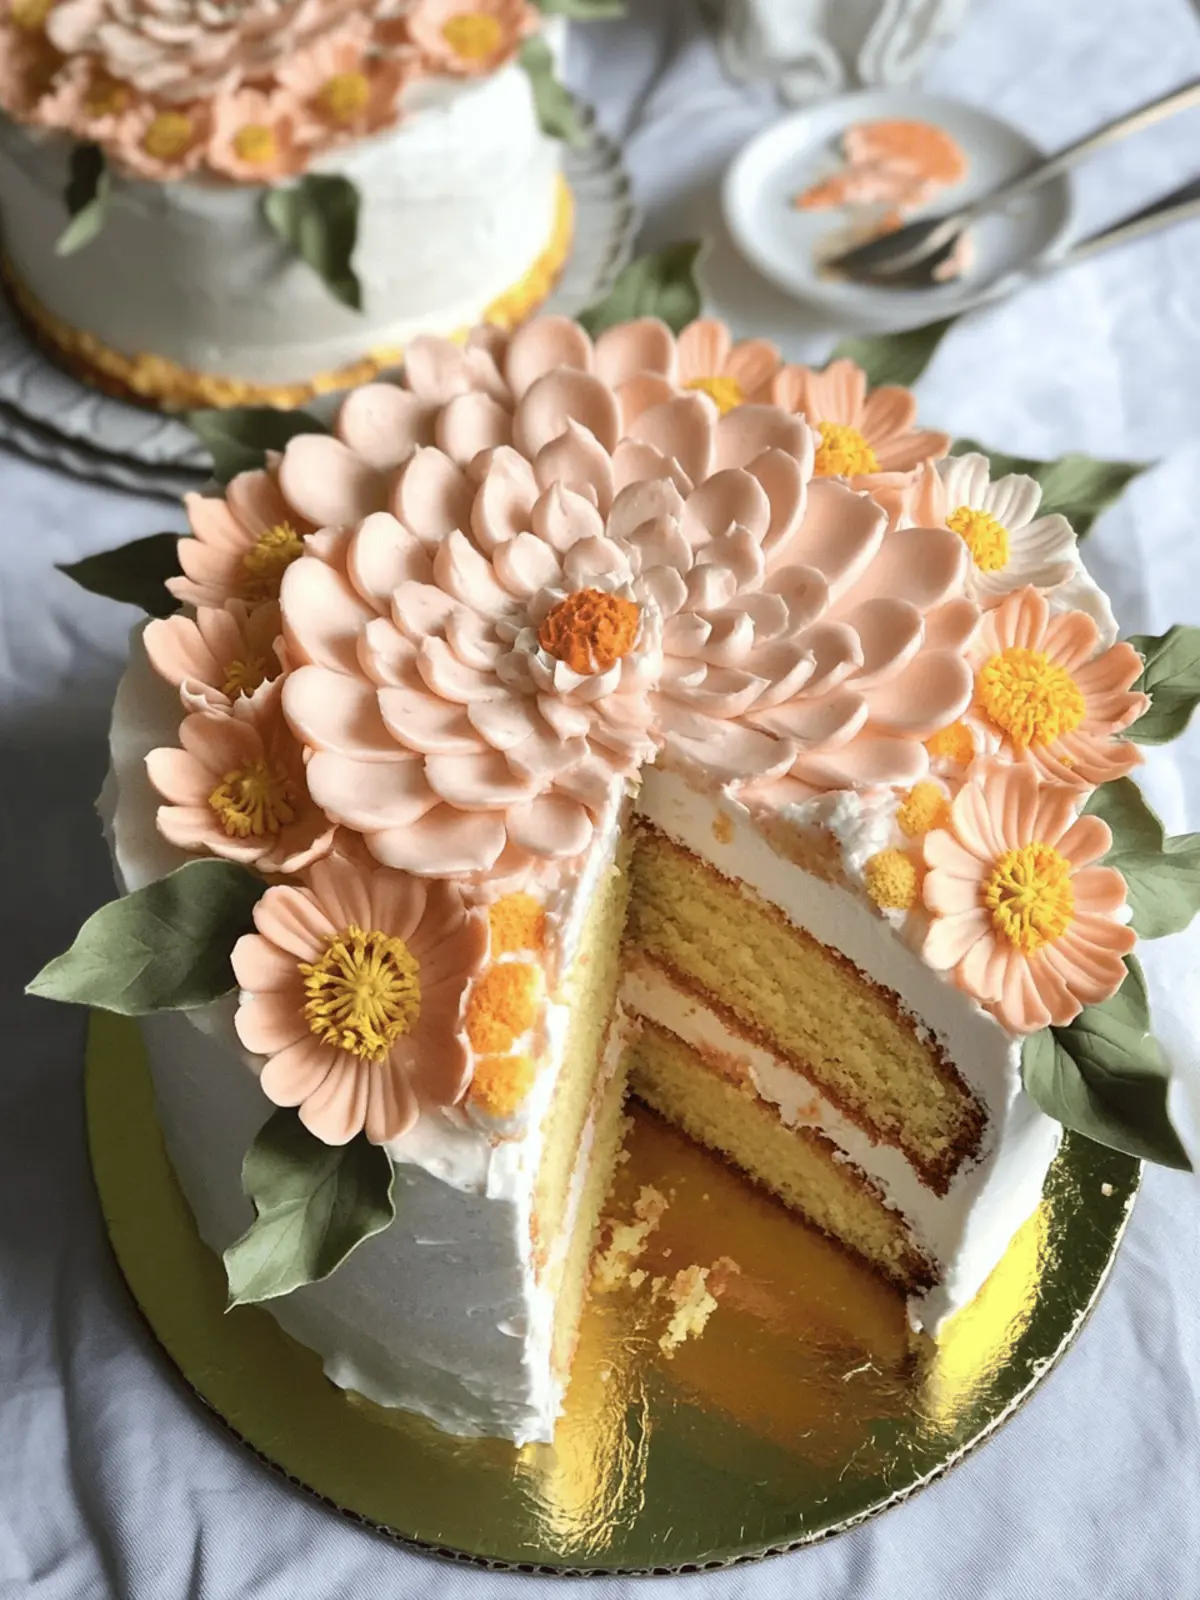
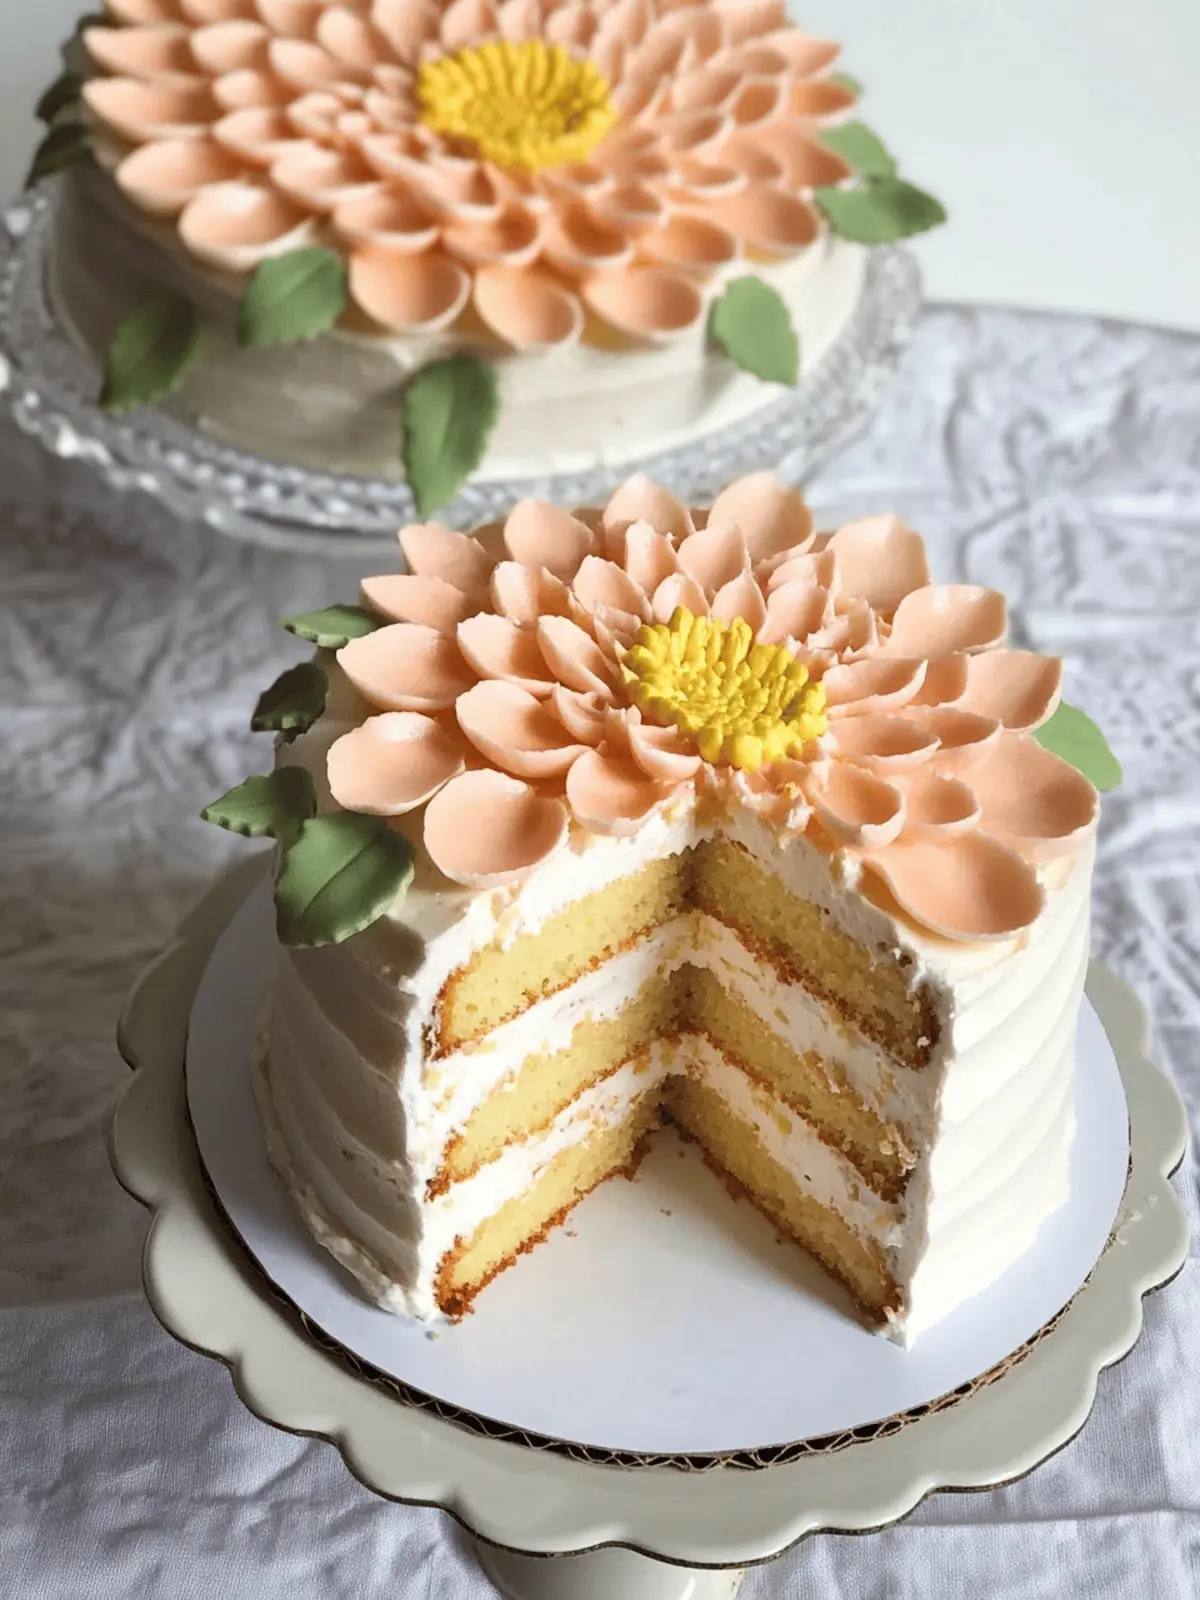
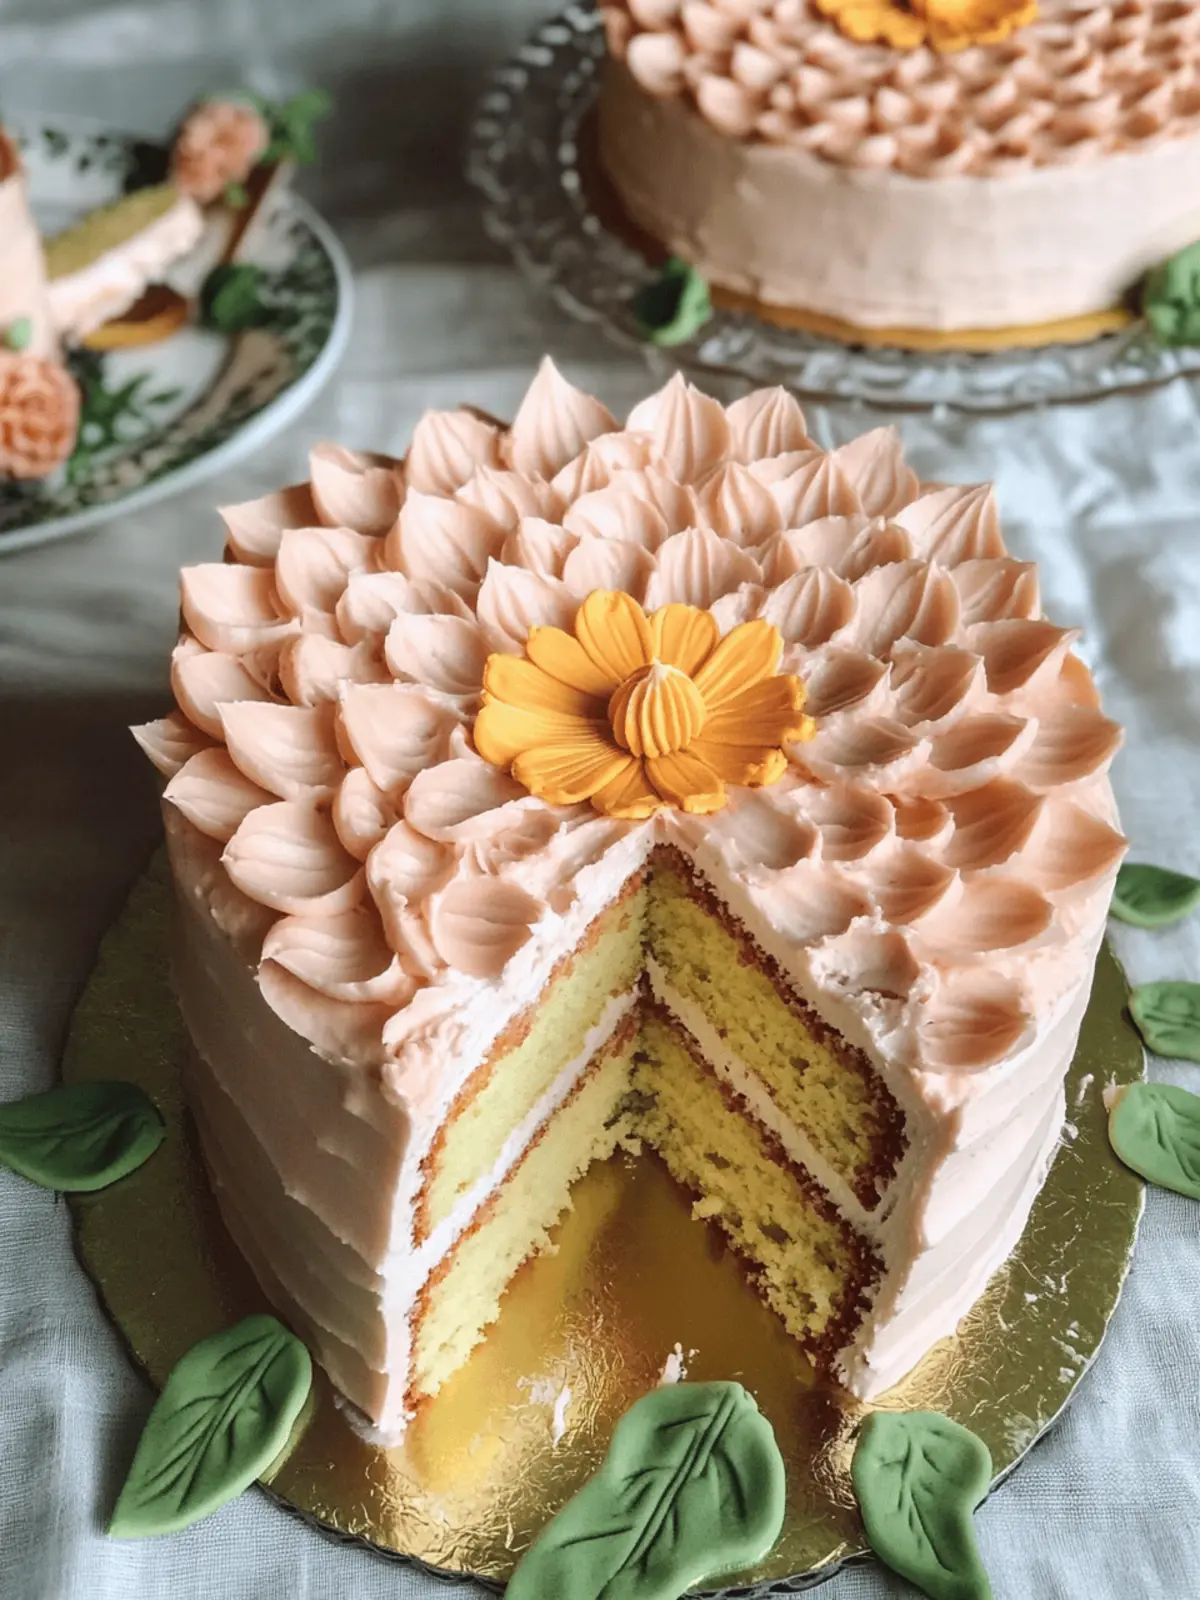
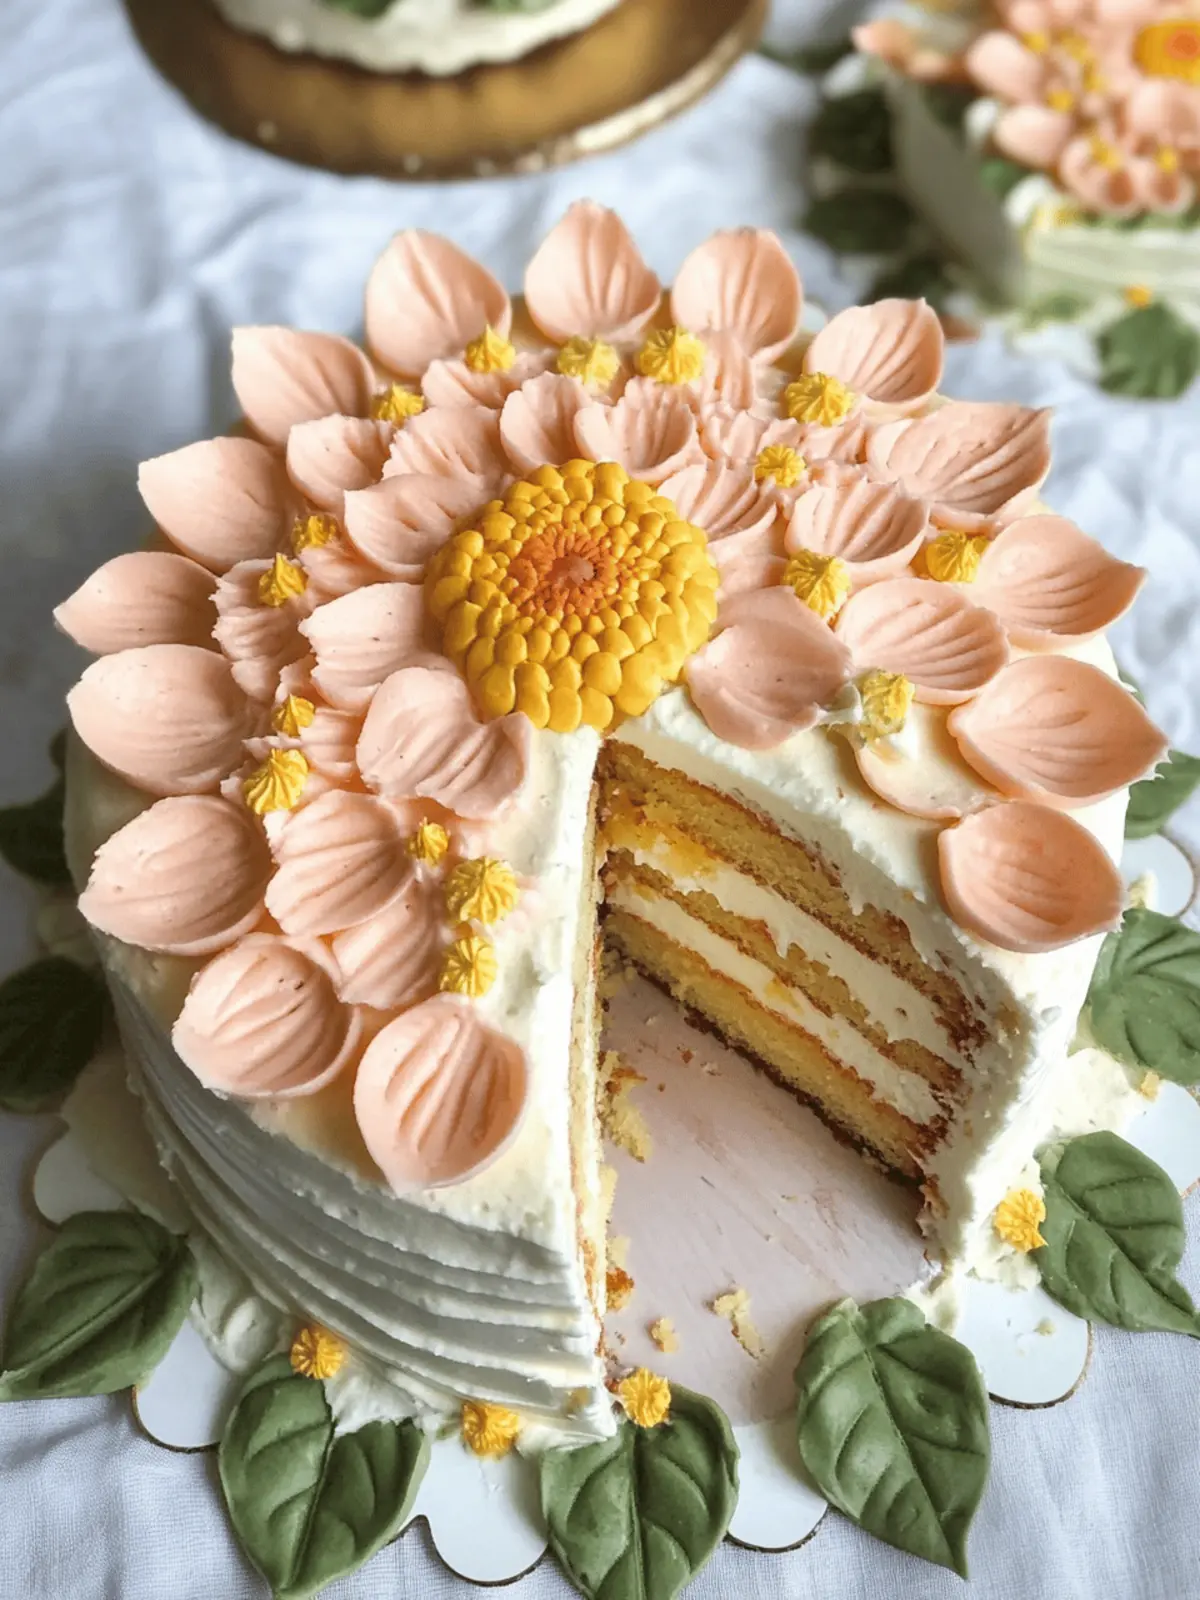
Spring is in the air, and what better way to celebrate the season than with a gorgeous Zinnia Cake? As I prepared for a recent birthday gathering, I wanted a dessert that combined beauty and flavor without spending the whole day in the kitchen. This cake is a true showstopper, resembling a blooming garden filled with vibrant flowers, yet it’s surprisingly easy to make. The soft, spongy layers melt in your mouth, while the creamy frosting adds a touch of sweetness that everyone loves. Whether it’s for Mother’s Day, a birthday, or just to brighten up a quiet afternoon, this cake brings a burst of color and joy to any occasion. Plus, with options to customize the frosting and decoration, you can truly make it your own! Let’s dive into this delightful recipe that’s sure to charm family and friends alike.
Why is Zinnia Cake the Perfect Choice?
Eye-Catching Design: The Zinnia Cake is a visual delight that mimics a blooming garden, making it perfect for any celebration.
Beginner-Friendly: This recipe is designed for anyone, even if you’re new to cake decorating.
Flavor Versatility: Customize your cake with various frostings and fillings, from creamy buttercream to refreshing fruit curds.
Time-Saving: With straightforward steps and minimal preparation, you’ll have a stunning dessert ready in no time.
Crowd-Pleaser: Its vibrant colors and delightful flavors are sure to please guests of all ages, making it an excellent choice for gatherings.
Make sure to explore more about cake decorating with our guide on how to achieve perfect finishes.
Zinnia Cake Ingredients
For the Cake Base
- All-purpose flour – A reliable foundation for a moist and fluffy cake.
- Granulated sugar – Sweetens the cake perfectly, balancing flavors.
- Baking powder – Ensures your cake rises beautifully and has a light texture.
- Salt – A pinch enhances sweetness and overall flavor.
- Butter – Adds richness and moisture to the cake.
- Eggs – Essential for binding and creating a tender crumb.
- Milk – Provides moisture; you can swap with almond milk for a dairy-free option.
For the Frosting
- Cream cheese – Ideal for a rich, tangy taste in your frosting.
- Powdered sugar – Helps achieve a smooth and spreadable consistency.
- Butter – Contributes to the creamy texture and flavor of the frosting.
- Vanilla extract – Enhances flavors and adds a lovely aroma.
- Gel food coloring – Optional for achieving vibrant, eye-catching shades in your Zinnia Cake design.
For the Fillings
- Lemon curd – A zesty option that brightens up the layers.
- Rhubarb curd – Adds a unique tartness that pairs beautifully with the sweetness of the cake.
- Fresh fruit – Use seasonal fruits for added flavor and moisture between layers.
Feel free to adjust these Zinnia Cake ingredients to suit your taste and dietary preferences!
How to Make Zinnia Cake
-
Bake the Cake: Preheat your oven to 350°F (175°C). Grease and flour your cake pans. Combine flour, sugar, baking powder, and salt in a bowl. Mix in softened butter, eggs, and milk until smooth. Pour batter into prepared pans and bake for 25-30 minutes until golden.
-
Cool and Crumb Coat: Once baked, let the cakes cool in the pans for 10 minutes, then turn them out onto wire racks. For a neat finish, apply a crumb coat with a thin layer of frosting and chill in the fridge for 15 minutes to set.
-
Frost the Cake: Choose to fully frost or leave the sides semi-naked for a modern look. Use your desired frosting to spread an even layer over the cake.
-
Pipe Decorative Design: Using a 1M star tip, pipe dollops of frosting on the top to create a large “zinnia” flower pattern. Leave some frosting aside for decorative center details and leaves.
-
Add Color (Optional): If desired, mix gel food coloring into remaining frosting to achieve vibrant shades and pipe concentric rings for an ombre effect around the flower petals.
Optional: Garnish with fresh fruit or edible flowers for an extra pop of color!
Exact quantities are listed in the recipe card below.
Expert Tips for Zinnia Cake
-
Choose the Right Flour: Use all-purpose flour for the best texture. Avoid cake flour as it may not hold the weight of the frosting well.
-
Frosting Consistency: Ensure your Zinnia Cake frosting is smooth and spreadable. If too thick, add a splash of milk; if too thin, gradually mix in more powdered sugar.
-
Layer Leveling: Always level your cake layers before stacking. This prevents a lopsided cake and ensures even frosting coverage for that professional look.
-
Chill Between Layers: Chill each assembled cake layer for 15 minutes before frosting. This helps set the cake and makes frosting it easier and neater.
-
Practice Piping: If you’re new to piping, practice on parchment paper before decorating the cake. This guarantees beautiful petals and swirls on the real thing!
-
Decorate with Freshness: For added flair, include fresh flowers or fruits as decoration. Just make sure they are food-safe if used directly on the cake.
What to Serve with Zinnia Cake?
Spring gatherings call for a touch of sweetness and warmth that perfectly complements this stunning dessert.
- Fresh Berries: The tartness of strawberries, raspberries, or blueberries adds a refreshing bite that balances the cake’s sweetness beautifully.
- Herbal Iced Tea: A chilled glass of mint or chamomile tea enhances the floral notes in the Zinnia Cake, creating a relaxed atmosphere for any occasion.
- Lemonade Spritzer: This bubbly drink, with its zesty citrus kick, pairs nicely with the creamy frosting and fruity fillings, making for a delightful combination.
Looking to elevate your dessert spread?
- Cheesecake Bites: Their creamy texture and rich flavor provide a delightful contrast and are easy to serve alongside cake slices.
- Vanilla Ice Cream: A scoop of this classic treat adds creaminess and temperature contrast, enriching each layer of cake with its melted goodness.
- Mini Fruit Tarts: These delightful pastries bring fresh fruit flavors and crisp textures, offering guests a light option to enjoy after a bite of cake.
No celebration is complete without something sweet to sip or nibble on!
Make Ahead Options
These Zinnia Cake preparations are ideal for busy bakers who want to save time without sacrificing quality! You can bake the cake layers up to 3 days in advance; just cool them completely, wrap them tightly in plastic wrap, and refrigerate to keep them fresh until you’re ready to frost. The frosting can also be made ahead of time and stored in an airtight container in the fridge for up to 5 days—just give it a quick stir before use. When you’re ready to assemble, take the layers out, crumb coat them, and chill for 15 minutes to set before applying the final frosting. This will ensure that your Zinnia Cake is just as delicious and visually stunning as if made on the day of serving!
Zinnia Cake Variations
Spring into creativity with your Zinnia Cake by exploring these delightful variations!
-
Gluten-Free: Swap regular flour for a gluten-free blend to accommodate dietary needs without sacrificing flavor.
-
Vegan Options: Use flax eggs and replace dairy with plant-based milk for a compassionate twist everyone can enjoy. This makes the cake not only suitable for vegans but also lighter and airier.
-
Flavor Infusions: Incorporate citrus zest or flavored extracts like almond or coconut into the cake batter for a fragrant surprise that enhances every bite. The fragrance will linger in the air, elevating the entire baking experience.
-
Nutty Crunch: Add chopped nuts, like almonds or walnuts, to the cake batter for an irresistible crunchy texture that contrasts beautifully with the soft layers. It’s an unexpected delight that adds depth to each forkful.
-
Cheesecake Layer: For an indulgent touch, create a cheesecake layer between the cake layers using cream cheese and whipped cream. This rich filling will entice those who adore creamy desserts.
-
Frosting Variations: Experiment with different frostings like chocolate ganache or a rich mascarpone cream for exciting new flavor profiles that can completely change the cake’s character. Each frosting offers a different taste adventure!
-
Seasonal Fruits: Top your Zinnia Cake with fresh fruits like strawberries, blueberries, or raspberries for a burst of juicy sweetness, creating a stunning and delicious contrast against the creamy frosting.
-
Heat Factor: For those who enjoy a hint of spice, add a dash of cayenne pepper or chili powder to your frosting for a surprising kick that balances the sweetness beautifully. This will surely leave your guests intrigued.
Storage Tips for Zinnia Cake
Room Temperature: Store undecorated Zinnia Cake layers at room temperature in an airtight container for up to 2 days to maintain freshness and flavor.
Fridge: Keep any leftover frosted Zinnia Cake in the refrigerator, covered, for up to 5 days. Allow it to come to room temperature before serving for the best taste.
Freezer: For longer storage, freeze slices of Zinnia Cake in individual airtight containers for up to 3 months. Wrap in plastic wrap before placing in the freezer to prevent freezer burn.
Reheating: If the cake has been frozen, thaw in the refrigerator overnight. Reheat slices in the microwave for about 10-15 seconds for a delightful, just-baked taste!
Zinnia Cake Recipe FAQs
What type of cake should I use for the Zinnia Cake?
I recommend a moist vanilla or chocolate cake as the base for the Zinnia Cake. These flavors are versatile and pair beautifully with the rich frostings and fruit fillings.
How should I store Zinnia Cake once it’s baked?
Once your Zinnia Cake is baked and frosted, keep it in the refrigerator, covered, for up to 5 days. When you’re ready to serve, let it sit at room temperature for about 30 minutes to enhance the flavors and texture.
Can I freeze Zinnia Cake?
Absolutely! To freeze your Zinnia Cake, wrap it tightly in plastic wrap and then place it in an airtight container. It can stay in the freezer for up to 3 months. When you’re ready to enjoy it, thaw it in the refrigerator overnight and reheat slices in the microwave for about 10-15 seconds for that fresh-baked taste!
What should I do if my frosting is too thick?
If your frosting feels too thick and hard to spread, simply add a splash of milk, one tablespoon at a time, until you achieve a smooth and spreadable consistency. Conversely, if it’s too thin, gradually incorporate more powdered sugar until it thickens to your liking.
Is Zinnia Cake safe for pets?
While this cake is delicious for humans, it’s important to keep it away from pets, especially the frosting which contains sugar and dairy, both of which are not ideal for them. Stick to pet-friendly treats for your furry friends!

Delicious Zinnia Cake: A Showstopper for Every Celebration
Ingredients
Equipment
Method
- Preheat your oven to 350°F (175°C). Grease and flour your cake pans. Combine flour, sugar, baking powder, and salt in a bowl. Mix in softened butter, eggs, and milk until smooth. Pour batter into prepared pans and bake for 25-30 minutes until golden.
- Once baked, let the cakes cool in the pans for 10 minutes, then turn them out onto wire racks. For a neat finish, apply a crumb coat with a thin layer of frosting and chill in the fridge for 15 minutes to set.
- Choose to fully frost or leave the sides semi-naked for a modern look. Use your desired frosting to spread an even layer over the cake.
- Using a 1M star tip, pipe dollops of frosting on the top to create a large “zinnia” flower pattern. Leave some frosting aside for decorative center details and leaves.
- If desired, mix gel food coloring into remaining frosting to achieve vibrant shades and pipe concentric rings for an ombre effect around the flower petals.
- Optional: Garnish with fresh fruit or edible flowers for an extra pop of color!


