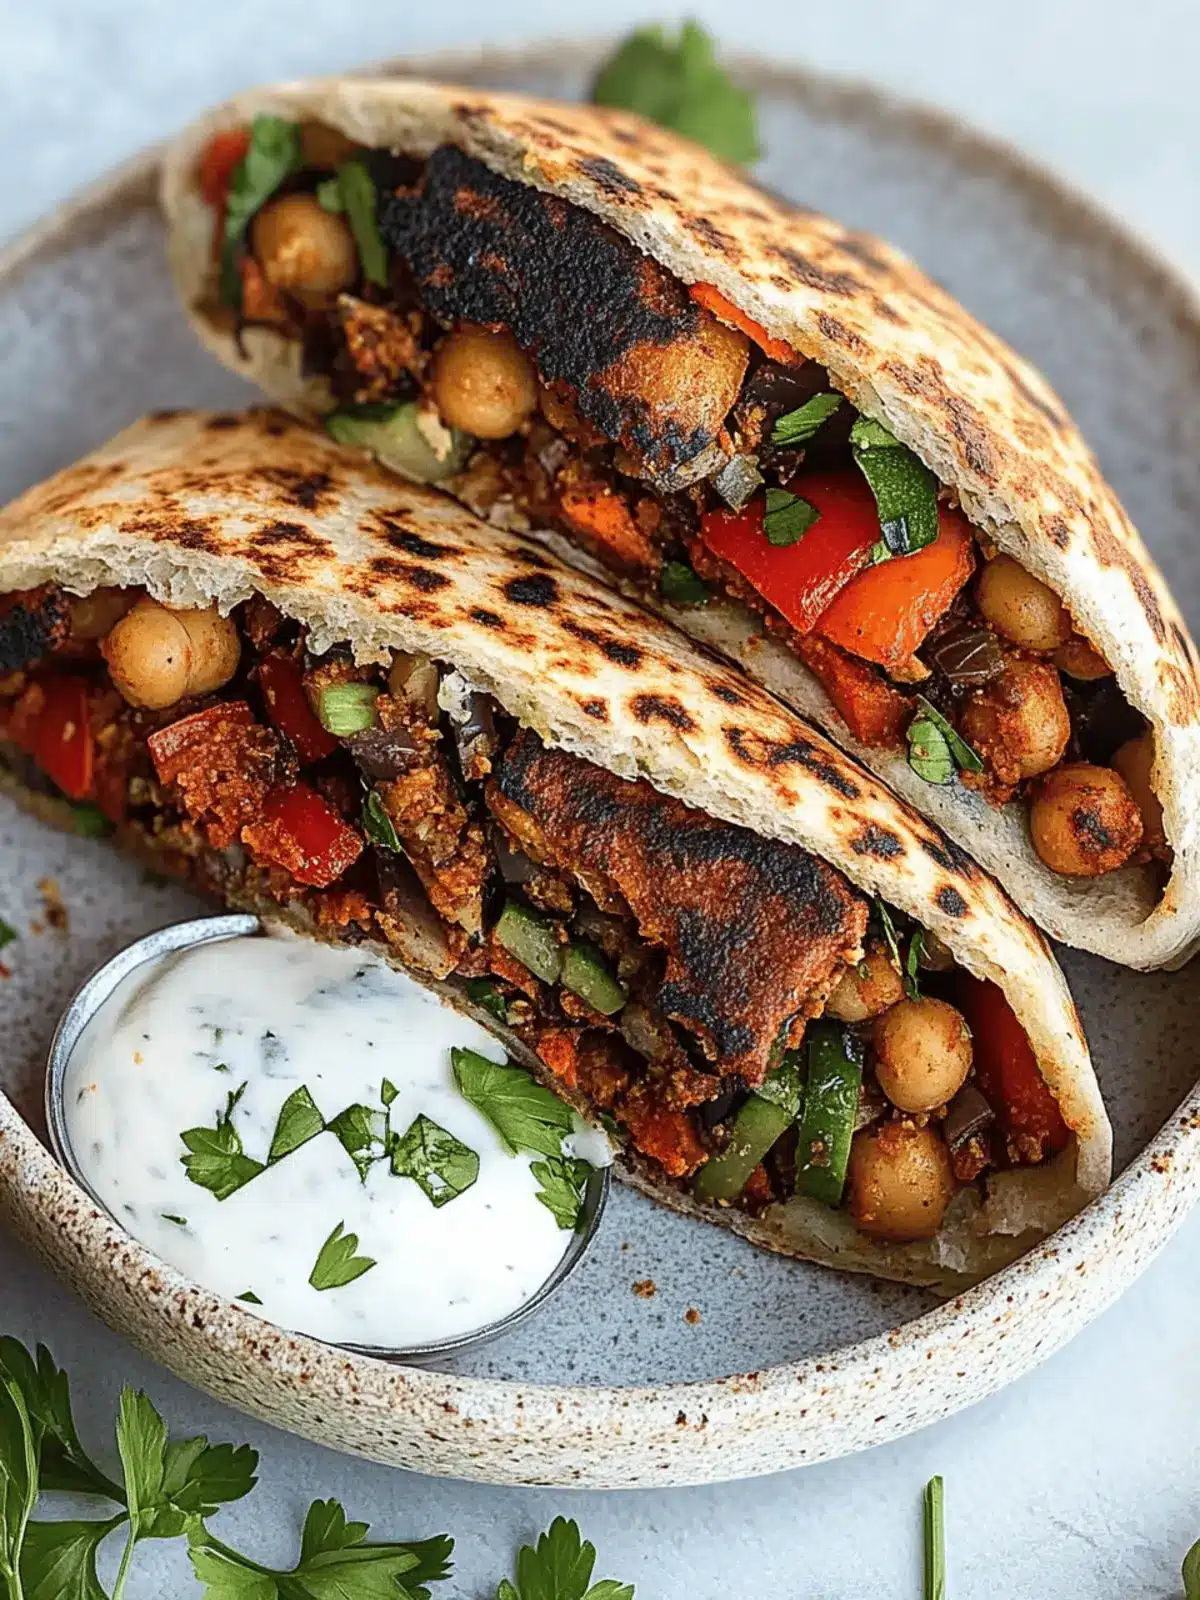
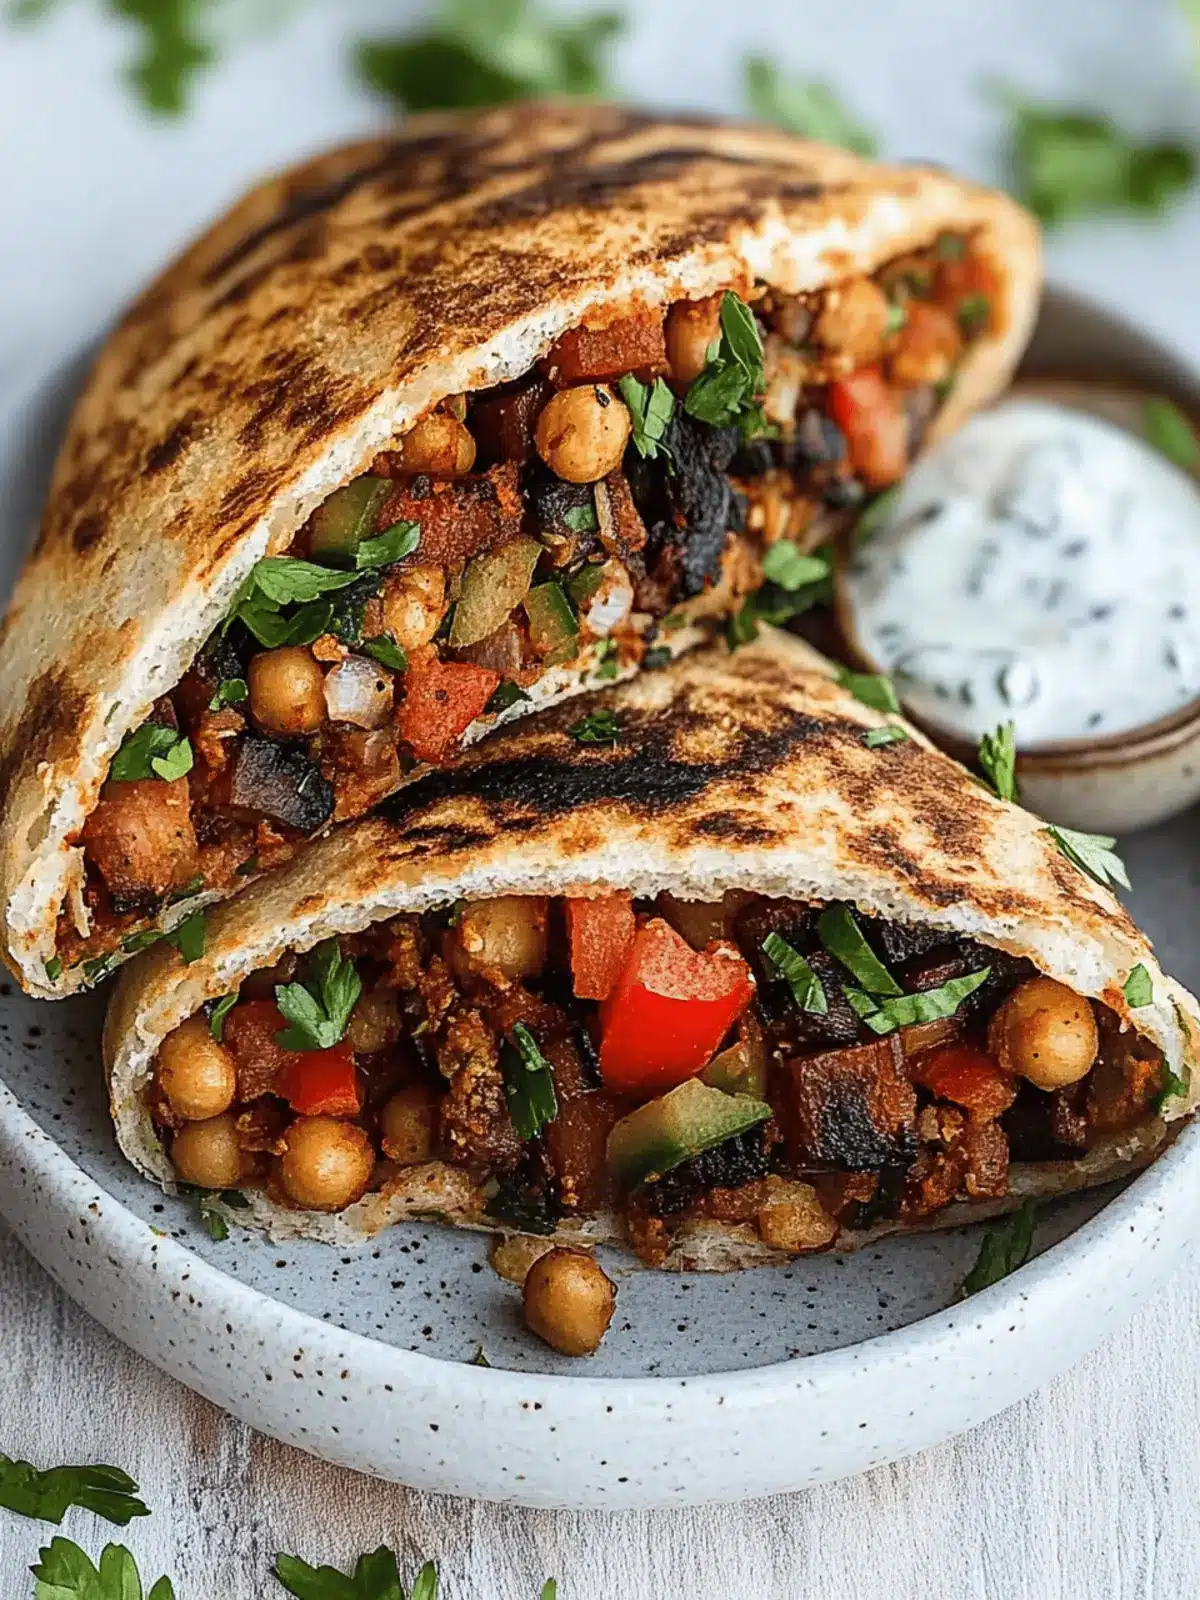
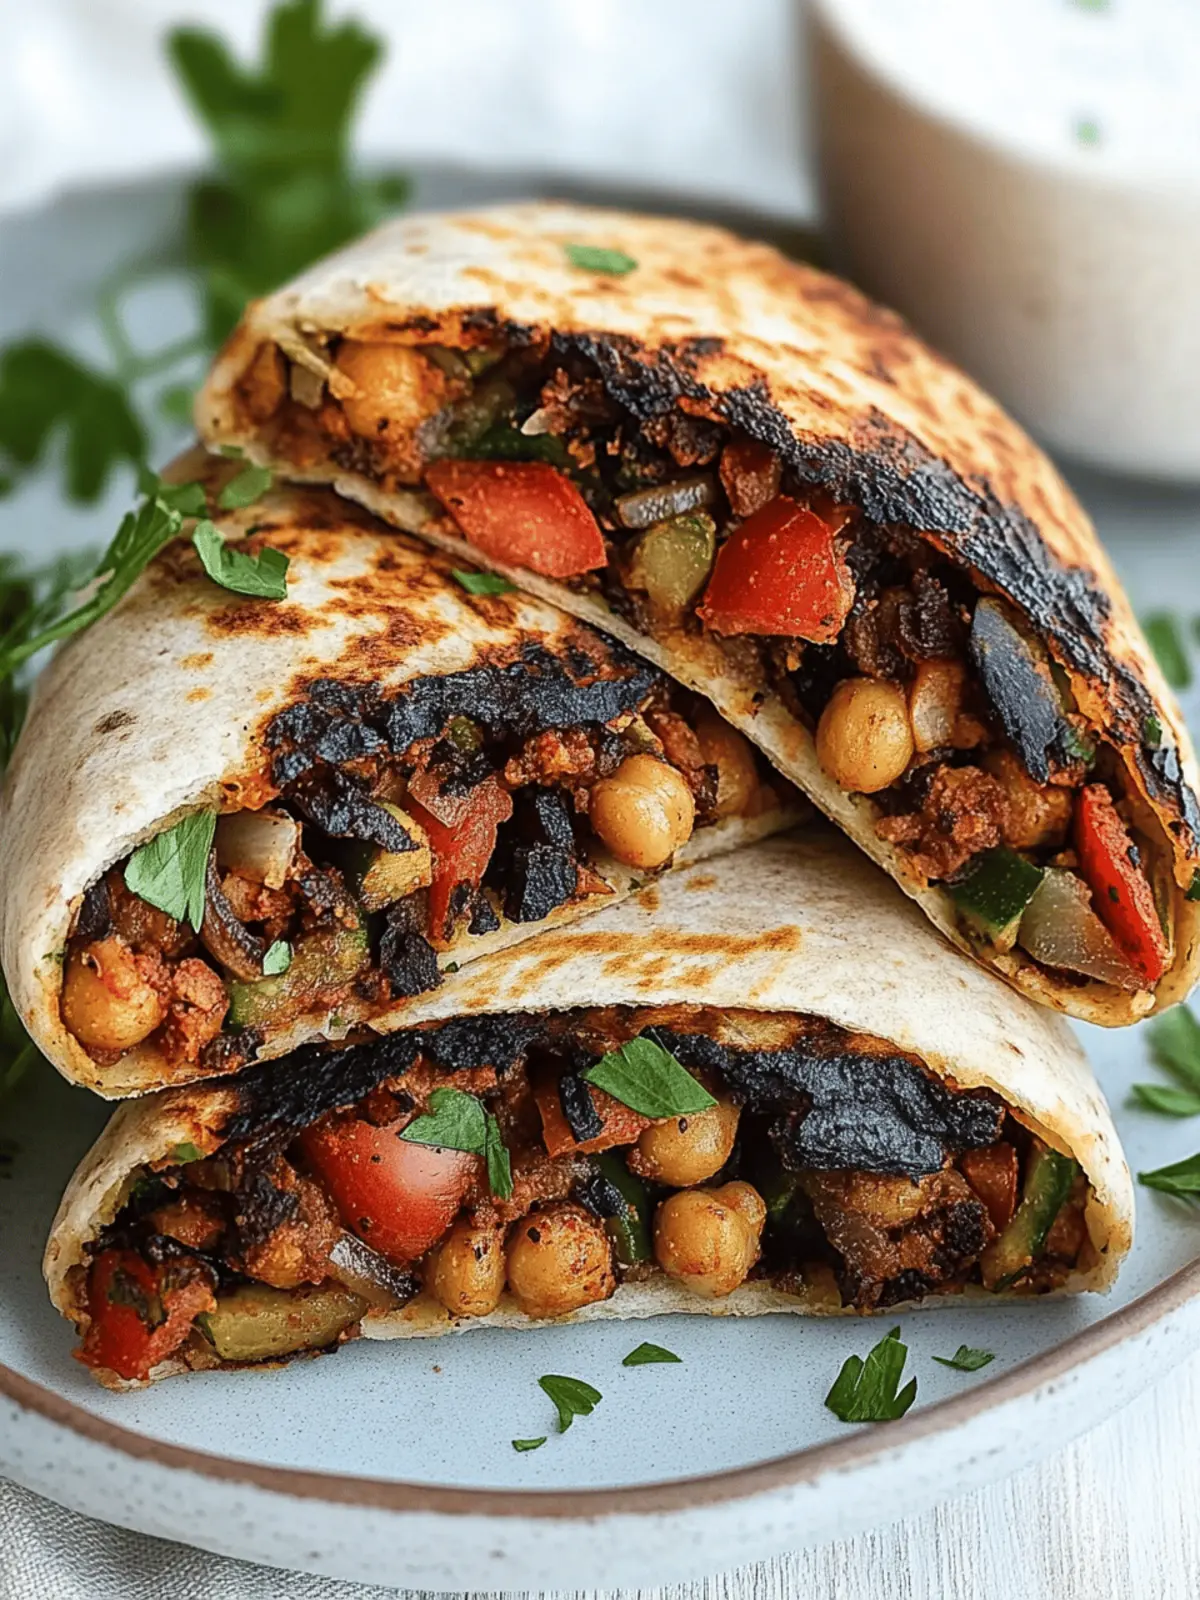
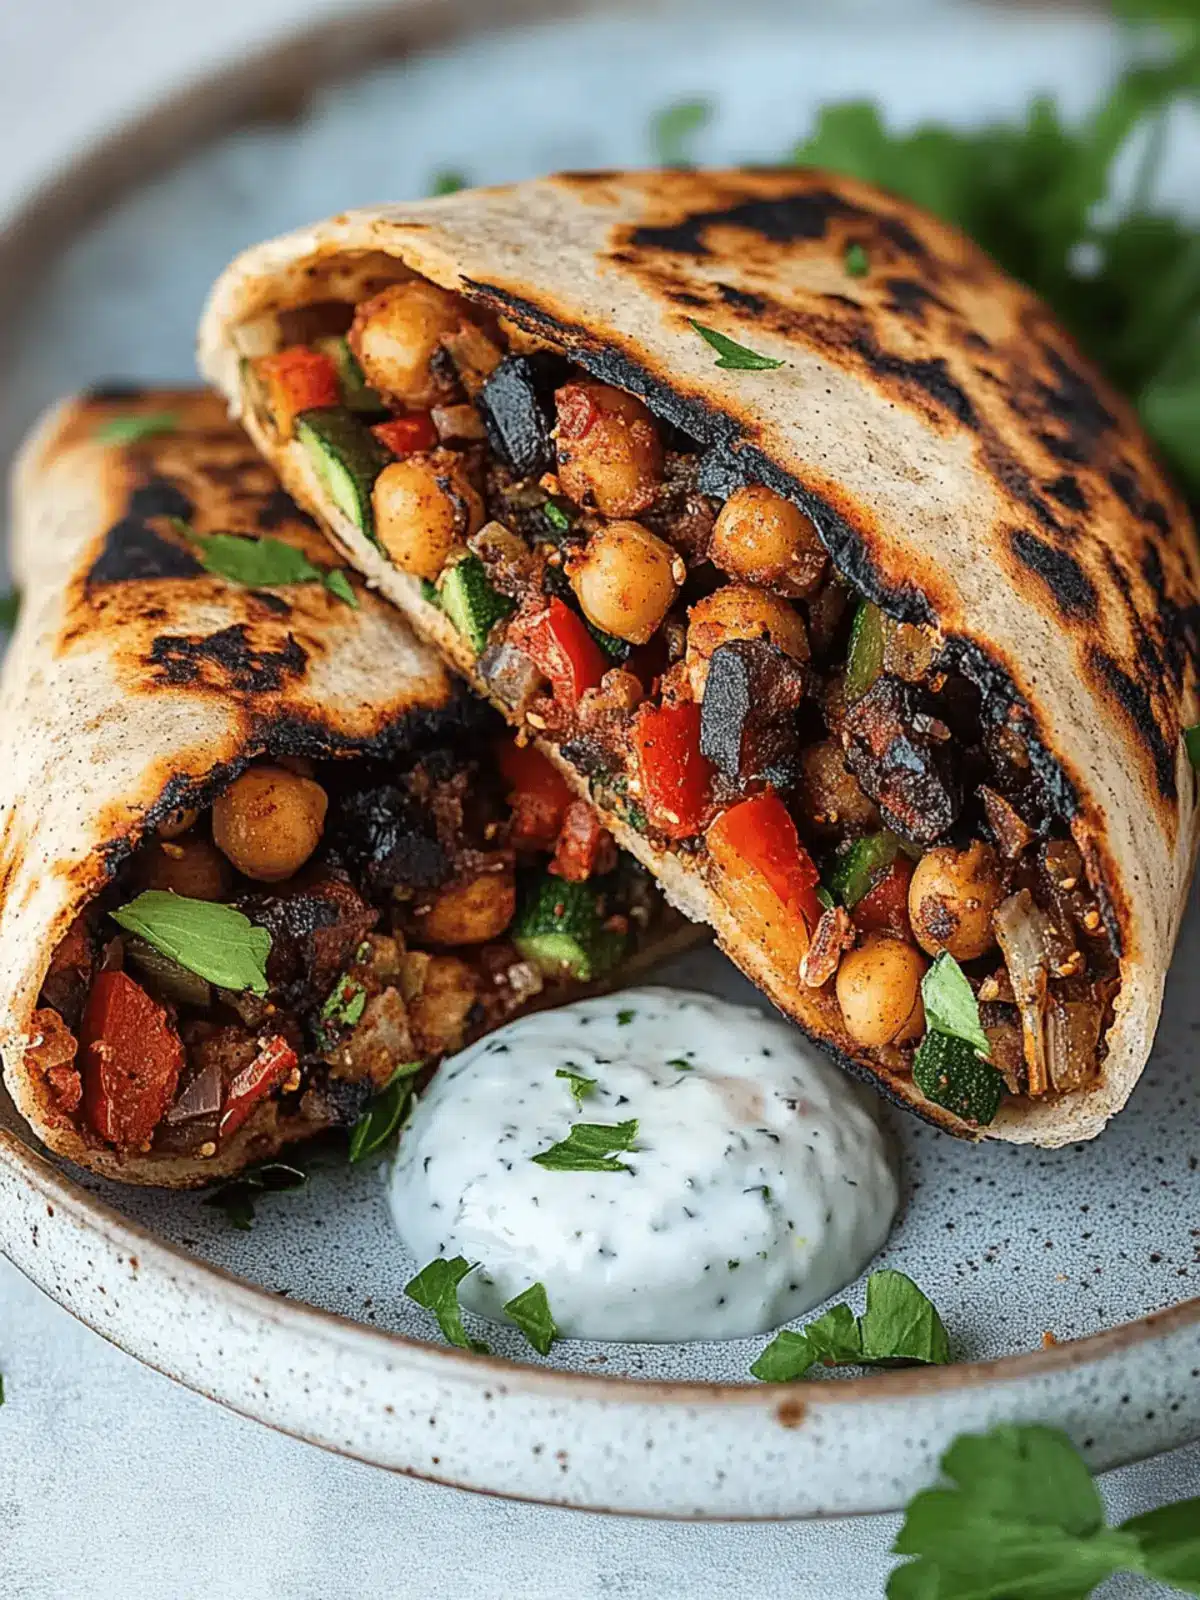
There’s nothing quite like the smell of spices dancing in the air while I whip up a fresh meal in my kitchen. One evening, I found myself craving something warm, vibrant, and packed with flavor, yet I wanted to avoid the same old fast-food routine. That’s when the idea for these Grilled Chickpea Veggie Pitas came to life—a delightful fusion of textures and tastes that never fails to impress.
You might think stuffing pitas is just another simple dish, but once those golden chickpeas mingle with sautéed vegetables and aromatic herbs, you’ll discover an explosion of flavor that transforms an ordinary meal into a culinary adventure. Not only are they kind to your taste buds, but these pitas also come together quickly, making them perfect for busy weeknights or casual gatherings.
Topped with a zesty cilantro garlic yogurt sauce, these grilled chickpea veggie pitas are bound to become your new go-to for satisfying cravings without the guilt. Let’s dive into this delicious journey and whip up a batch that will have everyone asking for seconds!
Why love Grilled Chickpea Veggie Pita?
Irresistible Flavor: Delight in the medley of chickpeas, fresh veggies, and a touch of za’atar that creates a taste sensation you won’t forget.
Quick and Easy: With minimal prep and cooking time, these pitas are ideal for busy individuals craving homemade goodness.
Versatile Options: Customizable fillings and toppings mean you can get creative with ingredients based on your preference or what you have on hand.
Crowd-Pleasing Appeal: Perfect for a hearty family meal or impressing guests at your next gathering, they’re a guaranteed hit!
Healthy Goodness: Packed with fiber, protein, and vibrant veggies, you can feel good about indulging in this wholesome dish.
Pair them with a refreshing salad or serve alongside some homemade hummus for an even more satisfying feast!
Grilled Chickpea Veggie Pita Ingredients
For the Pita Filling
• Avocado oil – Enhances the flavors while keeping the filling moist.
• Chickpeas – A hearty base, providing protein and fiber to satisfy hunger.
• Yellow onion – Adds a sweet and aromatic depth to the filling.
• Red bell pepper – Brings a pop of color and sweetness to balance the dish.
• Mushrooms – Adds a lovely umami flavor and meaty texture to the stuffing.
• Garlic – Infuses bold flavor, making every bite irresistibly fragrant.
• Tomato paste – Helps bind the filling while adding a rich tomato flavor.
• Soy sauce or coconut aminos – Enhances the savory aspects of the dish.
• Za’atar – A spice blend that adds a unique herbaceous note to the filling.
• Ground cumin – Provides a warm, earthy flavor that complements the chickpeas.
• Ground coriander – Adds a subtle citrus touch that brightens the dish.
• Fennel seeds – Introduces a hint of sweet anise flavor for an unexpected twist.
• Parsley – Freshens up the filling with its vibrant green color and taste.
• Salt and pepper – Essential seasonings to enhance all the flavors.
• Whole grain pitas – Perfectly pocketed for stuffing with your flavorful filling.
For the Cilantro Garlic Yogurt Sauce
• Vegan Greek-style yogurt – A creamy base for the sauce, offering a velvety texture.
• Lemon juice – Adds acidity and brightness, elevating the sauce.
• Salt and pepper – Simple but crucial for balancing the sauce’s flavors.
• Garlic – A touch of raw garlic gives the sauce its pungency and freshness.
• Cilantro – Provides a fresh, herby taste that pairs wonderfully with the filling.
• Extra virgin olive oil (optional) – Adds richness and a smooth finish to the sauce.
Get ready to prepare these delightful Grilled Chickpea Veggie Pitas that will have your kitchen filled with enticing aromas and your loved ones asking for more!
How to Make Grilled Chickpea Veggie Pita
-
Mash the chickpeas: Place the rinsed and drained chickpeas in a bowl, and use a fork to gently mash them until crumbled. This will create a hearty base for your filling.
-
Sauté the veggies: Heat 1 tablespoon of avocado oil in a sauté pan over medium heat. Add the diced onion, bell pepper, and mushrooms, then toss quickly and let them sit for about 2-3 minutes until softened.
-
Add garlic and spices: Stir in the minced garlic until fragrant, then mix in the tomato paste, mashed chickpeas, soy sauce, za’atar, cumin, coriander, and fennel seeds. Sauté for an additional 2-3 minutes to blend the flavors.
-
Incorporate parsley: Stir in the minced parsley, taste your mixture, and adjust the seasoning with salt and pepper as needed. This ensures a burst of flavor in every bite.
-
Prepare the pitas: Preheat your griddle while you cut the whole grain pitas in half and carefully open the pockets. Stuff each pita half generously with the delicious filling, then brush or spray the outside with the remaining avocado oil.
-
Grill the pitas: Place the stuffed pitas filling side down on the griddle for about 3-4 minutes until golden brown grill marks form. Carefully flip and sear the other sides for around 3 minutes until firm and crispy.
-
Mix the yogurt sauce: In a bowl, combine all the sauce ingredients—vegan yogurt, lemon juice, salt, pepper, grated garlic, and minced cilantro. Whisk together until smooth, and adjust seasoning to your preference.
-
Serve and enjoy: Plate your grilled pitas alongside the cilantro garlic yogurt sauce and any fresh veggies you like for a delightful meal everyone will love!
Optional: Garnish with extra cilantro for added freshness.
Exact quantities are listed in the recipe card below.
Make Ahead Options
These Grilled Chickpea Veggie Pitas are an excellent choice for meal prep, allowing you to enjoy homemade meals even on your busiest days! You can prepare the chickpea filling up to 3 days in advance and store it in an airtight container in the refrigerator. Just sauté the veggies and combine them with the mashed chickpeas and spices, then refrigerate. When you’re ready to enjoy a delightful meal, simply stuff the filling into pitas and grill them for about 5-7 minutes until warm and crispy. This way, you’ll have a delicious and satisfying meal with minimal effort, just as fresh as if you’d made it that day!
Expert Tips for Grilled Chickpea Veggie Pita
-
Mashing Technique: Gently mash the chickpeas enough to create texture, but leave some whole for a delightful bite in your filling.
-
Veggie Sautéing: Don’t overcrowd the pan when sautéing veggies; this ensures they cook evenly and develop that lovely flavor without getting soggy.
-
Season to Taste: Always taste and adjust seasoning after adding the parsley; it’ll enhance the flavors of the grilled chickpea veggie pita.
-
Oil for Crispiness: Make sure to brush oil on the outside of the pitas before grilling; this creates a golden, crispy crust that you’ll love.
-
Yogurt Sauce Whisking: Whisk the yogurt sauce ingredients vigorously to achieve a creamy, well-blended dip. Adjust lemon and salt based on your liking for the perfect zing!
Grilled Chickpea Veggie Pita Variations
Feel free to explore these delightful twists that add a personal touch to your pitas!
-
Spicy Kick: Add diced jalapeños or red pepper flakes to the filling for a fiery surprise in every bite.
Spice things up by roasting the jalapeños beforehand to intensify their flavor. -
Quinoa Boost: Mix in cooked quinoa with your chickpeas for extra protein and a lovely texture contrast.
This nutty grain not only elevates the dish but also provides additional fiber for a hearty meal. -
Cheesy Delight: Sprinkle in some nutritional yeast or your favorite vegan cheese to bring a creamy richness to the filling.
Melted cheese can add an extra layer of comfort that will satisfy even the cheesiest cravings. -
Roasted Veggie Medley: Replace the fresh veggies with a mix of roasted zucchini, eggplant, and cherry tomatoes for a smoky flavor.
Roasting enhances the natural sweetness of the veggies, bringing a different depth to your pitas. -
Herbed Bliss: Experiment with different fresh herbs like mint or dill instead of parsley for a refreshing twist.
Herbs can dramatically change the flavor profile, making each bite uniquely fragrant and vibrant. -
Veggie-Loaded: Sneak in finely grated carrots or spinach into your filling for a nutrient boost without altering the taste.
This simple addition packs an extra punch of vitamins while keeping the texture delightful and satisfying. -
Pita Alternatives: Try using lettuce wraps or gluten-free pitas if you’re looking for a lighter or gluten-free option.
This lets everyone enjoy the flavorful filling in a way that suits their dietary needs.
With these variations, every batch of Grilled Chickpea Veggie Pitas can be a new adventure!
How to Store and Freeze Grilled Chickpea Veggie Pita
Room Temperature: Enjoy your grilled chickpea veggie pita fresh, but if left out, consume within 2 hours to ensure food safety.
Fridge: Store any leftover stuffed pitas in an airtight container in the fridge for up to 3 days. Reheat on a skillet for the best texture.
Freezer: For longer storage, wrap individually in foil or plastic wrap and freeze for up to 3 months. Thaw overnight in the fridge before reheating.
Reheating: To revive your pitas, place them on a griddle or in a toaster oven until warmed through and crispy, about 5-7 minutes.
What to Serve with Grilled Chickpea Veggie Pita?
Enhance your meal with these delightful pairings that complement the flavors and textures of your stuffed pitas.
- Crunchy Greek Salad: Refreshing cucumbers, tomatoes, and olives bring a crisp contrast to the savory stuffed pitas, making for a balanced meal.
- Smoky Roasted Vegetables: The deep caramelization paired with your pitas’ spices creates a delightful harmony of flavors that will excite your palate.
- Creamy Hummus: A delightful dip to scoop with veggies. Its richness harmonizes beautifully with the zesty yogurt sauce from the pitas.
- Cilantro Lime Rice: The citrus notes elevate each bite, tying together the Mediterranean essence of the pitas with an extra layer of freshness.
- Sweet Potato Fries: Crispy on the outside, soft on the inside, they serve as a delightful sidekick bursting with sweetness to balance the savory pitas.
- Herbal Iced Tea: A refreshing beverage, infused with mint and lemon, offers a cooling contrast to the warm, flavorful pitas.
- Chill Chocolate Mousse: End on a sweet note! This light dessert provides a smooth richness that pairs surprisingly well with the meal’s spices, leaving everyone satisfied.
- Tabbouleh Salad: A bright, herby dish that adds another refreshing dimension while weaving in extra fiber and nutrients unsurpassed by takeout options.
Grilled Chickpea Veggie Pita Recipe FAQs
How do I select ripe ingredients for my Grilled Chickpea Veggie Pita?
Absolutely! For the best flavor, choose fresh vegetables with vibrant colors. Look for bell peppers that are firm and shiny, and mushrooms that are plump without any dark spots. For the parsley, pick a bunch with bright green leaves and no wilting. It makes a difference in taste and presentation!
How should I store leftover Grilled Chickpea Veggie Pita?
Very important! Store any leftover stuffed pitas in an airtight container in the fridge for up to 3 days. To reheat and retain that lovely firmness, place them on a skillet over medium heat for about 4-5 minutes, flipping halfway, until warmed through.
Can I freeze the grilled chickpea veggie pitas?
Absolutely! To freeze, wrap each pita individually in foil or plastic wrap and place them in a freezer bag. They can last for up to 3 months. When you’re ready to enjoy them, let them thaw overnight in the fridge. Reheat them on a griddle for about 5-7 minutes, and they’ll be just as delicious!
What should I do if my filling is too dry?
If you find your chickpea filling is a bit dry, don’t worry! Simply add a splash of water or a touch more soy sauce to the mix while it’s still in the pan, and stir until everything is moist and blended. A bit of extra olive oil can also help add richness!
Are there any dietary considerations for this recipe?
For those with allergies, always check your ingredients! The recipe is naturally vegan, but ensure that any store-bought vegan yogurt is free from nuts or any allergens you might be sensitive to. If you’re cooking for pets, keep in mind that garlic can be harmful to them, so do not serve any leftovers with garlic to your furry friends.
Can I make substitutions for the herbs and spices?
Absolutely! If you don’t have za’atar on hand, you can replace it with a mix of oregano and thyme, which will still give your filling a lovely aromatic flavor. Feel free to get creative and adjust kitchen staples based on your pantry – the more the merrier!

Mouthwatering Grilled Chickpea Veggie Pita You'll Love
Ingredients
Equipment
Method
- Mash the chickpeas: Place the rinsed and drained chickpeas in a bowl, and use a fork to gently mash them until crumbled.
- Sauté the veggies: Heat 1 tablespoon of avocado oil in a sauté pan over medium heat. Add the diced onion, bell pepper, and mushrooms, then toss quickly and let them sit for about 2-3 minutes until softened.
- Add garlic and spices: Stir in the minced garlic until fragrant, then mix in the tomato paste, mashed chickpeas, soy sauce, za’atar, cumin, coriander, and fennel seeds. Sauté for an additional 2-3 minutes to blend the flavors.
- Incorporate parsley: Stir in the minced parsley, taste your mixture, and adjust the seasoning with salt and pepper as needed.
- Prepare the pitas: Preheat your griddle while you cut the whole grain pitas in half and carefully open the pockets. Stuff each pita half generously with the delicious filling, then brush or spray the outside with the remaining avocado oil.
- Grill the pitas: Place the stuffed pitas filling side down on the griddle for about 3-4 minutes until golden brown grill marks form. Carefully flip and sear the other sides for around 3 minutes until firm and crispy.
- Mix the yogurt sauce: In a bowl, combine all the sauce ingredients—vegan yogurt, lemon juice, salt, pepper, grated garlic, and minced cilantro. Whisk together until smooth.
- Serve and enjoy: Plate your grilled pitas alongside the cilantro garlic yogurt sauce and any fresh veggies you like.


