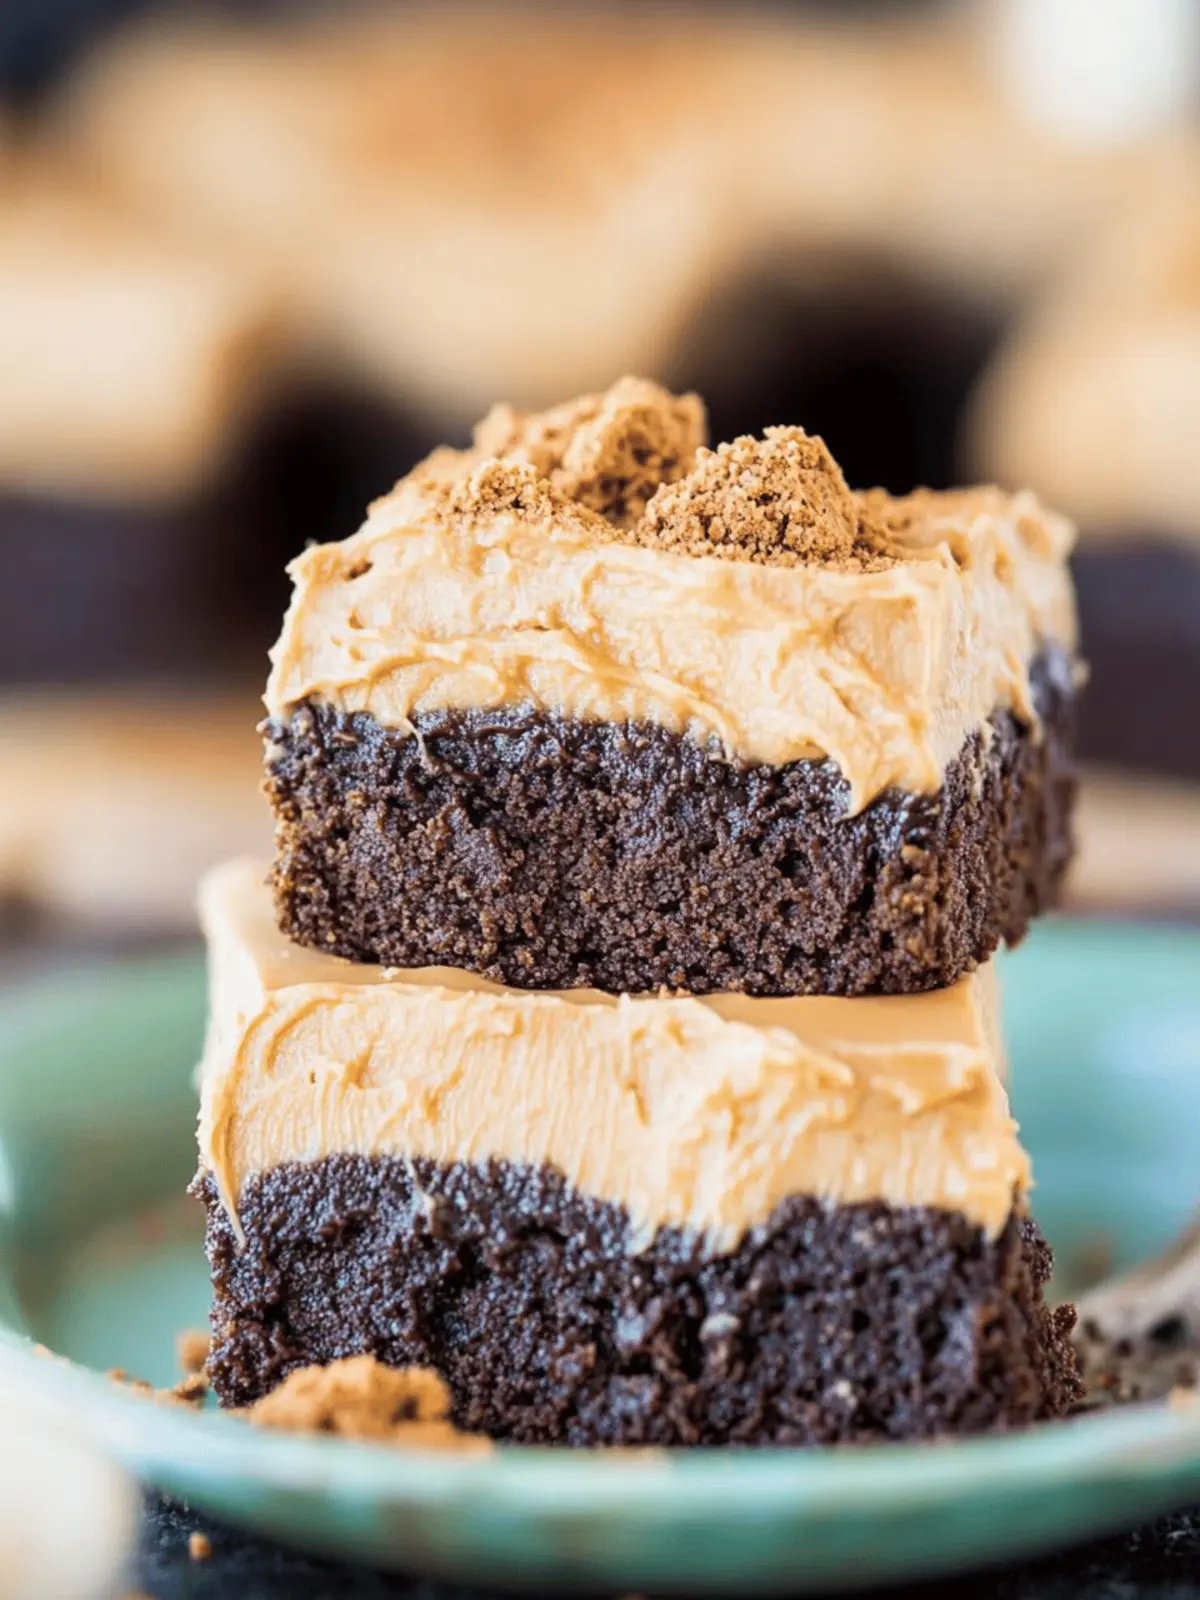
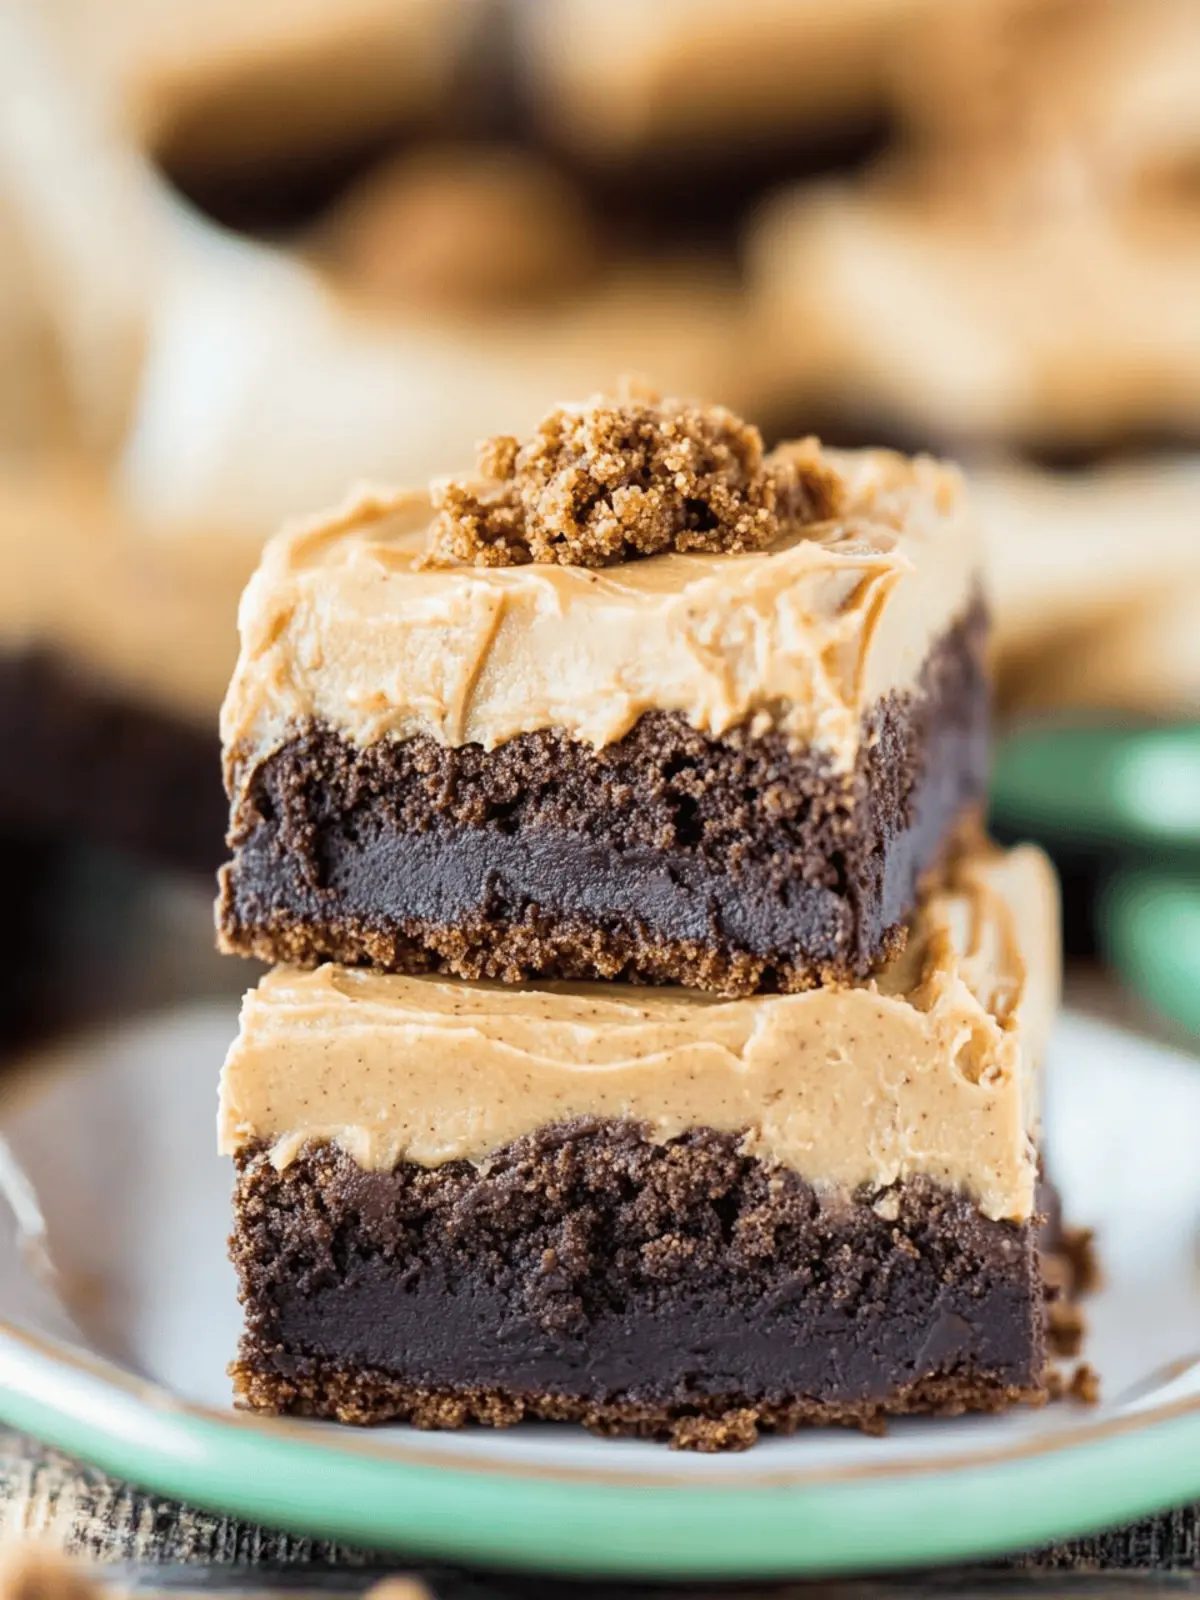
There’s a certain joy that comes from transforming simple ingredients into something utterly indulgent, isn’t there? Recently, while chasing away a dreary afternoon mood, I found myself reaching for a jar of cookie butter and a pack of Biscoff cookies. The delightful aroma of spices filled my kitchen as I decided to merge these flavors into a rich, fudgy brownie recipe that would bring a smile to anyone’s face.
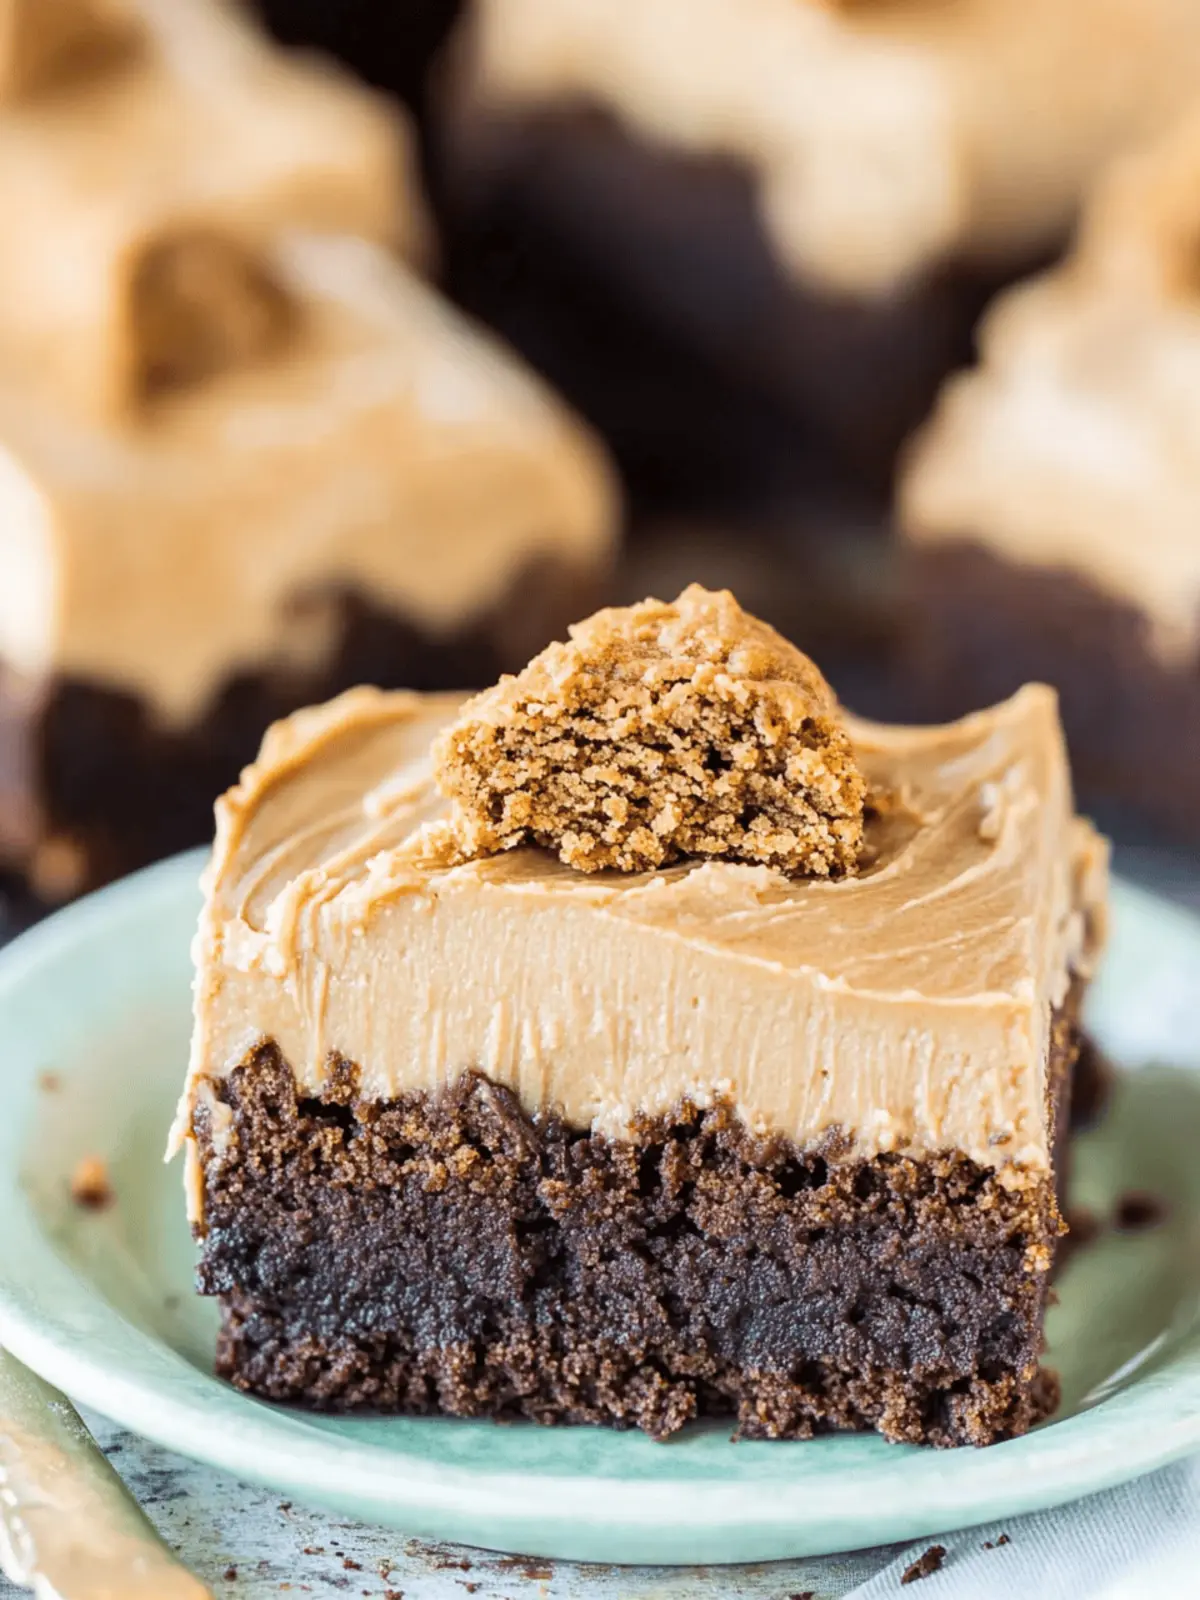
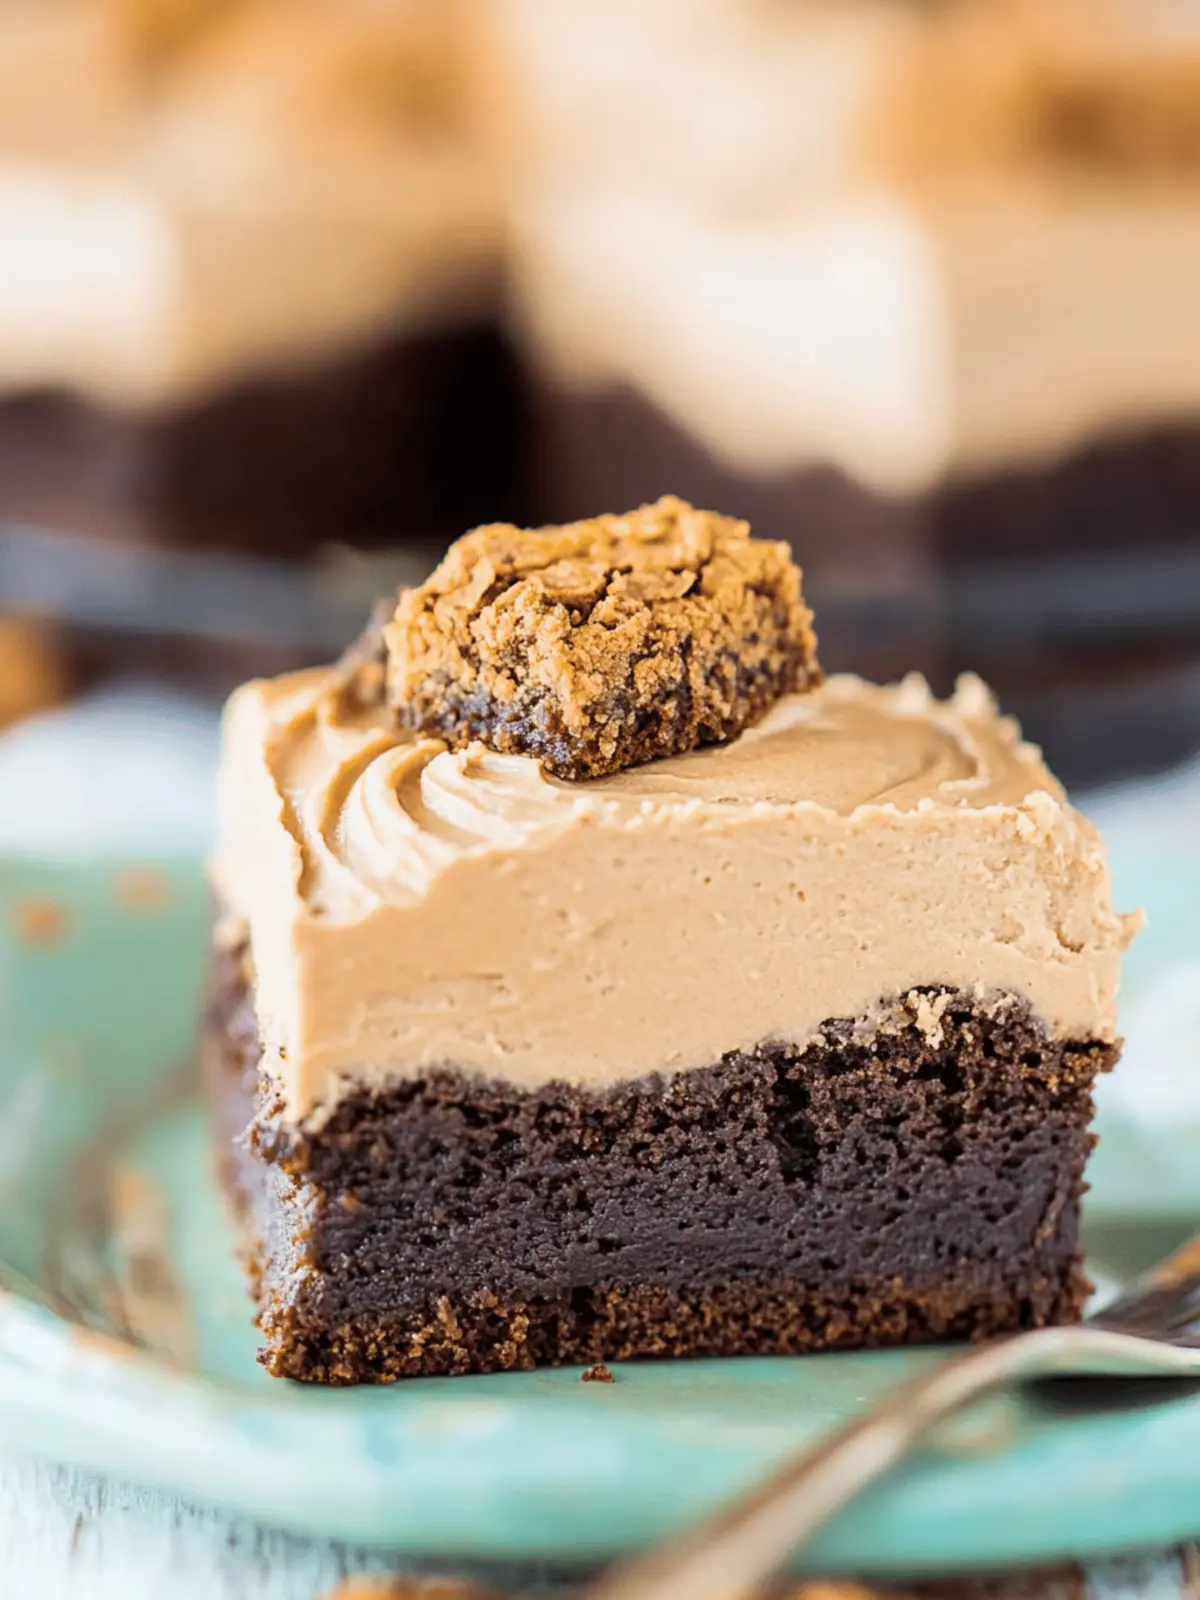
These Cookie Butter Brownies with Cookie Butter Frosting are not just any brownies; they boast a sweet Biscoff cookie crust that perfectly complements an ooey-gooey brownie base. What’s more, a lavish swirl of cookie butter through the batter and a generous layer of frosting take them over the top. Who knew that something so rich and satisfying could be crafted in your very own kitchen? Get ready to impress family and friends with this decadent treat that’s perfect for any occasion or simply as a luxurious pantry pick-me-up. Let’s dive in!
Why are Cookie Butter Brownies a must-try?
Indulgent flavor: The harmonious blend of cookie butter and Biscoff cookies creates a uniquely rich taste that’s simply irresistible.
Fudgy Texture: These brownies deliver a luscious, gooey center that melts in your mouth, offering a perfect balance to the crunchy crust.
Easy to Make: With straightforward steps, anyone can whip up this delightful dessert, making it a fantastic choice for both novice and experienced bakers.
Crowd-pleaser: Perfect for gatherings or casual family dinners, these brownies are sure to impress guests and loved ones alike.
Versatile: Customize your recipe! Consider adding nuts or even substituting cookie butter for Nutella for a luscious variation. Don’t forget to try them warm with ice cream for an extra treat!
Cookie Butter Brownies Ingredients
• Dive into this delightful treat with the following must-have ingredients!
For the Crust
- Biscoff Cookies – The key base for delivering that unique flavor and sweetness; if unavailable, graham crackers can work with a sugar adjustment.
- Butter (1/2 cup melted) – Essential for moisture and richness; using unsalted butter helps control the saltiness.
- Granulated Sugar (2 tbsp) – Sweetens the crust; for a deeper flavor, consider substituting with brown sugar.
For the Brownies
- Butter (1 cup melted) – Adds luxurious richness to the brownie batter; keep it unsalted for best results.
- Granulated Sugar (2 cups) – Gives sweetness and texture; alternative: replace with brown sugar for a hint of caramel flavor.
- Vanilla Extract (2 tsp) – Enhances the overall flavor profile, a must-have for that aromatic delight.
- Eggs (4 large at room temperature) – Binds the ingredients together, ensuring the perfect chewy consistency.
- Cocoa Powder (1 1/4 cups) – Infuses the delectable chocolate flavor; dark cocoa can enrich the taste even further.
- All-Purpose Flour (1/2 cup) – Provides structure; replace with a gluten-free flour blend for a gluten-free version.
- Salt (1/4 tsp) – Balances the sweetness; don’t skip this essential ingredient!
- Cookie Butter (1/2 cup) – This is where the magic happens, imparting signature flavor and a creamy texture; for variety, nut butter can be used, but it will change the taste.
For the Frosting
- Butter (1/2 cup softened) – Vital for a smooth and creamy frosting; using unsalted butter gives you better control of flavor.
- Cookie Butter (3/4 cup) – Adds that rich, signature taste to your frosting; go for a quality brand for the best results.
- Powdered Sugar (2-3 cups) – Sweetens and thickens the frosting; adjust to your desired sweetness level.
- Heavy Whipping Cream (3-4 tbsp) – Lightens the texture of the frosting for a velvety finish; milk can be used in a pinch, but it may create a denser mixture.
Embrace the sweetness and richness of these Cookie Butter Brownies with Cookie Butter Frosting that are sure to become a cherished favorite!
How to Make Cookie Butter Brownies
-
Prepare the Crust: Start by lining a 9-inch square pan with foil. Crush Biscoff cookies finely and mix them with melted butter and sugar. Firmly press this mixture into the bottom of the pan for a sweet foundation.
-
Make the Brownie Batter: In a large bowl, whisk together the melted butter, granulated sugar, and vanilla extract. Add eggs one by one, blending well each time. Then, gently mix in cocoa powder, flour, and salt until just combined.
-
Combine Everything: Pour the luscious brownie batter over the prepared Biscoff crust. Melt some cookie butter in the microwave and drizzle it over the brownie batter, swirling it in for an irresistible blend of flavors.
-
Bake: Preheat your oven to 350°F (175°C). Bake the brownies for 40-45 minutes, until the edges are set and a toothpick inserted comes out with moist crumbs. It’s the perfect gooey texture we’re after!
-
Cool the Brownies: Allow the brownies to cool in the pan. Use the foil overhang to gently lift them out once they are cool enough to handle.
-
Prepare the Frosting: In a mixing bowl, beat together softened butter and cookie butter until creamy. Gradually add powdered sugar, then pour in the vanilla and heavy cream, mixing until fluffy and smooth.
-
Frost the Brownies: Spread the cookie butter frosting evenly over the cooled brownies. For some crunch and decoration, sprinkle reserved cookie crumbs on top before cutting into squares.
Optional: Drizzle a little melted chocolate on top for an extra touch of decadence!
Exact quantities are listed in the recipe card below.
Cookie Butter Brownies Variations
Feel free to get creative and customize these brownies to suit your taste buds!
- Nutella Twist: Substitute the cookie butter for Nutella to add a delightful chocolate-hazelnut flavor that’s decadently addictive.
- Nutty Delight: Add chopped walnuts or pecans to the brownie batter; their crunch provides a fantastic contrast to the fudginess.
- Spiced Up: Use ginger snaps or speculoos cookies instead of Biscoff for a spiced version that packs an extra punch of flavor.
- Dairy-Free: Replace the butter with coconut oil and use dairy-free chocolate; this makes the recipe suitable for lactose-intolerant guests without sacrificing flavor.
- Gluten-Free: Swap all-purpose flour for a gluten-free blend, allowing those with dietary restrictions to indulge in these delicious treats.
- Caramel Drizzle: Enhance the flavor profile by drizzling caramel sauce atop the frosted brownies for a mouth-watering contrast to the cookie butter.
- Mint Chocolate: Mix in peppermint extract to the brownie batter, paired with chocolate chips, for a refreshing minty twist that’s perfect for the holidays.
- Chili Kick: Stir in a pinch of cayenne pepper to the brownie mix for a surprising and delightful heat that pairs well with the sweetness.
Let your imagination run wild in the kitchen, and enjoy your unique take on these Cookie Butter Brownies!
Expert Tips for Cookie Butter Brownies
- Perfect Texture: Ensure your brownies are baked until just set; an overly long baking time will result in dry brownies. Aim for that gooey center for the best experience!
- Room Temperature Eggs: Use eggs at room temperature to help create a smoother batter, resulting in more fudgy cookies. Cold eggs can lead to uneven mixing.
- Swirling Technique: When adding the melted cookie butter to the brownie batter, use a gentle swirling motion to achieve a marbled effect without fully combining it.
- Cooling Period: Allow your brownies to cool completely before frosting. This will prevent the frosting from melting and ensure a beautiful presentation when serving.
- Storage Tips: For best results, store your Cookie Butter Brownies with Cookie Butter Frosting in an airtight container. They can last up to a week at room temperature and up to three months in the freezer!
Make Ahead Options
These Cookie Butter Brownies with Cookie Butter Frosting are perfect for making ahead, saving you precious time on busy days! You can prepare the Biscoff crust up to 24 hours in advance; simply mix the crushed cookies with butter and sugar, then press into the pan and refrigerate until ready to bake. Additionally, the brownie batter can be made up to 3 days ahead; store it in an airtight container in the refrigerator, mixing in the cookie butter just before pouring it over the crust. When you’re ready to enjoy, bake as directed and frost after cooling for indulgent results that are just as delicious! Enjoy the ease of having dessert ready when you are!
What to Serve with Cookie Butter Brownies with Cookie Butter Frosting?
There’s nothing quite like complementing your brownie indulgence with delightful pairings that elevate the experience!
- Vanilla Ice Cream: The creamy, cold ice cream contrasts beautifully with the warm, fudgy brownies, creating a delightful melt-in-your-mouth moment.
- Espresso or Coffee: A robust cup of coffee balances the sweetness of the brownies, enhancing their rich chocolate and cookie butter flavors. Enjoying a warm brownie with a sip of coffee is pure bliss!
- Caramel Sauce: Drizzling warm caramel over the brownies adds a luscious sweetness and a touch of salty goodness that pairs beautifully with the chocolate notes.
- Fresh Berries: Tart strawberries or raspberries cut through the richness and add a burst of freshness, making each bite a well-rounded experience.
- Nutty Hot Chocolate: A cup of nutty hot chocolate provides a cozy and indulgent pairing, mirroring the brownie’s flavors while maintaining that comforting warmth.
- Chocolate Ganache: Enhance your brownies with a silky chocolate ganache drizzle on top, intensifying the chocolatey goodness for serious chocoholics.
- Mint Tea: Brighten your palate with a soothing cup of mint tea, which clears the richness and refreshes the taste buds after each decadent bite.
- Sea Salt Sprinkles: A sprinkle of flaky sea salt on top adds an exciting and exquisite touch, elevating the sweet flavors of the cookie butter frosting.
- Whipped Cream: A cloud of freshly whipped cream brings a lightness to the rich brownies while adding an element of elegance to your dessert presentation.
How to Store and Freeze Cookie Butter Brownies
Room Temperature: Store your Cookie Butter Brownies at room temperature in an airtight container for up to 1 week to maintain their fudgy texture and flavor.
Fridge: For extended freshness, place the brownies in the refrigerator. They will last for up to 2 weeks, but allow them to come to room temperature before serving for the best taste.
Freezer: If you want to save some for later, freeze the brownies for up to 3 months! Wrap them tightly in plastic wrap and place them in a freezer-safe container. Frost before serving for a perfectly decadent treat.
Reheating: To enjoy your brownies warm, simply microwave a serving for about 10-15 seconds. This will enhance the gooeyness and overall indulgence!
Cookie Butter Brownies with Cookie Butter Frosting Recipe FAQs
How ripe should my Biscoff cookies be for the crust?
You want your Biscoff cookies to be fresh and crispy for the best crust texture. Look for cookies that are not stale or soft, as they may not blend well for a firm crust. If you cannot find Biscoff cookies, you can substitute them with graham crackers, but adjust the sugar since they are less sweet.
How should I store my Cookie Butter Brownies?
Store your cookies in an airtight container at room temperature for up to 1 week. To keep them fresher for longer, you can refrigerate the brownies, where they can last up to 2 weeks. Just make sure to let them sit out and come to room temperature before serving to enjoy the best flavor and texture.
Can I freeze Cookie Butter Brownies with Cookie Butter Frosting?
Absolutely! You can freeze these brownies for up to 3 months. Here’s how: first, let the brownies cool completely. Then, wrap them tightly in plastic wrap and place them in a freezer-safe container. If you prefer, you can freeze them without frosting and add the frosting when you’re ready to serve for a fresher taste!
What should I do if my brownies are too dry?
If your brownies turn out dry, it could be due to overbaking or using low-fat ingredients. To salvage them, consider serving with whipped cream or pouring warm chocolate sauce over them for added moisture. In future bakes, watch the baking time closely, and remember the toothpick should come out with moist crumbs rather than being clean.
Are these brownies safe for pets or individuals with allergies?
These brownies contain ingredients that are not safe for pets, particularly chocolate and sugar. If someone has nut allergies, be cautious with cookie butter, as some brands contain traces of nuts. Always consult with your guests regarding dietary restrictions before serving!

Decadent Cookie Butter Brownies with Cookie Butter Frosting
Ingredients
Equipment
Method
- Prepare the Crust: Line a 9-inch square pan with foil. Crush Biscoff cookies finely and mix them with melted butter and sugar. Press this mixture into the bottom of the pan.
- Make the Brownie Batter: In a large bowl, whisk together the melted butter, granulated sugar, and vanilla extract. Add eggs one by one, blending well each time. Mix in cocoa powder, flour, and salt until just combined.
- Combine Everything: Pour the brownie batter over the prepared Biscoff crust. Melt some cookie butter and drizzle over the brownie batter, swirling it in.
- Bake: Preheat oven to 350°F (175°C). Bake brownies for 40-45 minutes until edges are set and a toothpick inserted comes out with moist crumbs.
- Cool the Brownies: Allow brownies to cool in the pan. Use the foil overhang to lift them out once cool.
- Prepare the Frosting: In a bowl, beat together softened butter and cookie butter until creamy. Gradually add powdered sugar, then pour in the vanilla and heavy cream, mixing until smooth.
- Frost the Brownies: Spread the cookie butter frosting over the cooled brownies. Sprinkle reserved cookie crumbs on top before cutting into squares.


