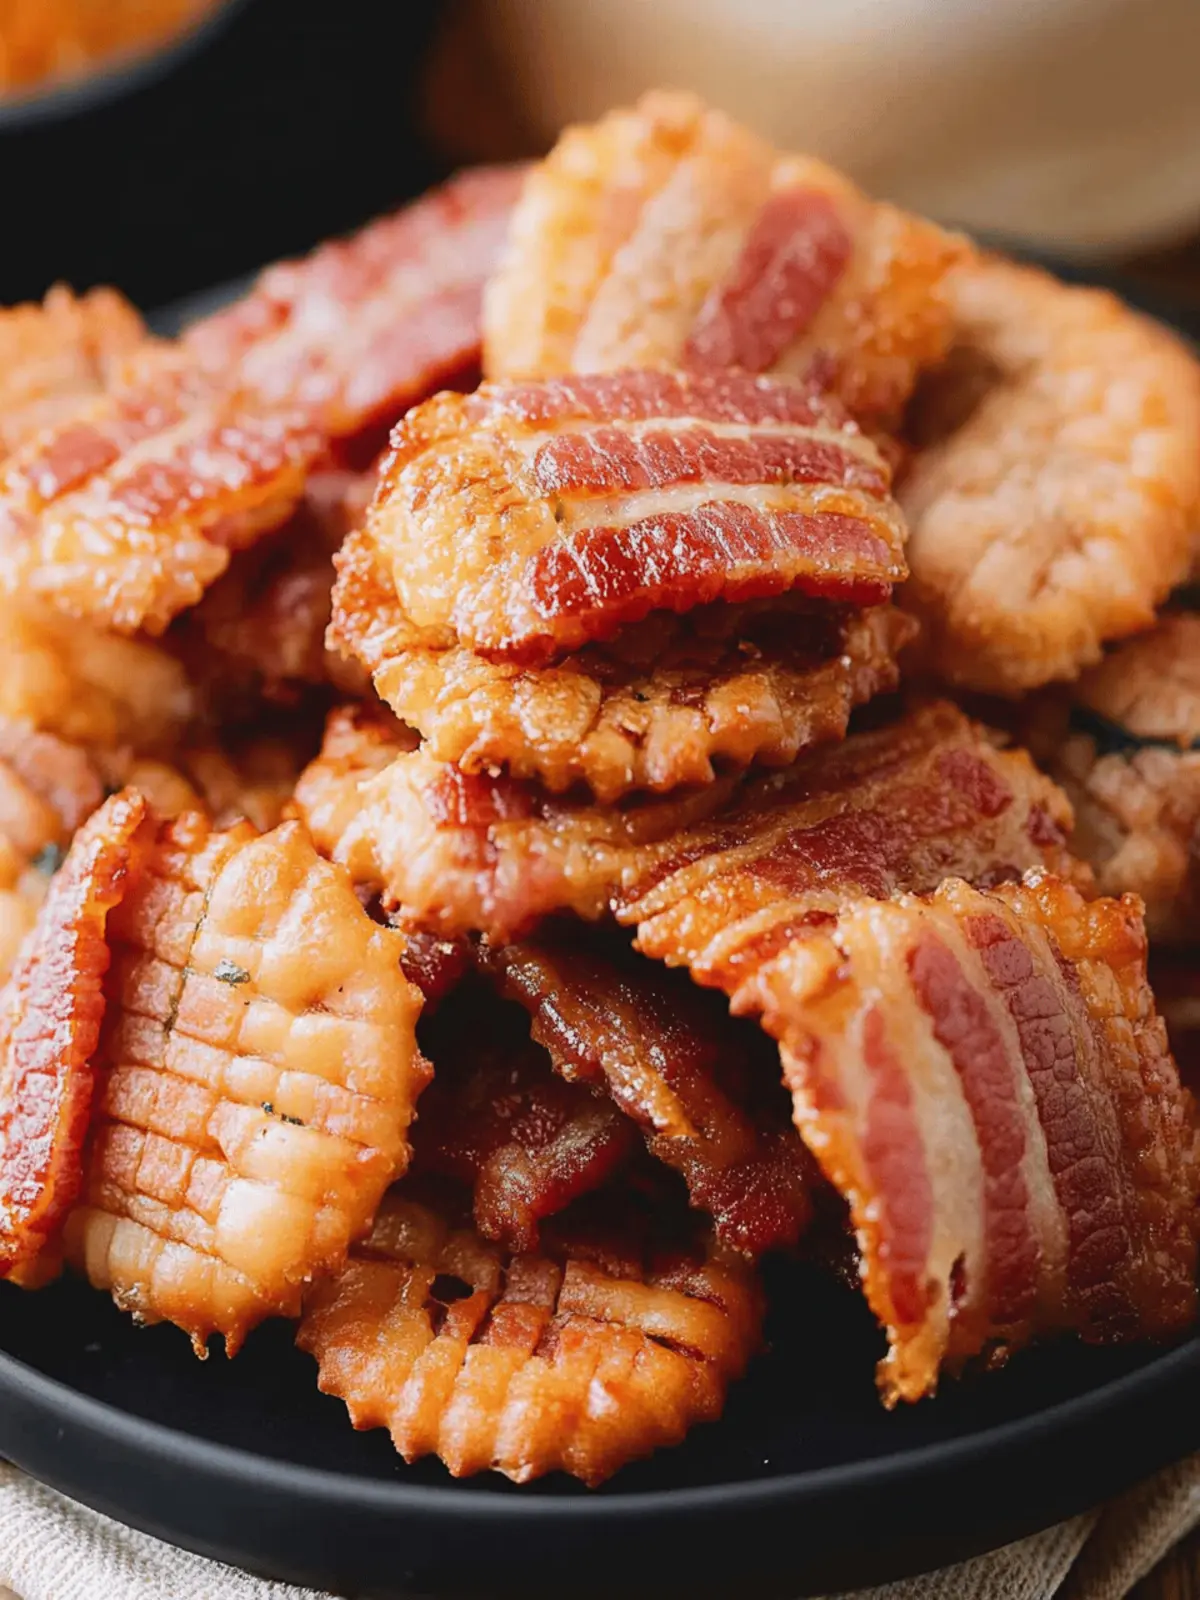
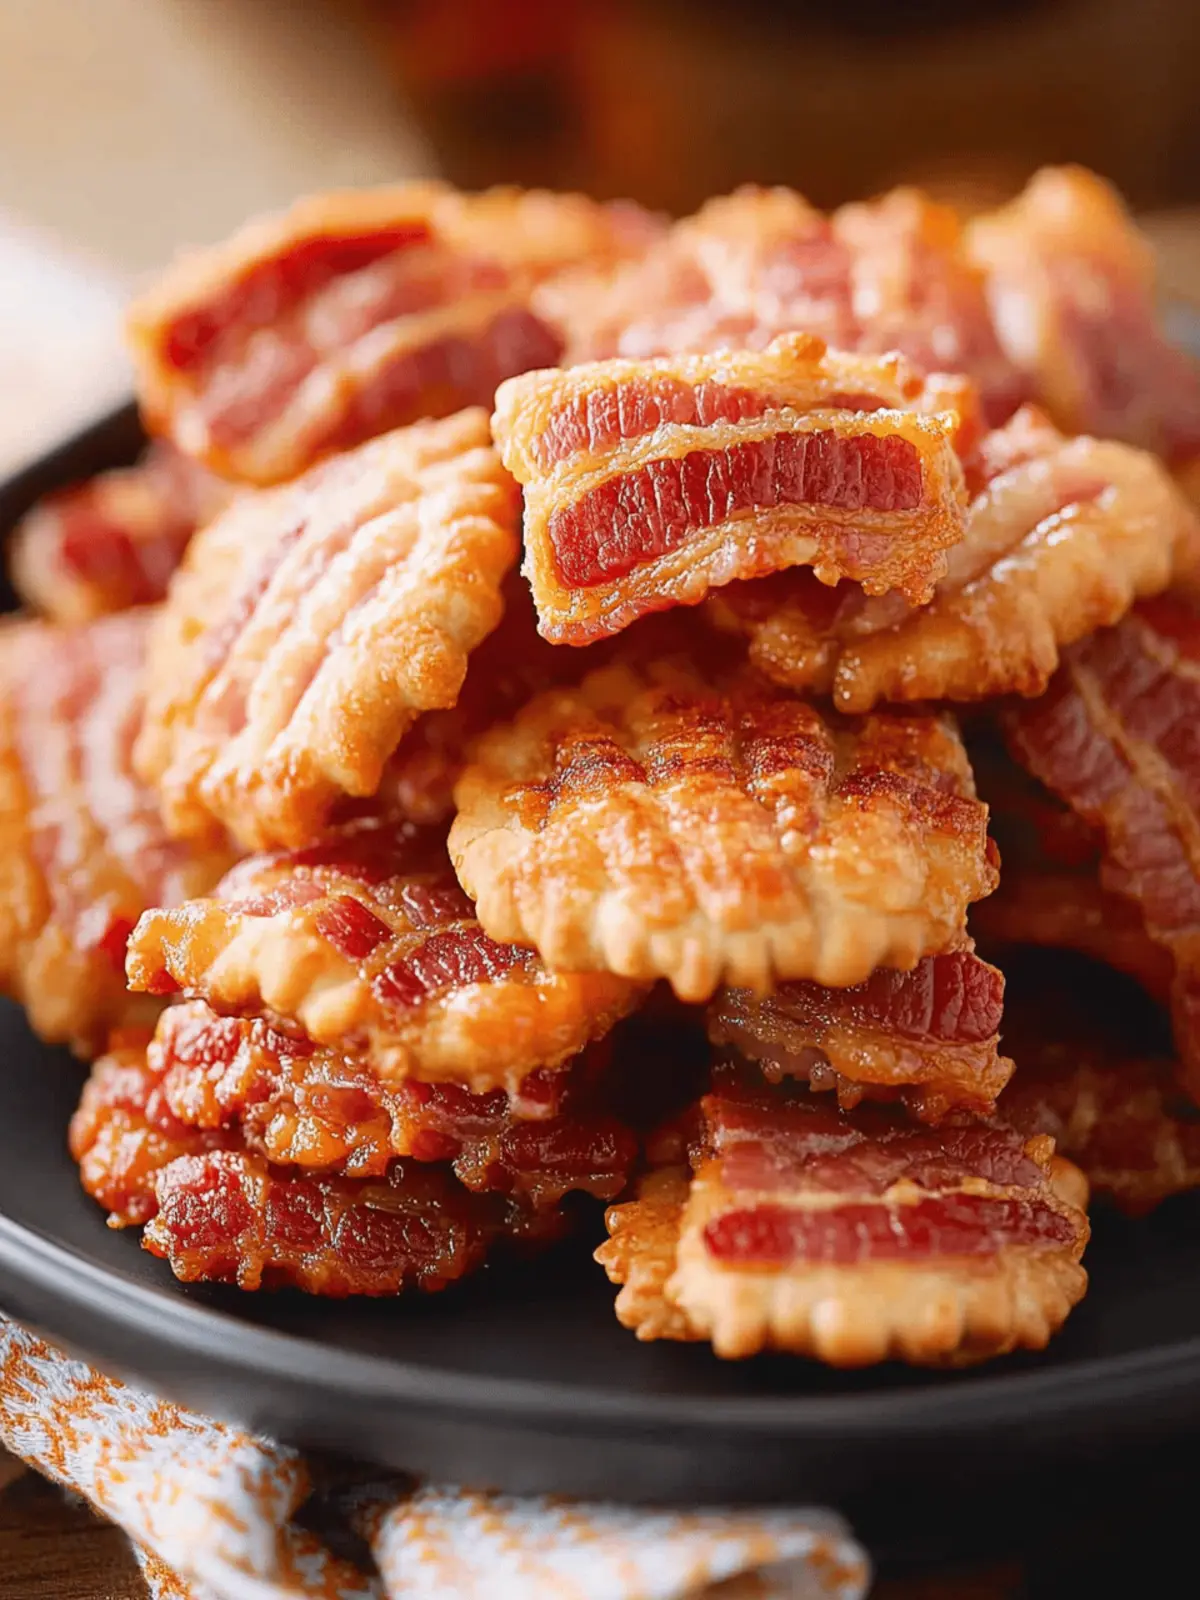
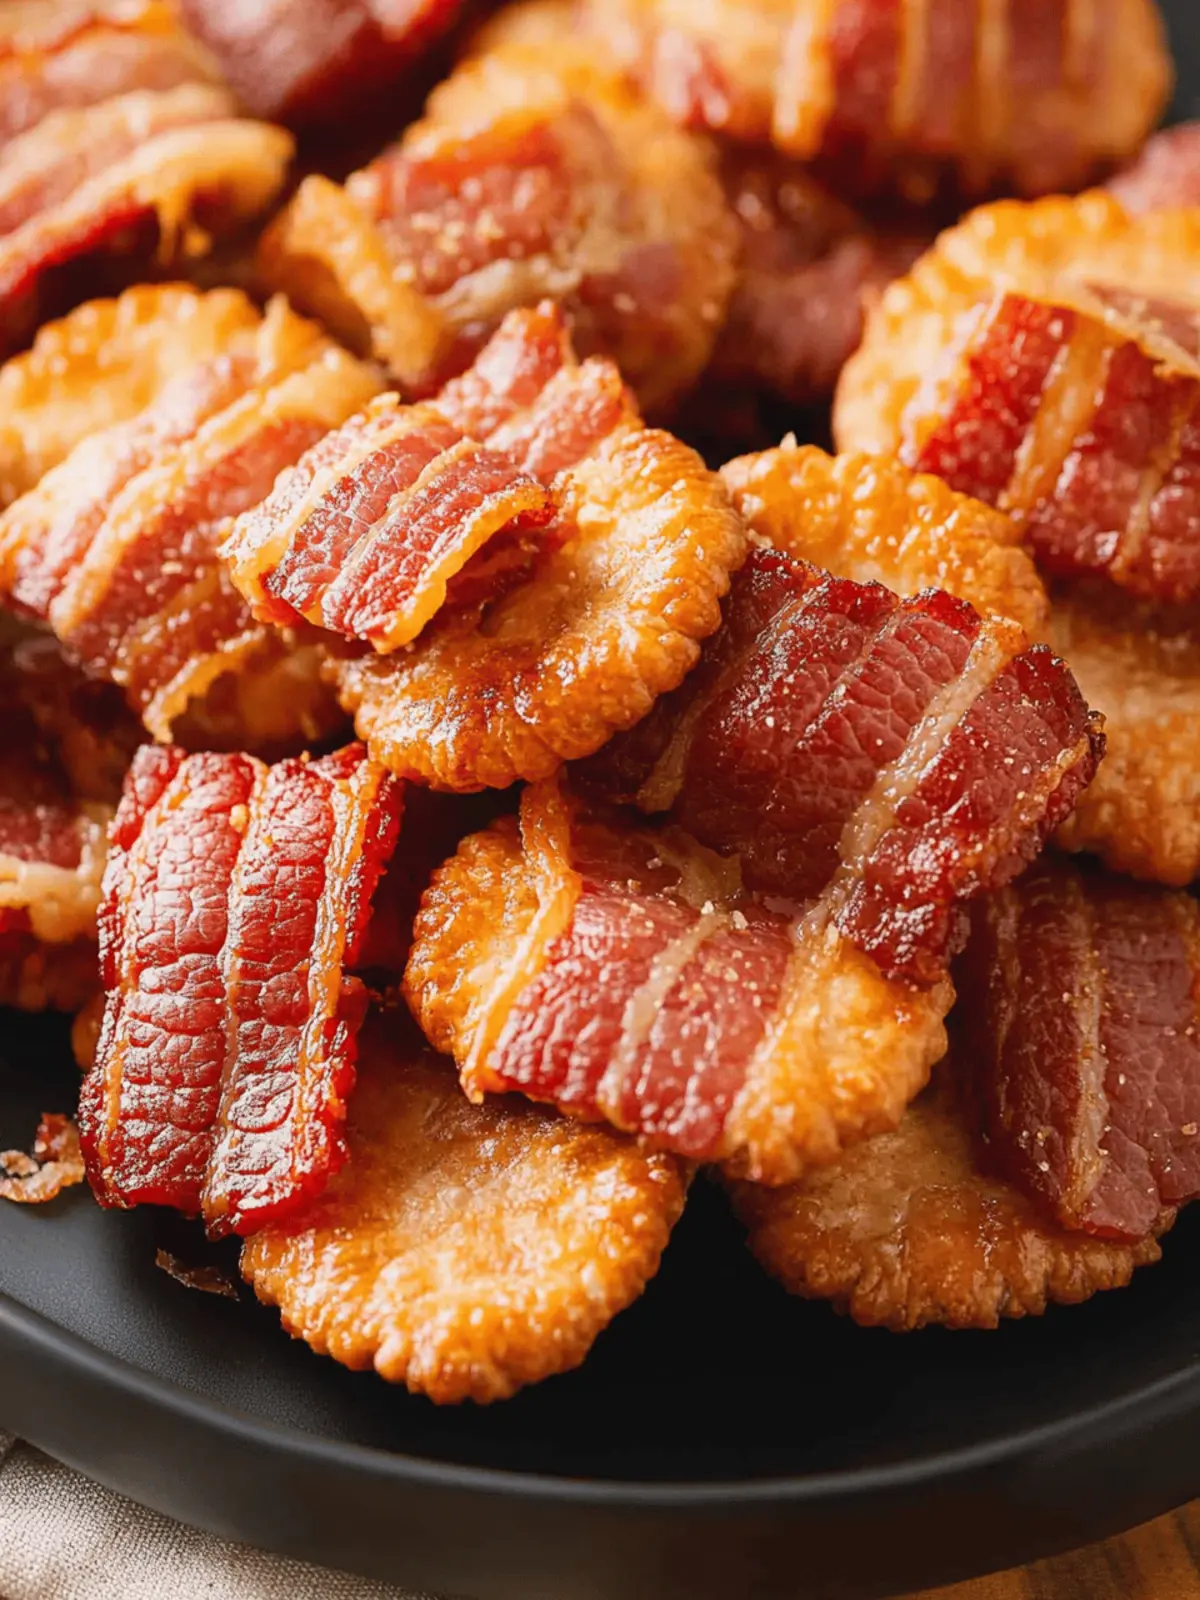
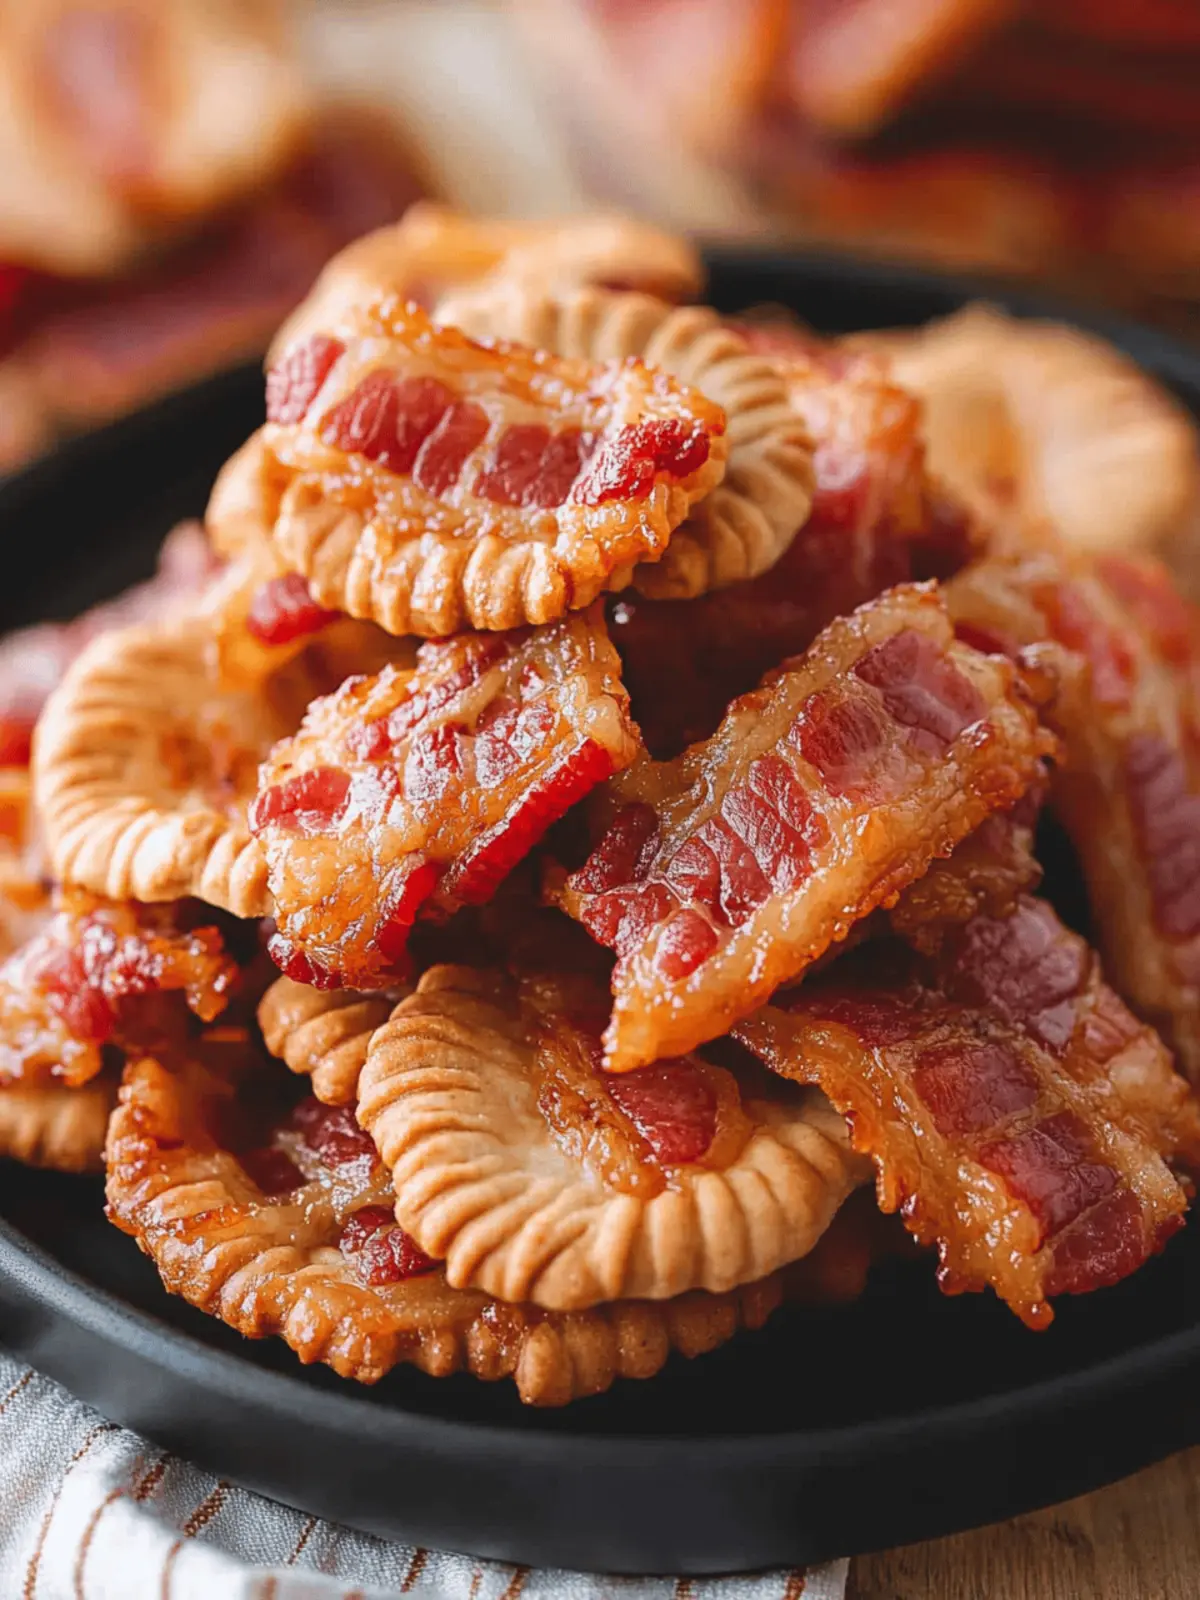
There’s something undeniably exhilarating about the smell of bacon sizzling in the oven, mingling with the creamy richness of melted cheese. I discovered this delightful recipe for Cheesy Bacon Crackers during a late-night snack craving, and let me tell you, it has become a staple at every gathering since! With just four simple ingredients, these bite-sized treats effortlessly combine sweet, savory, and salty flavors that will leave your guests reaching for more.
Whether you’re gearing up for game day, hosting a joyful holiday get-together, or simply in need of a fun afternoon snack, these Cheesy Bacon Crackers are the solution to your cravings. The crispy bacon encases gooey cheese and provides a satisfying crunch when paired with light, crisp crackers. Plus, they’re incredibly easy to whip up, making them the perfect appetizer for any occasion. Just wait until you taste that perfect contrast of textures with every bite! Let’s dive into the recipe that will forever change your snacking game.
Why are Cheesy Bacon Crackers a Must-Try?
Simplicity at its finest: With just four ingredients, you can whip up these delicious snacks in no time.
Flavor Explosion: The combination of crispy bacon, melty cheese, and a hint of sweetness from brown sugar creates a mouthwatering taste that’s hard to resist.
Versatile options: Feel free to spice things up with jalapeños or experiment with different cheeses to find your favorite flavor combination.
Perfect for gatherings: Whether it’s game day, a holiday party, or an afternoon nibble, these crackers are sure to impress your guests. Plus, if you have any leftovers, they freeze remarkably well for later enjoyment!
Cheesy Bacon Crackers Ingredients
For the Crackers
• Bacon Strips – Provides a crispy, savory flavor; using thin strips ensures even cooking.
• Crackers – Serve as the sturdy base; club crackers are ideal due to their size and texture.
For the Filling
• Sliced Cheddar Cheese – Adds creaminess and a rich flavor; try gouda for a different twist or omit for a dairy-free version.
• Brown Sugar – Balances the savory notes with a touch of sweetness; coconut sugar can be a great low-calorie alternative.
These simple ingredients will transform your snacks into delicious Cheesy Bacon Crackers that everyone will love!
How to Make Cheesy Bacon Crackers
-
Preheat the oven: Start by preheating your oven to 350°F (177°C). This ensures an even cooking process and helps the bacon crisp up perfectly!
-
Prepare your ingredients: Cut the bacon strips in half and slice the cheddar cheese into 1-inch squares. Make sure the cheese is smaller than the crackers for a nicely compact bite.
-
Assemble the layers: On a baking sheet, place one cracker down, top it with a piece of cheese, and then add another cracker on top, creating a little stack.
-
Wrap with bacon: Take half of a bacon strip and wrap it snugly around your cracker stack. Finish by sprinkling a bit of brown sugar on the ends and top for that sweet touch.
-
Bake: Pop the baking sheet into the preheated oven and bake for 20-25 minutes. Keep an eye out for the bacon to become golden and crispy.
-
Cool and serve: Once baked, allow your Cheesy Bacon Crackers to cool slightly before serving. Enjoy them warm at room temperature for the best flavor!
Optional: Garnish with chopped chives for a fresh touch.
Exact quantities are listed in the recipe card below.
Make Ahead Options
These Cheesy Bacon Crackers are perfect for meal prep enthusiasts! You can assemble the crackers up to 24 hours in advance, ensuring every flavor melds beautifully. To do this, prepare the cheese and bacon-wrapped cracker stacks and place them in an airtight container in the refrigerator. When you’re ready to bake, simply preheat your oven and pop them in for 20-25 minutes until the bacon is crispy. Additionally, if you have leftovers, they can be refrigerated for up to 3 days or frozen for up to one month. Just reheat them at 250°F (121°C) for about 20 minutes for delicious results, making these Cheesy Bacon Crackers a fantastic time-saver for busy weeknights!
Expert Tips for Cheesy Bacon Crackers
-
Choose Quality Bacon: Opt for thick-cut bacon for a richer flavor and better texture. Thin bacon may crisp up too quickly, leading to uneven cooking.
-
Monitor Baking Time: Ovens can vary significantly in temperature; check your crackers around the 20-minute mark to ensure the bacon doesn’t overcook.
-
Don’t Rush Cooling: Allowing the Cheesy Bacon Crackers to cool slightly helps them firm up and makes for easier handling and a better presentation at your gathering.
-
Experiment with Cheese: Try using different cheeses like gouda or pepper jack for added depth of flavor or a hint of spice.
-
Store Wisely: Keep leftover Cheesy Bacon Crackers in an airtight container in the fridge for up to three days, or freeze them for longer storage without losing taste.
Storage Tips for Cheesy Bacon Crackers
Fridge: Store cooled Cheesy Bacon Crackers in an airtight container for up to 3 days. This will help maintain their crispiness and flavor.
Freezer: For longer storage, freeze leftovers in a single layer on a baking sheet, then transfer to a freezer-safe container. They will keep well for up to 1 month.
Reheating: When ready to enjoy again, reheat the frozen crackers in a preheated oven at 250°F for about 20 minutes. This will restore their crunchiness.
Wrap Carefully: If you decide to refrigerate or freeze, be sure to wrap the crackers loosely so that they don’t stick together.
What to Serve with Cheesy Bacon Crackers?
Crafting the perfect meal is all about balance, and these irresistible Cheesy Bacon Crackers will steal the show as a delightful appetizer!
-
Crispy Veggie Sticks: Crisp bell peppers, carrots, and celery provide a refreshing counterpoint to the rich, savory flavors. Their crunch adds a satisfying texture contrast!
-
Creamy Dip: A tangy ranch or blue cheese dip not only complements the crackers but also enhances the savory bacon with creamy indulgence.
-
Refreshing Salad: A light arugula or spinach salad, dressed with lemon vinaigrette, brings a bright note and cuts through the richness of the crackers.
-
Sweet Fruit Platter: Juicy grapes or sliced apples add a naturally sweet touch, balancing the salty notes of bacon while refreshing your palate between bites.
-
Savory Charcuterie Board: Pair these crackers with various cured meats, cheeses, and pickles to create a vibrant spread that encourages mingling and sampling.
-
Cocktails or Mocktails: Sip on a light beer, sparkling wine, or a citrusy cocktail; these drinks perfectly complement the smokiness of the bacon while elevating your gathering’s festive spirit.
Cheesy Bacon Crackers Variations
Feel free to get creative and customize your Cheesy Bacon Crackers to make them truly yours!
-
Spicy Kick: Add jalapeños or red pepper flakes for a fiery twist that complements the savory bacon beautifully. The heat will elevate the flavors to new heights!
-
Cheese Swap: Use gouda, pepper jack, or even a creamy blue cheese to discover unique flavor profiles that delight the palate. Mixing cheeses can create rich, unexpected layers of taste.
-
Sweet Enhancements: Incorporate tiny pineapple chunks or even apple slices between crackers for a surprising burst of sweetness and juiciness. It adds an exciting fruity twist!
-
Herb Infusion: Sprinkle in some dried herbs like oregano or thyme before baking to introduce delightful aromatic notes to your snack. Fresh herbs can elevate the entire dish!
-
Vegan Option: Substitute bacon with coconut bacon and use vegan cheese for a plant-based twist that’s equally indulgent while catering to dietary preferences. It’s a delicious alternative anyone can enjoy!
-
Nutty Addition: Try adding crushed nuts, like pecans or walnuts, between the crackers for an extra crunchy texture that contributes delightful richness to every bite. Nutty flavors mingle perfectly with bacon.
-
Cream Cheese Base: Spread a thin layer of cream cheese on the crackers before layering the cheese and bacon. It creates a luscious and creamy layer that makes the final cracker even more scrumptious!
-
Sweet Heat Glaze: Drizzle a spicy honey glaze on top after baking for a sweet and spicy finishing touch that will leave your guests craving more. This combination is simply irresistible!
Cheesy Bacon Crackers Recipe FAQs
How do I select the best bacon for my Cheesy Bacon Crackers?
Absolutely! Opt for thin-cut bacon strips for even cooking and a crispy texture. Remember, thicker bacon might take longer to cook, so keep an eye on it. Aim for those perfectly crispy bits that make these crackers so irresistible!
How should I store leftover Cheesy Bacon Crackers?
Very important! Allow the crackers to cool completely, then store them in an airtight container in the refrigerator for up to 3 days. This way, they retain their crunch and flavor. If you find you have too many, don’t worry—you can easily freeze them!
Can I freeze Cheesy Bacon Crackers? If so, how?
Absolutely! To freeze, first arrange the cooled crackers in a single layer on a baking sheet and freeze for about 1 hour. Once they’re firm, transfer them to a freezer-safe container, adding parchment paper between layers if needed to avoid sticking. They’ll keep well for up to 1 month. When you’re ready to enjoy them, reheat in a preheated oven at 250°F for about 20 minutes or until heated through.
What are some common issues I might face while making these crackers?
Great question! One common issue is the bacon not crisping evenly. To troubleshoot this, ensure you cut the bacon strips to the appropriate size and wrap them snugly around the cracker stacks. Also, remember every oven is different, so checking them around the 20-minute mark is crucial. If they’re not crispy yet, give them a few more minutes while keeping a watchful eye.
Are Cheesy Bacon Crackers suitable for dietary restrictions?
Definitely! You can adjust the recipe for various dietary needs. For a dairy-free option, simply omit the cheese or substitute it with a dairy-free cheese alternative. If you’re looking for a lower-calorie snack, try using coconut sugar instead of brown sugar. Always check ingredient labels for allergens, especially with the bacon and crackers!
Can I customize the flavors of my Cheesy Bacon Crackers?
The more the merrier! Enhance the recipe by adding sliced jalapeños for a spicy kick or switching up the cheese—try pepper jack for heat or gouda for a rich flavor. You can also sweeten things up by incorporating pineapple chunks between the crackers before wrapping them in bacon. The possibilities are endless!

Cheesy Bacon Crackers: Quick, Irresistible Party Snack
Ingredients
Equipment
Method
- Preheat your oven to 350°F (177°C).
- Cut the bacon strips in half and slice the cheddar cheese into 1-inch squares.
- On a baking sheet, place one cracker down, top it with a piece of cheese, and then add another cracker on top.
- Wrap half of a bacon strip snugly around your cracker stack and sprinkle brown sugar on the ends.
- Bake for 20-25 minutes until the bacon is golden and crispy.
- Allow to cool slightly before serving.


