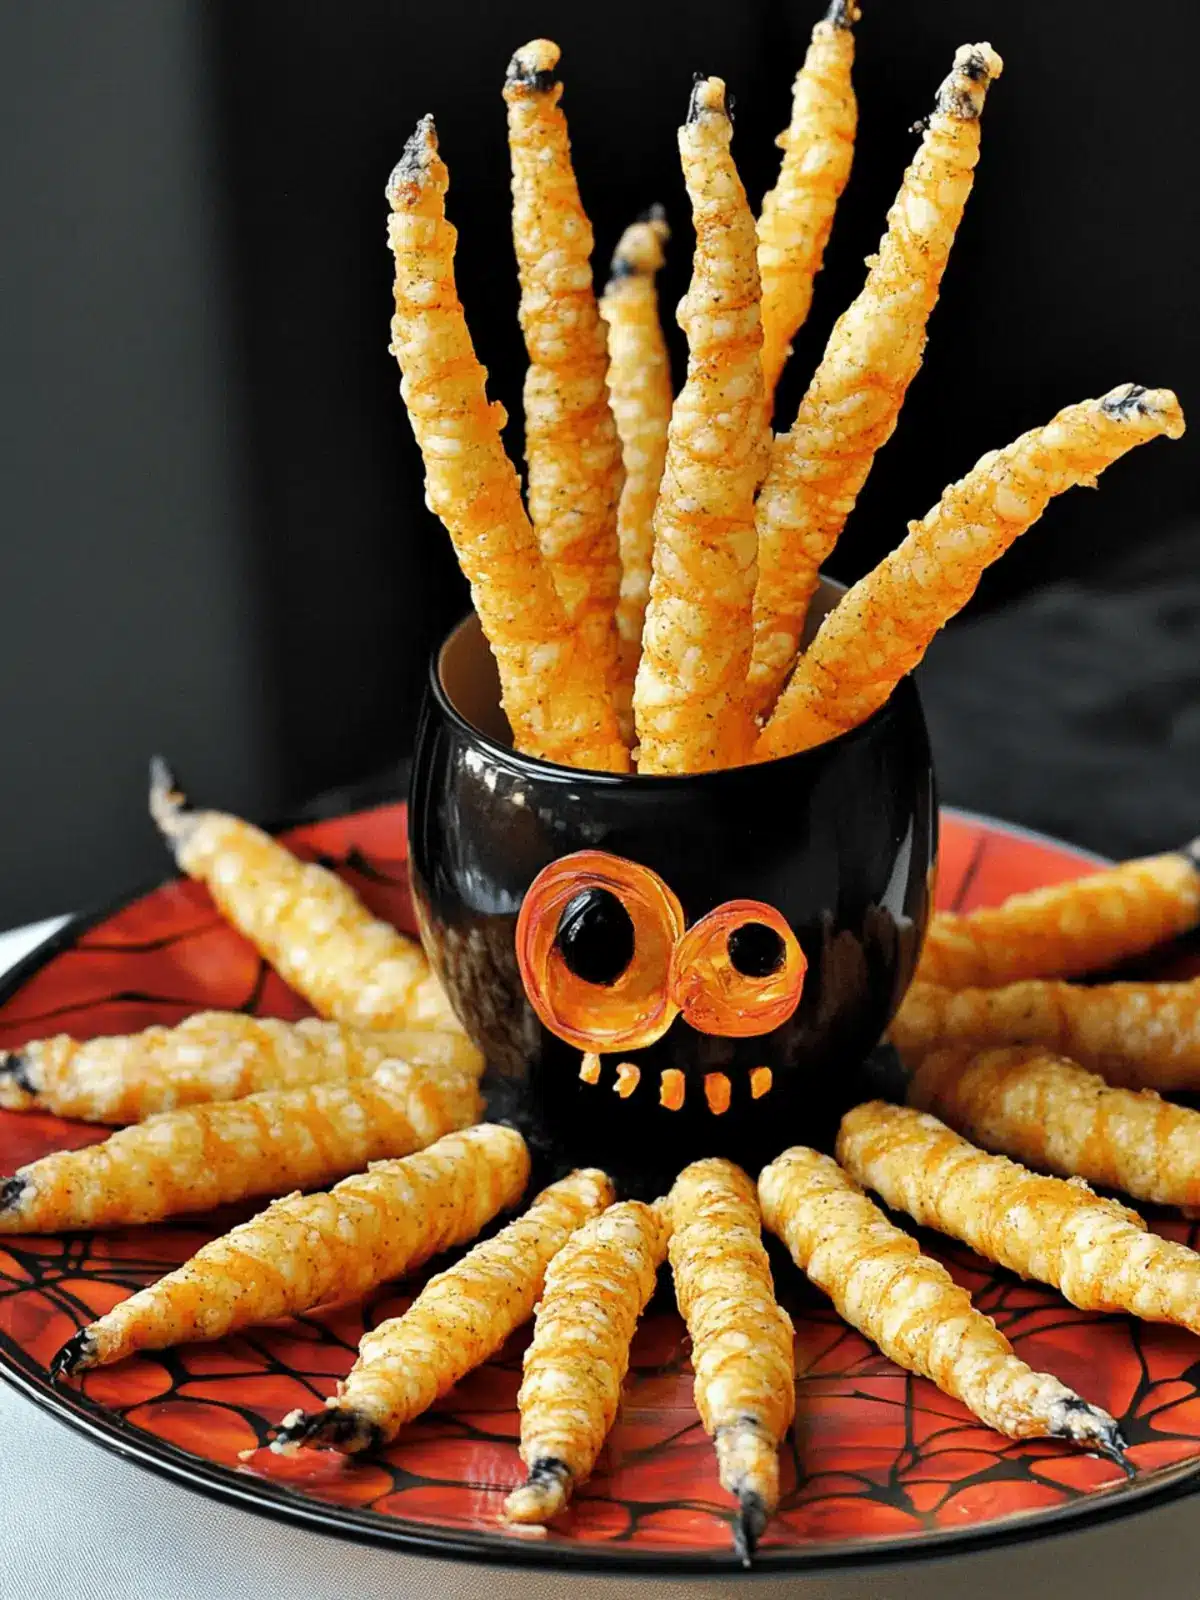
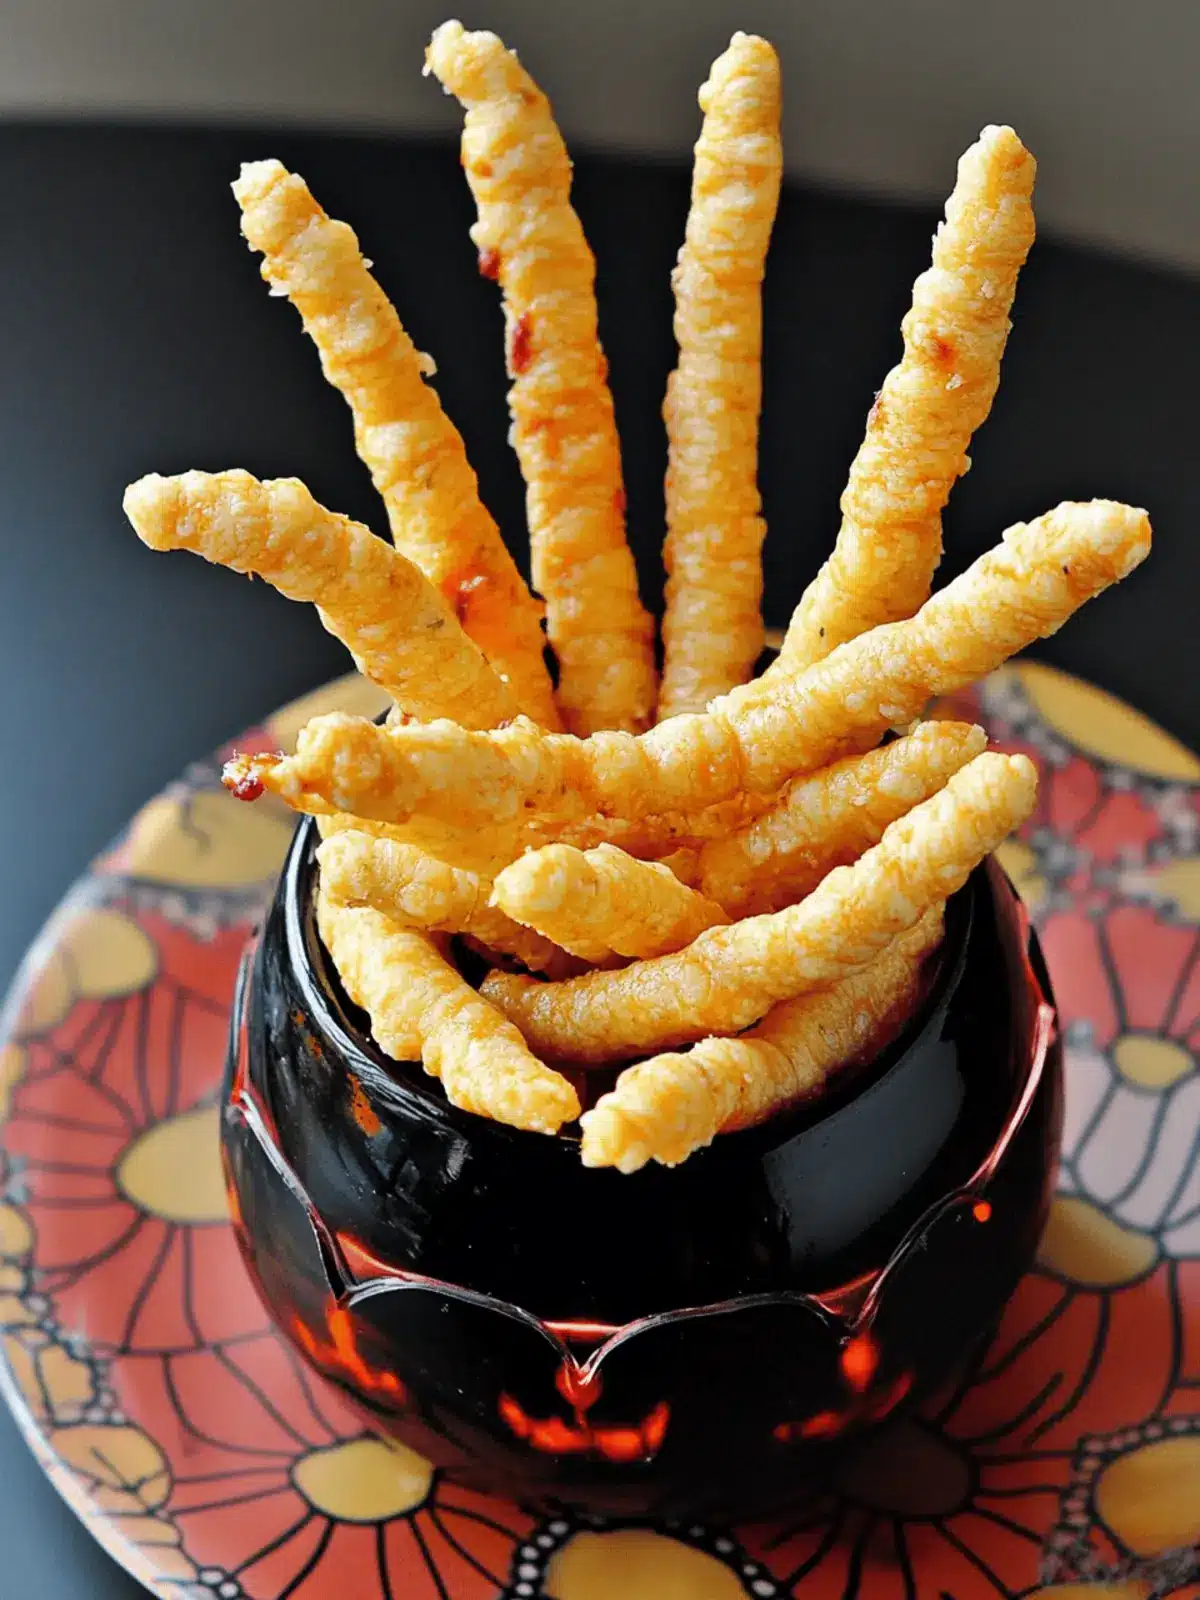
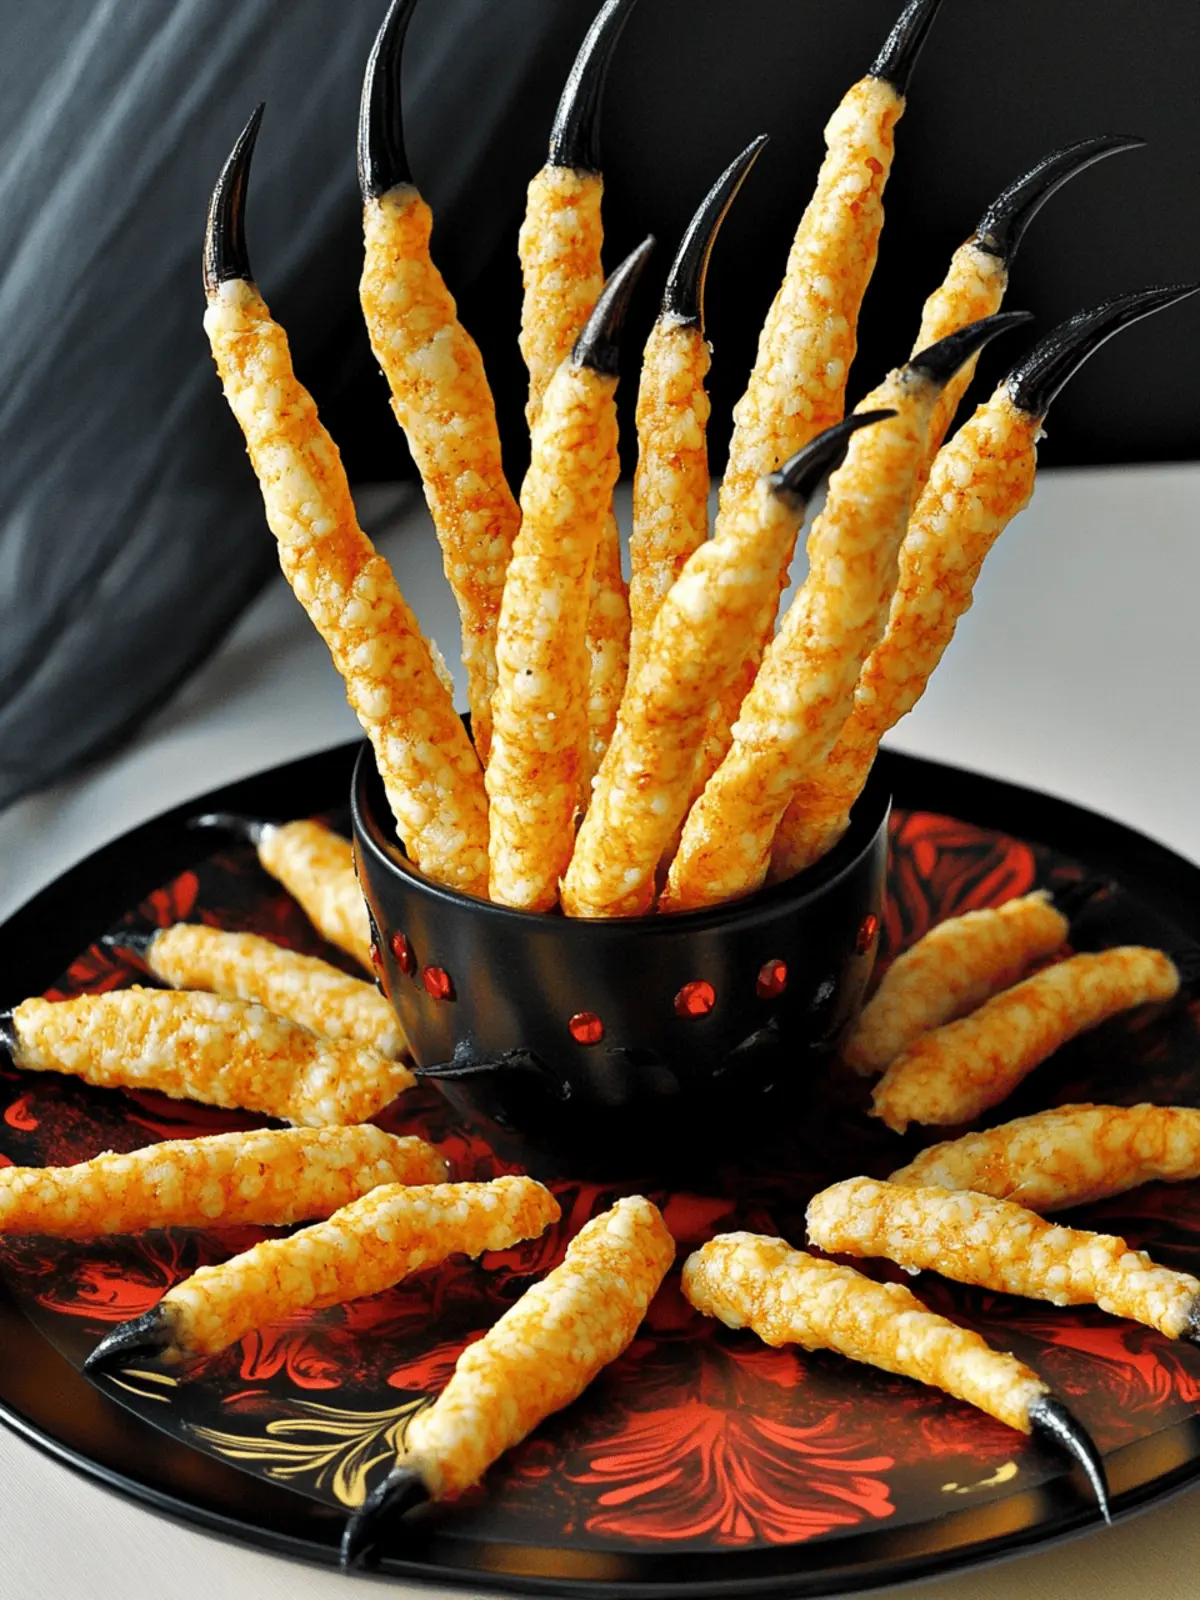
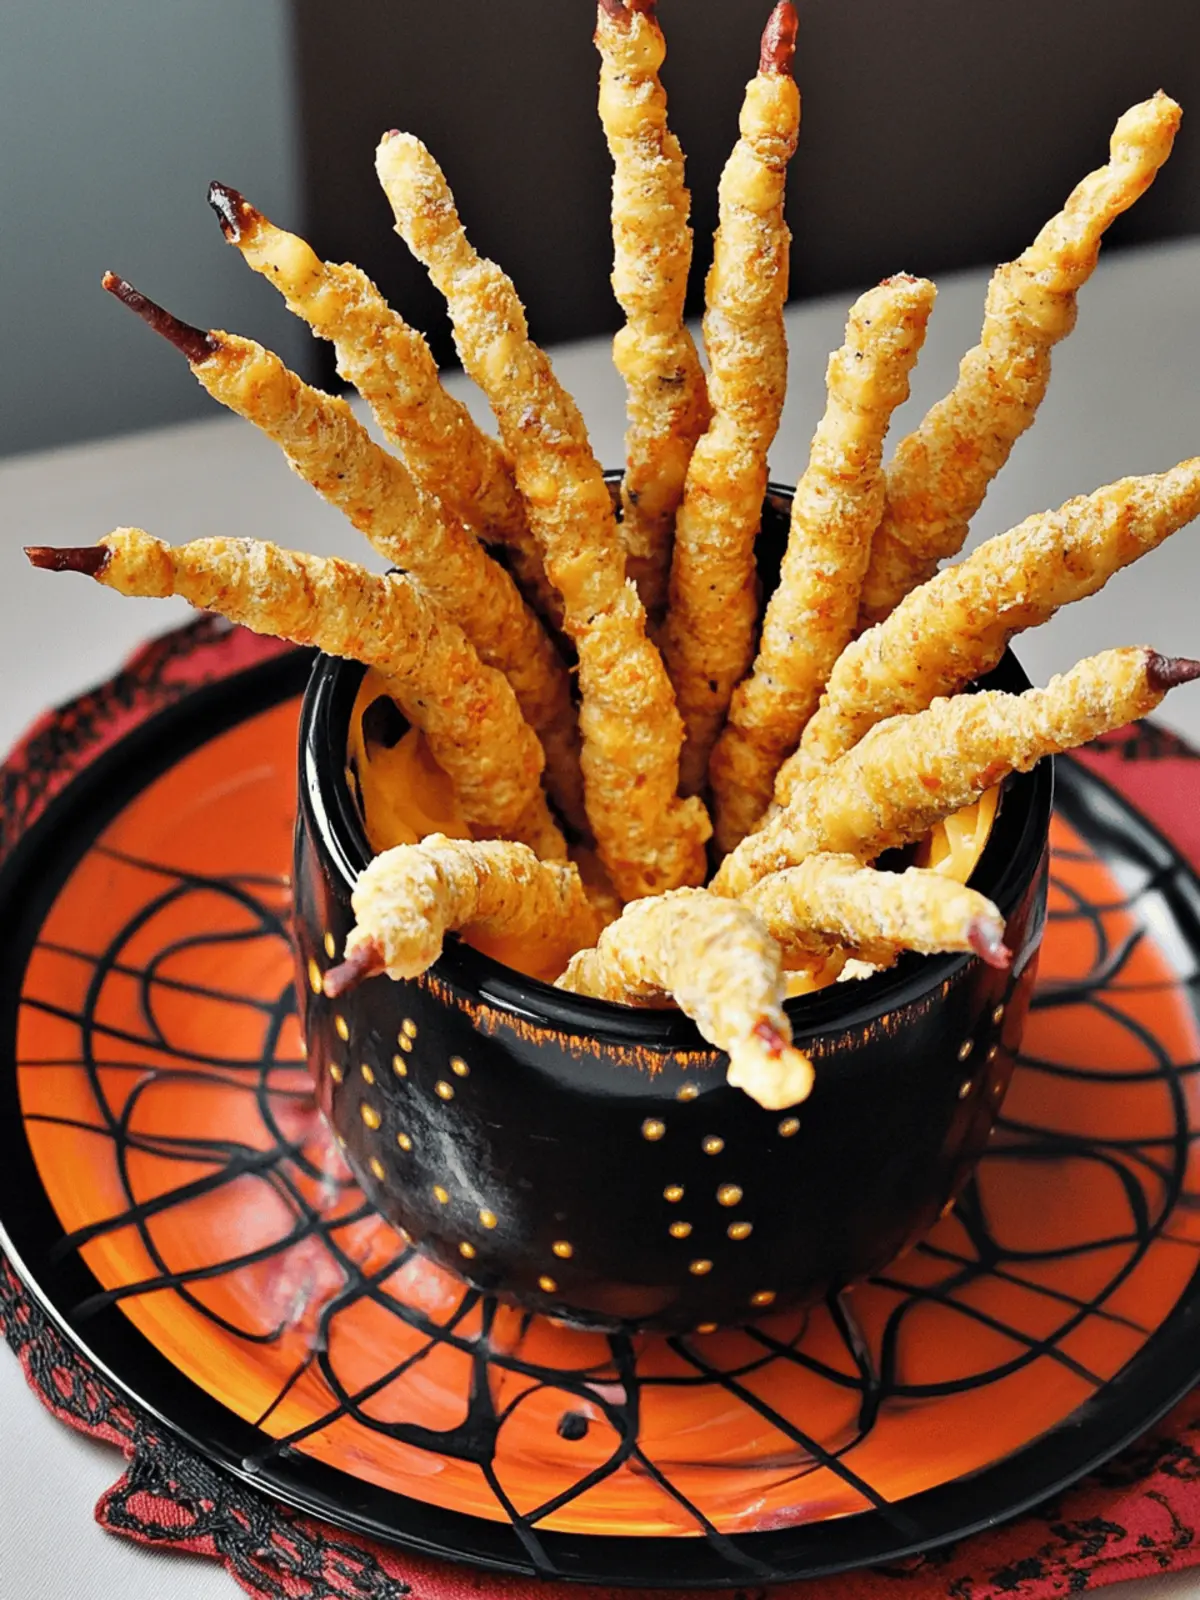
As the days grow shorter and the air fills with the crispness of autumn, my kitchen transforms into a haunted haven. This year, I stumbled upon a delightfully eerie creation: Cheddar Witches’ Fingers, those spooky savory cheese straws that not only elevate any Halloween gathering but also satisfy those savory cravings that sugar-laden treats often leave unmet.
Imagine the enticing aroma of sharp cheddar wafting through your home as you prepare these whimsical hors d’oeuvres. With every crispy bite, you’ll experience the perfect blend of rich cheese and a satisfying crunch, complete with almond “nails” that’ll enchant your guests and keep them coming back for more. Whether you’re hosting a frightful festivity or simply want to impress with your culinary creativity, these Cheddar Witches’ Fingers are sure to cast a delicious spell on all who dare to indulge!
Why will you love Cheddar Witches’ Fingers?
Irresistible Flavor: Prepare to be captivated by the rich, cheesy goodness of these straws, thanks to the extra sharp cheddar that’ll have your taste buds dancing.
Creepy Yet Cute: Their whimsical shape simulates fingers, adding fun and festivity to any Halloween spread—perfect for both kids and adults!
Quick and Easy: With simple ingredients and straightforward steps, you can whip up these treats in no time, making them a go-to for busy hosts.
Versatile Option: Feel free to experiment with different cheeses or spices, like rosemary or cayenne, ensuring your witch fingers stand out at every gathering.
Crowd-Pleasing Delight: These savory snacks are bound to disappear quickly, making them a hit with family and friends. For more awesome appetizers, check out our guide on creative Halloween snacks.
Perfect Make-Ahead Treat: You can prepare the dough in advance and freeze it for easy last-minute baking before your Halloween party!
Cheddar Witches’ Fingers Ingredients
For the Dough
- Unsalted Butter – Provides richness and moisture; substitute with margarine for a dairy-free version.
- Extra Sharp Cheddar Cheese – Ensures a robust cheesy flavor; sharp or mild cheddar can be used as a substitute.
- All-Purpose Flour – Forms the base structure of the straws; use a gluten-free flour blend for a gluten-free option.
- Cornmeal – Adds a slight crunch and texture; can substitute with additional flour if needed.
- Cayenne Pepper (optional) – Offers a pleasant heat; omit for a milder flavor.
- Large Egg – Binds the ingredients together; a flax egg could be used for a vegan option.
- Coarse Salt – Enhances flavor and adds crunch; fine salt is an acceptable alternative.
For Decoration
- Sliced Almonds – Create the “nails” for the fingers, adding a creepy touch; swap with pumpkin seeds for a nut-free option.
- Black Food Coloring Gel (optional) – Used to paint the almonds for a spooky look; feel free to omit for a more natural appearance.
How to Make Cheddar Witches’ Fingers
-
Prepare the Dough: In a food processor, pulse together unsalted butter, extra sharp cheddar cheese, flour, cornmeal, and cayenne until the mixture resembles sandy crumbs. This should take about 30 seconds to a minute.
-
Mix and Chill: Transfer the mixture to a bowl, add the large egg, and mix until the dough holds together. Shape it into a circle, wrap it in parchment paper, and chill in the freezer for 15 minutes to firm up.
-
Roll the Dough: Once chilled, roll the dough out into a rectangle about 1/4 inch thick. Return it to the freezer for another 15 minutes to ensure it’s easy to cut and shape.
-
Prepare the Almonds: If using, paint the sliced almonds with black food coloring gel for a spookier touch and set them aside. This step adds an eerie element to your Cheddar Witches’ Fingers!
-
Cut and Shape: After the dough is well-chilled, cut it into strips. Shape each strip into fingers, and don’t forget to score knuckles with a knife for that extra spooky detail.
-
Press and Bake: Gently press the sliced almonds into the tip of each finger, sprinkle with coarse salt, and place on a baking sheet. Bake at 350°F for about 15 minutes, or until golden brown.
-
Cool and Serve: Remove from the oven and let the cheese straws cool completely on a wire rack before serving. Enjoy these spooky delights with friends and family!
Optional: Serve with a spicy dip for an extra kick.
Exact quantities are listed in the recipe card below.
Make Ahead Options
These Cheddar Witches’ Fingers are perfect for meal prep enthusiasts looking to streamline their Halloween party planning! You can prepare the dough up to 3 days in advance and keep it tightly wrapped in the refrigerator. If you’d like, shape the fingers and arrange them on a baking sheet before chilling them in the freezer for up to 1 month. To maintain quality, ensure the dough is well-wrapped to prevent dryness. When ready to bake, simply remove the desired amount from the freezer, allow them to thaw for a few minutes, and pop them directly into the oven as directed. This way, you can enjoy crispy, cheesy goodness with minimal fuss!
Expert Tips for Cheddar Witches’ Fingers
-
Chill the Dough: Ensure the dough is well-chilled before rolling; this helps maintain the finger shape for those spooky cheese straws.
-
Parchment Paper: Use parchment paper on your baking sheet for easy removal and minimal sticking, making cleanup a breeze.
-
Flavor Boost: For an extra kick, don’t hesitate to incorporate spices like garlic powder or smoked paprika into your dough for the Cheddar Witches’ Fingers.
-
Cutting Tips: Use a sharp knife to cut the strips evenly, which helps them bake uniformly and enhances the captivating look.
-
Almond “Nails”: Gently press the almonds into the dough; this keeps them secure during baking and enhances the creepy effect of your savory snacks.
How to Store and Freeze Cheddar Witches’ Fingers
Room Temperature: Keep baked Cheddar Witches’ Fingers in an airtight container for up to 3 days. Make sure they are completely cool to avoid moisture buildup.
Fridge: For longer freshness, store the cheese straws in the fridge, where they can last for up to a week. Use a sealed container to maintain their crispness.
Freezer: Freeze uncooked dough by wrapping it tightly in plastic wrap and storing it in an airtight bag for up to 3 months. Thaw overnight in the fridge before baking.
Reheating: When you’re ready to enjoy leftover cheese straws, simply reheat them in a preheated 350°F oven for about 5-10 minutes until crispy again.
What to Serve with Cheddar Witches’ Fingers?
Looking to create a spooktacular feast this Halloween? Pair these cheesy, eerie delights with accompaniments that enhance their savory charm!
-
Spicy Dip: A zesty dip like sriracha mayo complements the creaminess of the cheddar, adding a fiery twist that your guests will love.
-
Crispy Veggie Platter: Fresh, crunchy vegetables like carrots and bell peppers balance the richness of the cheese straws, providing a colorful, healthy option on your spooky table.
-
Garlic Herb Hummus: The earthy flavor of garlic and herbs in hummus provides a delightful contrast, making it a perfect match for these whimsical cheese straws.
-
Halloween Themed Drinks: Serve with a refreshing pumpkin spice soda or a spooky potion-like grape soda for a festive and fun drink option!
-
Cheesy Queso: An ooey-gooey cheese dip adds more cheesy delight to your spread while visitors can dunk their fingers into something extra tasty!
-
Chilli Con Carne: If you’re feeling adventurous, a warm bowl of chili offers a heartier pairing that pairs beautifully with the crispy straws, evoking a cozy fall vibe.
Cheddar Witches’ Fingers Variations & Substitutions
Feel free to put your personal spin on these spooky cheese straws and make them your own!
-
Cheese Change: Try Gruyère or Pepper Jack for a new flavor profile that adds a delightful twist. The richness of Gruyère pairs wonderfully with sharp cheddar, while Pepper Jack brings a zesty kick!
-
Herb Infusion: Add dried rosemary or thyme for an aromatic touch that enhances the savory notes. Fresh herbs can elevate these cheesy delights, creating a fragrant experience with each bite.
-
Gluten-Free: Swap the all-purpose flour with a gluten-free flour blend for a delicious alternative. Your gluten-sensitive friends won’t even know the difference as they enjoy these flavorful treats!
-
Nut-Free: Replace sliced almonds with pumpkin seeds for a nut-free version that retains the spooky nail effect. The seeds provide an equally satisfying crunch while ensuring everyone can enjoy them safely.
-
Spicy Kick: Increase the cayenne or incorporate crushed red pepper flakes for a fiery version. If your guests like a bit of heat, they’ll be thrilled with these tantalizing cheese straws!
-
Colorful Impressions: Instead of black food coloring, use beet juice or turmeric for a natural hue on the “nails.” It keeps the eerie aesthetic while adding a touch of wellness to your treats.
-
Vegan Variation: For a vegan-friendly option, use a flax egg in place of the regular egg and a dairy-free cheese. Your festivities can still be spooky and inclusive with this delicious variation!
-
Savory Seeds: Sprinkle some sesame seeds or poppy seeds into the dough for an added layer of texture and flavor. These tiny seeds pack a punch, enhancing both the appearance and taste of your Witches’ fingers!
Cheddar Witches’ Fingers Recipe FAQs
How do I choose the right cheese for Cheddar Witches’ Fingers?
Absolutely! For the best flavor, opt for extra sharp cheddar cheese, as it provides a robust taste. If you prefer a milder flavor, sharp or even mild cheddar can do the trick. Don’t hesitate to experiment with different cheeses like Gruyère or Pepper Jack for a unique twist!
What’s the best way to store baked Cheddar Witches’ Fingers?
Very! Store them in an airtight container at room temperature for up to 3 days. To keep them extra fresh, you can refrigerate them for up to a week, ensuring they maintain their delicious crunch!
Can I freeze the dough for Cheddar Witches’ Fingers?
Certainly! To freeze the uncooked dough, first wrap it tightly in plastic wrap and then place it in an airtight freezer bag. It can stay frozen for up to 3 months. When you’re ready to bake, just thaw it overnight in the fridge before rolling out and shaping.
What should I do if my Cheddar Witches’ Fingers are coming out too soft?
If your straws are too soft, it’s likely that the dough wasn’t chilled enough before rolling. Always remember to chill the dough properly for at least 15 minutes in the freezer before cutting! This helps them hold their spooky finger shape. If you find they are still too soft after baking, consider baking them a couple of extra minutes; just keep an eye on them to prevent burning.
Are Cheddar Witches’ Fingers suitable for people with nut allergies?
Absolutely! If you want to avoid almonds for allergy reasons, simply substitute them with pumpkin seeds, which can create a similar creepy look without the nuts. Also, make sure to check your cheese and other ingredients for hidden allergens.
How can I make Cheddar Witches’ Fingers vegan?
To transform this recipe into a vegan option, substitute the large egg for a flax egg (1 tablespoon of flaxseed meal mixed with 2.5 tablespoons of water, let it sit for about 5-10 minutes until it thickens). Additionally, use vegan butter and a dairy-free cheese alternative in place of cheddar. The spooky flavor will still shine through!

Cheddar Witches’ Fingers: Hocus Pocus Cheese Straws!
Ingredients
Equipment
Method
- In a food processor, pulse together unsalted butter, extra sharp cheddar cheese, flour, cornmeal, and cayenne until the mixture resembles sandy crumbs.
- Transfer mixture to a bowl, add the large egg, and mix until the dough holds together. Shape into a circle, wrap in parchment paper, and chill in the freezer for 15 minutes.
- Roll the dough out into a rectangle about 1/4 inch thick. Return to freezer for another 15 minutes.
- If using, paint the sliced almonds with black food coloring gel for a spookier touch and set aside.
- Cut the dough into strips and shape into fingers, scoring knuckles with a knife for extra detail.
- Press the sliced almonds into the tip of each finger, sprinkle with coarse salt, and place on a baking sheet.
- Bake at 350°F for about 15 minutes, or until golden brown.
- Remove from oven and let cool completely on a wire rack before serving.


