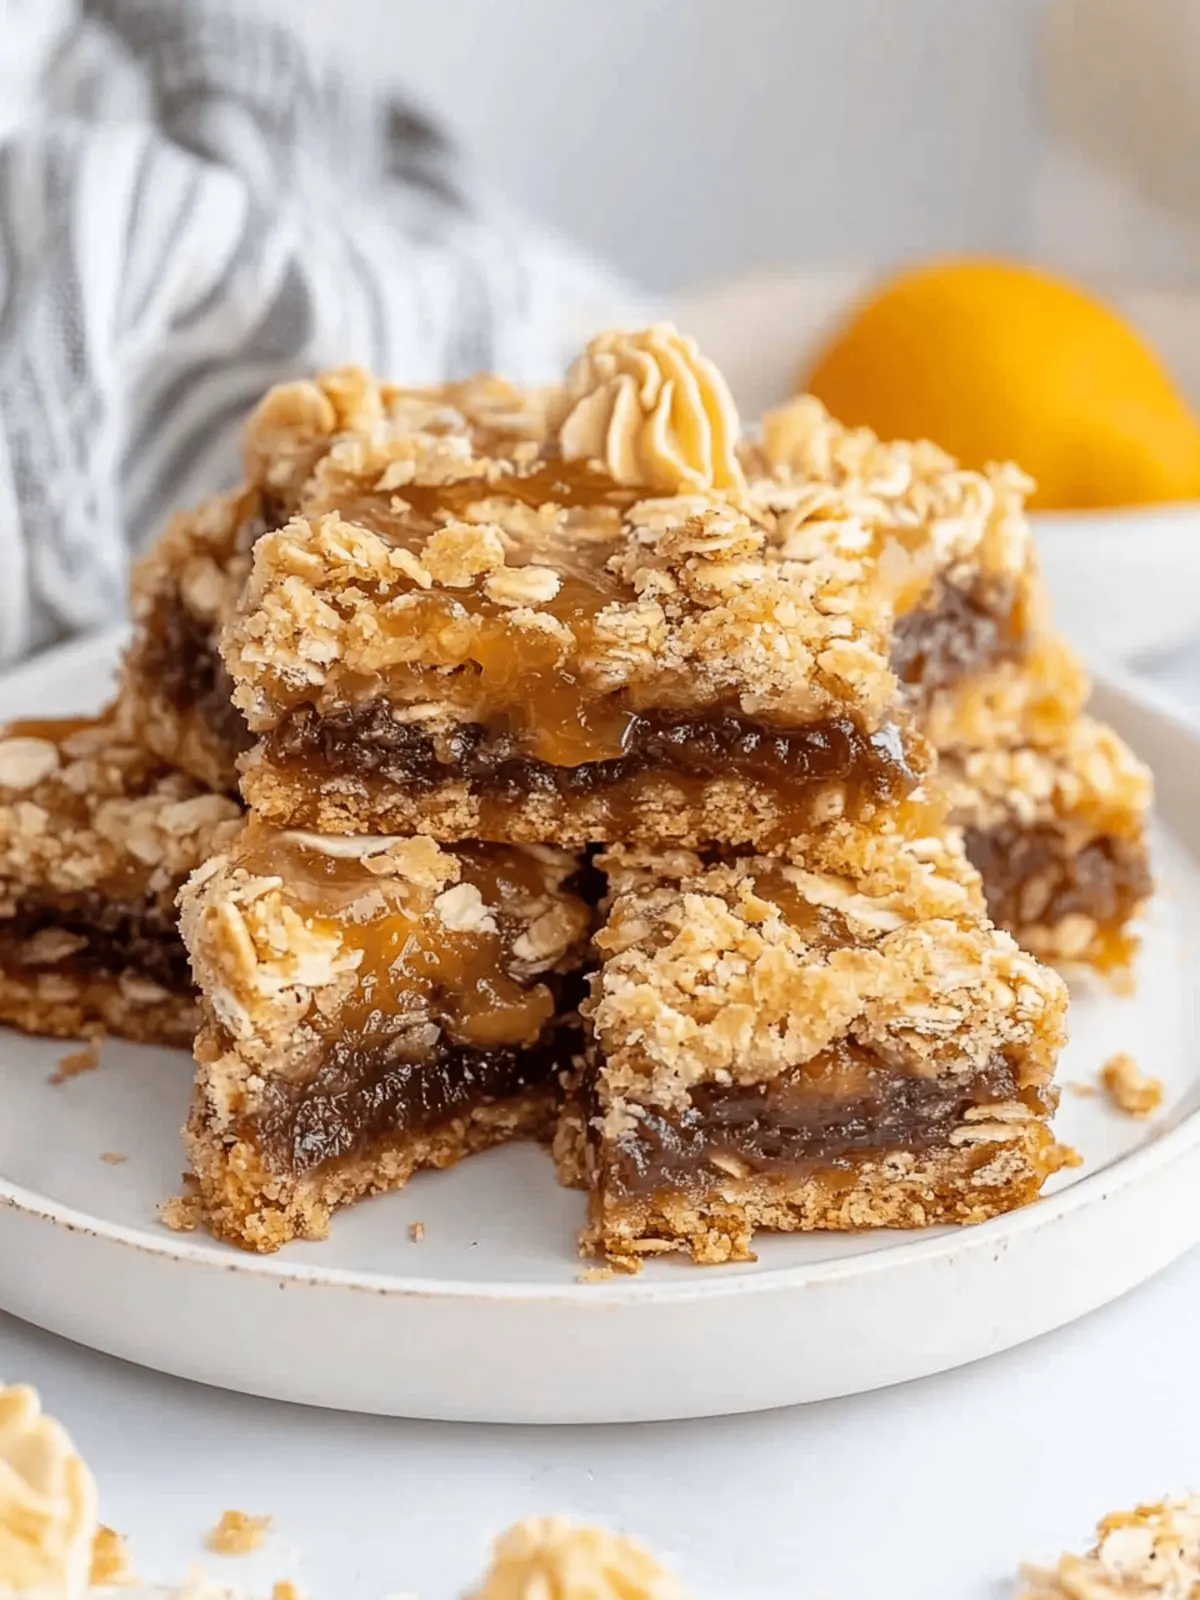
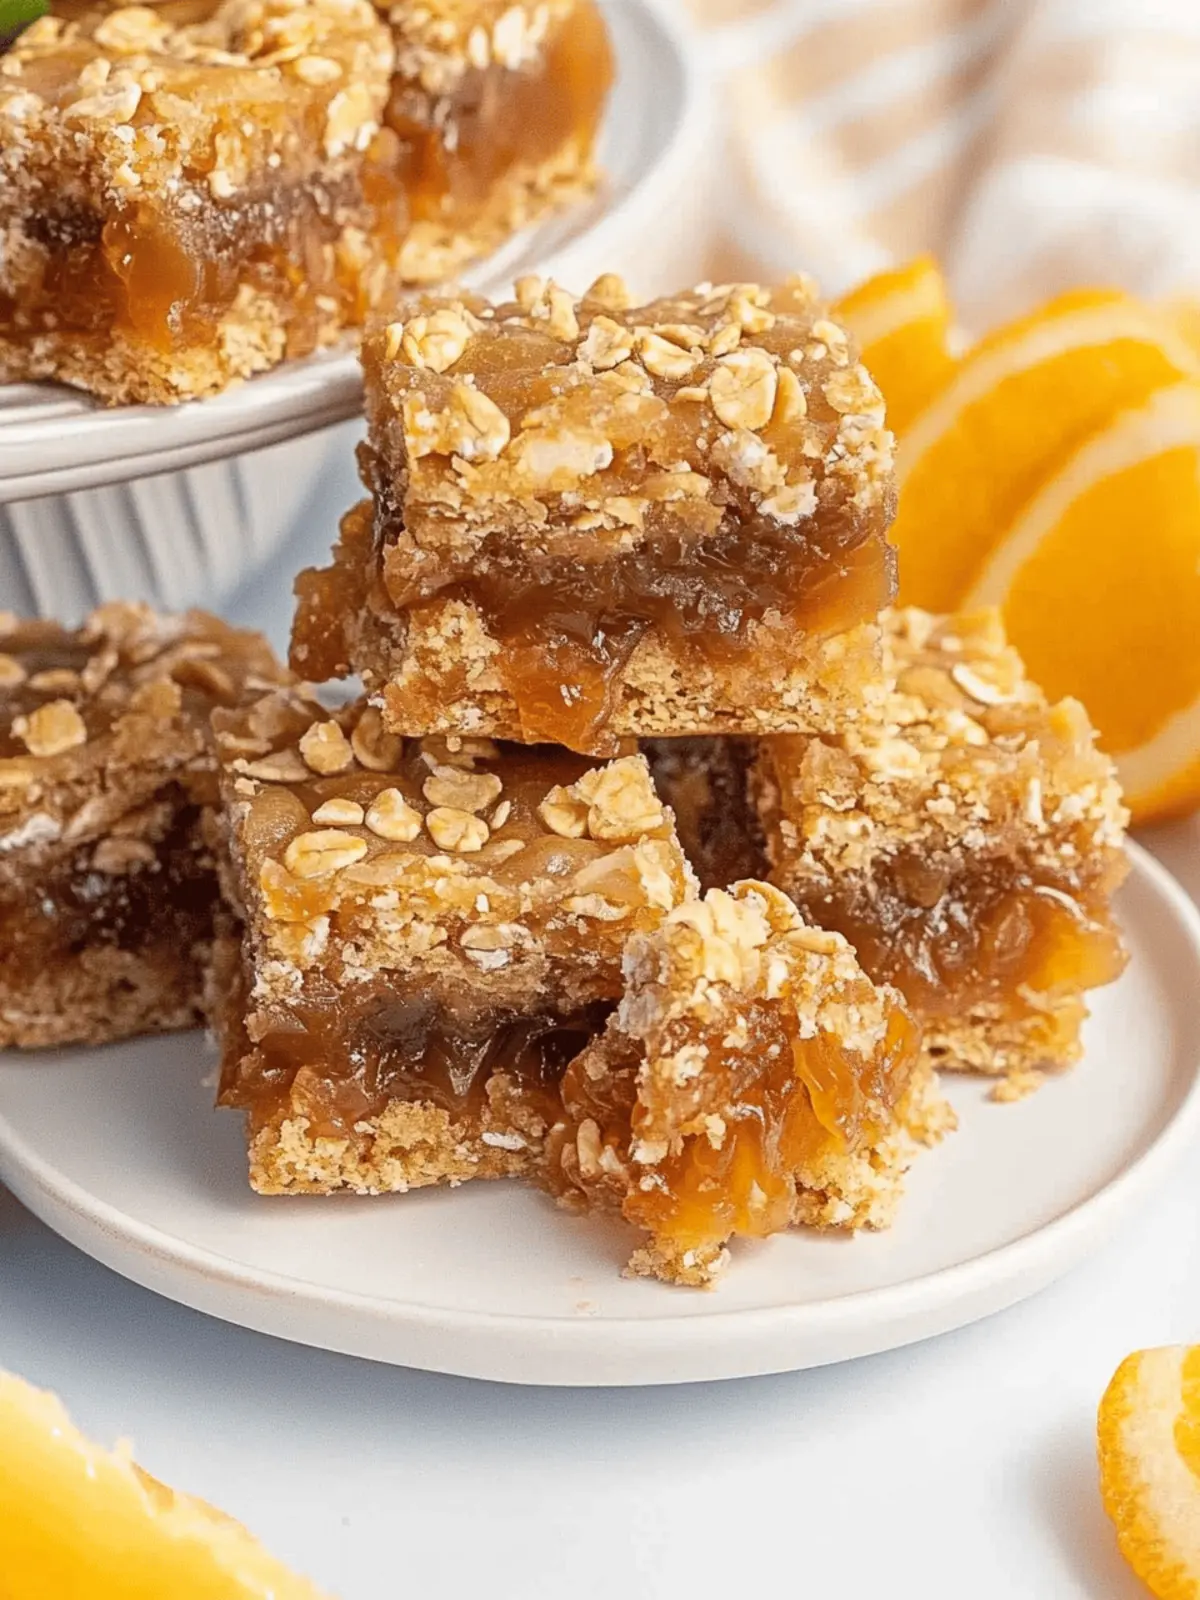
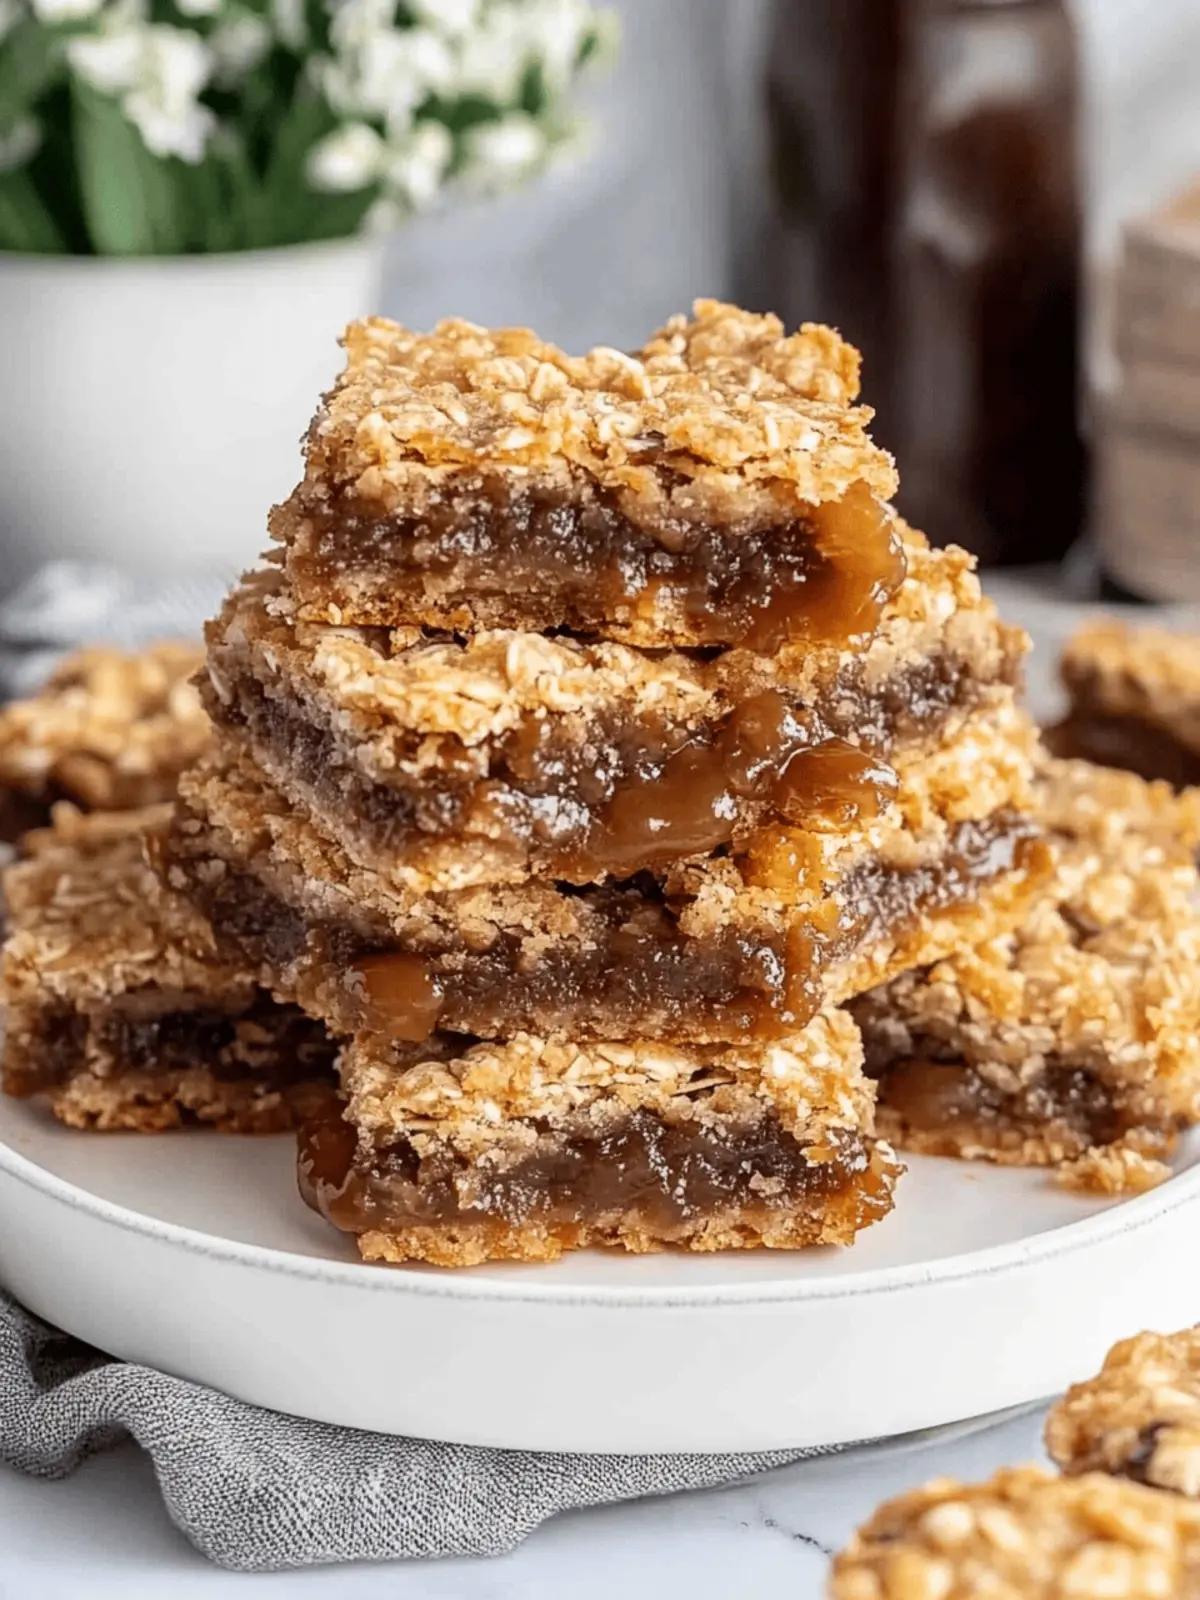
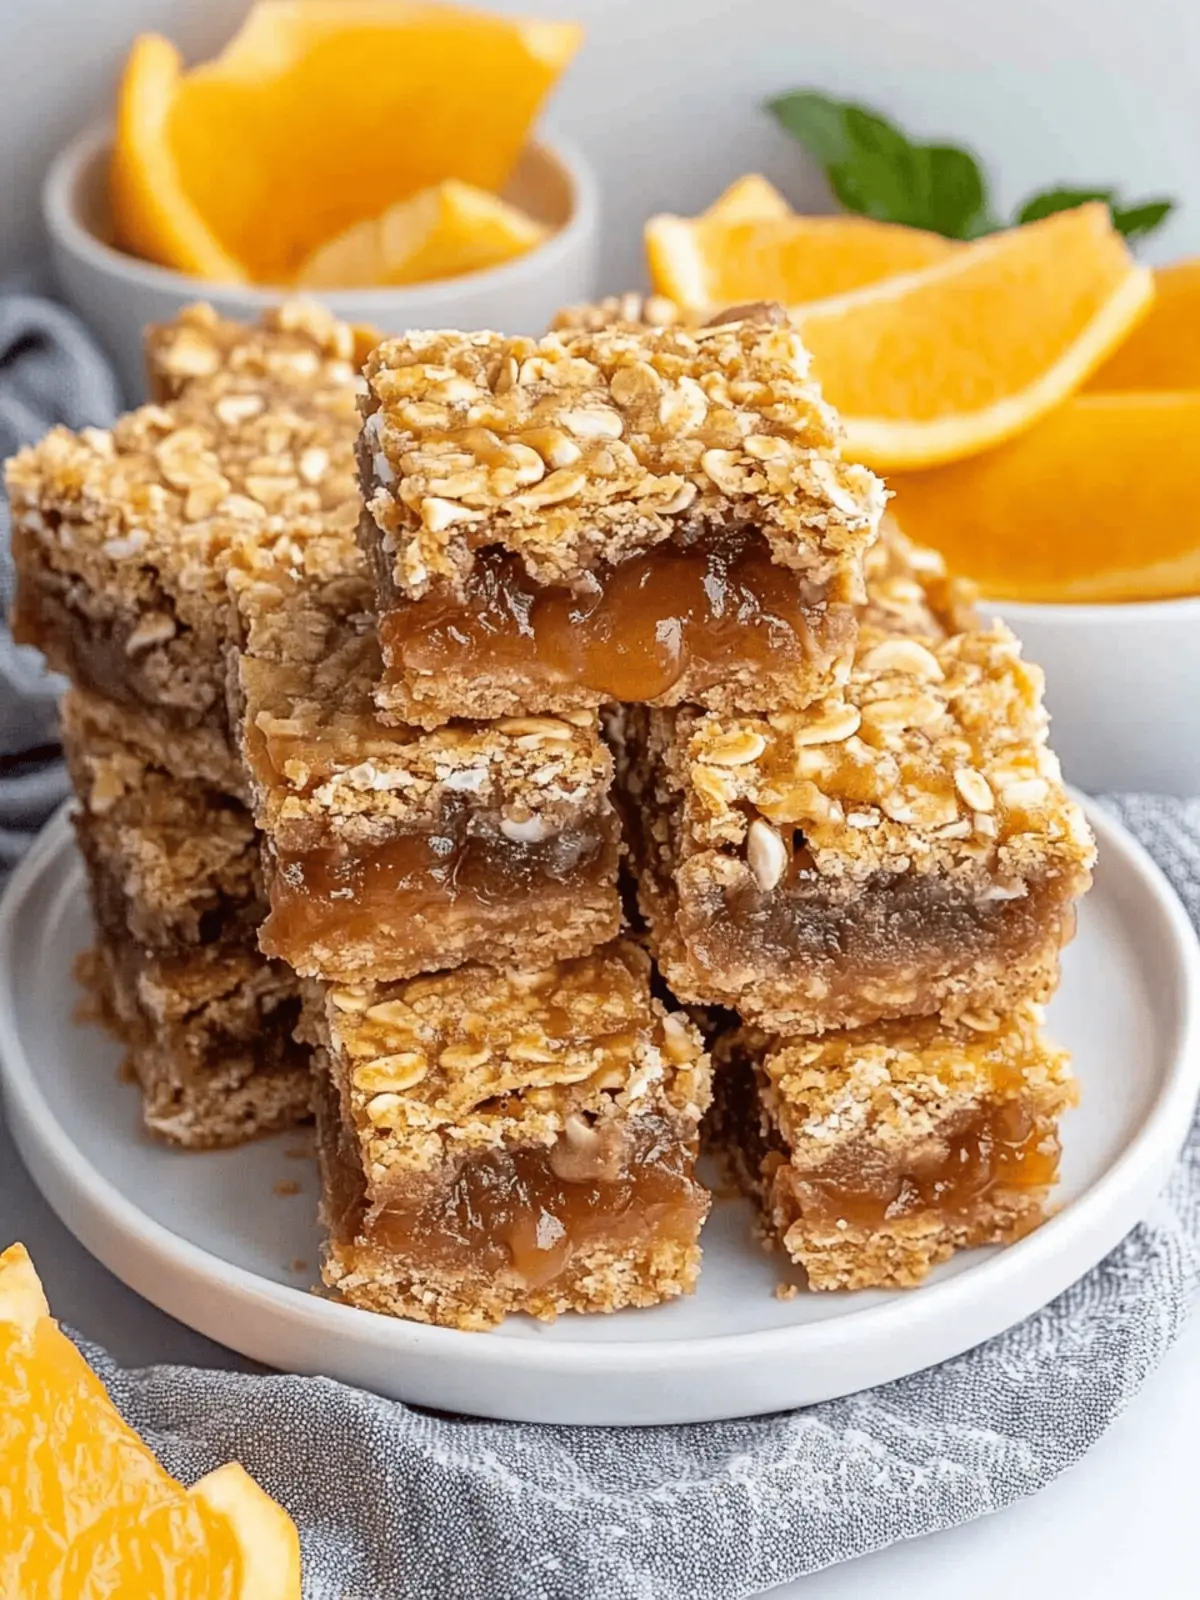
There’s nothing quite like walking into a kitchen filled with the comforting scent of fresh-baked cookies, particularly when those cookies are a delightful combination of oatmeal, chocolate, and luscious caramel. Just the thought of my Oatmeal Chocolate Caramel Cookies—affectionately known as Carmelitas—brings a smile to my face. They offer a splendid twist on classic treats, expertly balancing the chewy texture of oats with rich chocolatey goodness and a gooey caramel surprise in the center.
After a long week, I often find solace in whipping up a batch of these cookies. Whether you’re pairing them with a cup of coffee for a quiet afternoon or serving them at a gathering where everyone’s sweet tooth is on high alert, these Carmelitas are guaranteed to take center stage. With a minimal prep effort, you’ll impress not just yourself, but also family and friends, leaving them in awe of your baking prowess! Ready to dive into this delicious adventure? Let’s get started!
Why will you love these Carmelitas?
Irresistible flavors await! These Carmelitas are the perfect blend of chewy oats and melted chocolate, complemented by a gooey caramel center that’ll have everyone asking for seconds. Simple and quick, you can whip them up without any fuss, making them ideal for busy days. Versatile and crowd-pleasing, they shine at parties or cozy family nights. Plus, who can resist the heavenly aroma wafting through your home? As you indulge in these sweet delights, consider pairing them with a warm cup of coffee for the ultimate treat!
Carmelitas Ingredients
For the Cookie Base
• All purpose flour – ensures a soft, chewy texture that pairs wonderfully with the oats.
• Old fashioned oats – adds heartiness and a delightful chewiness to each bite.
• Salted butter – contributes rich flavor and helps bind the ingredients together.
• Light brown sugar – provides moisture and a subtle caramel taste to the cookies.
• Pure vanilla extract – adds a warm, aromatic quality that enhances the overall flavor.
• Baking soda – helps the cookies rise, keeping them soft and tender.
• Kosher salt – balances the sweetness and enhances the flavors throughout.
For the Filling
• Milk chocolate chips – adds a creamy, sweet chocolate flavor that melts beautifully.
• Individually wrapped caramels – the star of the show, melting into a gooey filling that’ll make your Carmelitas unforgettable!
• Heavy cream – ensures a silky smooth caramel mixture that drizzles perfectly over the cookie base.
How to Make Carmelitas
-
Preheat your oven to 350°F (175°C). This step is crucial to ensure your Carmelitas bake evenly and develop that beautiful golden color.
-
Combine the dry ingredients. In a large bowl, mix together the flour, oats, melted butter, brown sugar, vanilla extract, baking soda, and salt until everything is well blended.
-
Fold in the chocolate chips. Gently stir these delightful morsels into the mixture to make sure they’re evenly distributed throughout the dough.
-
Press the dough into the bottom of a baking pan. Use your fingers or a spatula to create an even layer, ensuring it’s nice and compact for a sturdy cookie base.
-
Melt the caramels. In a saucepan over medium heat, combine the wrapped caramels and heavy cream, stirring continuously until the mixture is smooth and free of lumps.
-
Pour the caramel mixture over the cookie base. Make sure to cover the entire surface to create pockets of gooey goodness throughout your Carmelitas.
-
Bake in the preheated oven for about 25 minutes. Look for a lightly golden finish, which indicates they’re ready to come out.
-
Cool the cookies before cutting them into squares. This will allow the caramel to set slightly, making them easier to handle and serving up a beautiful presentation.
Optional: Sprinkle a pinch of sea salt on top for a delightful contrast.
Exact quantities are listed in the recipe card below.
How to Store and Freeze Carmelitas
Room Temperature: Store completely cooled Carmelitas in an airtight container at room temperature for up to 3 days to maintain their chewy texture.
Fridge: If you need them to last longer, refrigerate the Carmelitas in a sealed container for up to a week. Just be aware that refrigeration may slightly change their texture.
Freezer: For extended storage, wrap individual squares in plastic wrap and place them in a freezer-safe bag. They can be frozen for up to 2 months, allowing you to enjoy these treats anytime.
Reheating: To enjoy a warm Carmelita, reheat in the microwave for 10-15 seconds or in the oven at 350°F (175°C) for about 5 minutes, restoring that delightful gooeyness!
Expert Tips for Perfect Carmelitas
• Measure Accurately: Ensure precise measurements for the flour and oats, as too much can lead to dry cookies.
• Room Temperature: Use ingredients at room temperature, like butter, to ensure a smooth dough that mixes well.
• Layer Evenly: When pressing the dough into the pan, make sure it’s even. This guarantees uniform baking and texture across all cookies.
• Cool Before Cutting: Let your Carmelitas cool completely before cutting. This allows the caramel to firm up, preventing messy squares.
• Customize Sweetness: Feel free to adjust the amount of caramel for a more or less gooey center, catering to your personal preference!
What to Serve with Carmelitas?
Creating the perfect dessert experience is all about pairing these delectable treats with complementary flavors and textures.
-
Fresh Berries: A burst of juicy blueberries or raspberries balances the sweetness and adds a refreshing contrast that brightens each bite.
-
Vanilla Ice Cream: The creamy, smooth texture of vanilla ice cream paired with warm Carmelitas creates an indulgent treat that’s hard to resist.
-
Coffee: A robust cup of coffee enhances the rich chocolate flavors of the cookies while providing a delightful warmth, making it ideal for a cozy afternoon.
-
Dark Chocolate Drizzle: A sprinkle of dark chocolate drizzle over your Carmelitas adds a rich depth that makes every bite feel even more luxurious.
-
Salted Caramel Sauce: For the truly adventurous, a drizzle of salted caramel sauce on top brings an extra layer of sweetness and a delightful hint of saltiness.
-
Chai Tea: The warm spices of chai complement the caramel and oats, creating a comforting pairing perfect for chilly evenings with family or friends.
-
Whipped Cream: Soft, airy whipped cream can be dolloped on the side, adding a lovely texture and a light sweetness to balance out the richer cookie flavors.
-
Chocolate Milk: A glass of chocolate milk extends the treat experience, enhancing the chocolate notes while delighting both kids and adults alike!
-
Chewy Granola Bars: For a fun twist, serve alongside chewy granola bars which echo the oatmeal texture while introducing nutty flavors that harmonize beautifully.
Make Ahead Options
These Carmelitas are a fantastic choice for meal prep, allowing you to enjoy their deliciousness with minimal hassle. You can prepare the cookie base up to 24 hours in advance; simply press the dough into your baking pan, cover it tightly with plastic wrap, and refrigerate to maintain freshness. Additionally, the caramel mixture can be made and stored in an airtight container for up to 3 days in the fridge—just warm it slightly in the microwave before pouring it over the cookie base. When you’re ready to bake, simply layer the caramel over the chilled cookie base and pop it into the oven. This prep-ahead strategy ensures your Carmelitas taste just as delightful as when freshly made, saving you time for more important moments with loved ones!
Carmelitas Variations & Substitutions
Feel free to let your creativity shine as you explore these exciting twists on the classic Carmelitas!
-
Gluten-Free: Substitute all-purpose flour with a 1:1 gluten-free flour blend for an equally delicious treat.
-
Nutty Bliss: Add ½ cup of chopped pecans or walnuts for added crunch and a delightful nutty flavor that complements the caramel.
-
Oat-Free: Swap oats for crushed graham crackers to create a different texture and flavor, giving your cookies a delightful twist!
-
Dark Chocolate: Use dark chocolate chips instead of milk chocolate for a richer, more intense flavor that chocolate lovers will adore.
-
Caramel Sauce: Replace individually wrapped caramels with homemade caramel sauce for a smooth, flowing filling that brings even more richness.
-
Spicy Kick: Incorporate a pinch of cayenne pepper or cinnamon into the dough for a surprising warmth that elevates the sweetness.
-
Dairy-Free: Use coconut oil instead of butter and almond milk instead of heavy cream to create a dairy-free version.
-
Fruit Fusion: Add ½ cup of chopped dried fruits like cranberries or cherries to the dough for a splash of tartness that balances the sweetness beautifully.
Oatmeal Chocolate Caramel Cookies Recipe FAQs
How do I select ripe ingredients for these cookies?
Absolutely! For the best results, use fresh, high-quality ingredients. The oats should be old-fashioned and not quick-cooking, as they provide the ideal texture. Use salted butter for a richer flavor, and make sure your chocolate chips are semi-sweet or milk chocolate to balance the sweetness of the caramel perfectly.
What is the best way to store Carmelitas?
You can store your cooled Carmelitas in an airtight container at room temperature for up to 3 days. If you want to keep them fresh longer, place them in the fridge in a sealed container for up to a week. They might lose a bit of their chewy texture when refrigerated, so be mindful of that!
Can I freeze Carmelitas, and how?
Yes, you can absolutely freeze your Carmelitas! It’s quite simple: wrap each square in plastic wrap and place them in a freezer-safe bag. Make sure to squeeze out any excess air to prevent freezer burn. They can be stored for up to 2 months, making them a great treat ready for when you need a sweet pick-me-up!
What if my cookies are too dry or crumbly?
If you find that your Carmelitas are turning out dry, it might be due to too much flour. To fix this, reduce the flour by a couple of tablespoons next time or ensure you’re measuring correctly by using the spoon-and-level method. Also, using room temperature butter can help create a smoother dough, which results in a chewier texture.
Are there any dietary considerations for pets or allergies?
Indeed! These Carmelitas contain ingredients like chocolate, which is toxic for dogs and some other pets, so be sure to keep them out of reach. Additionally, if you or your loved ones have allergies, consider substituting chocolate chips with dairy-free or nut-free options. Always check ingredient labels for allergens!

Irresistible Carmelitas: Chewy, Chocolatey Bliss at Home
Ingredients
Equipment
Method
- Preheat your oven to 350°F (175°C).
- Combine the dry ingredients: In a large bowl, mix the flour, oats, melted butter, brown sugar, vanilla extract, baking soda, and salt until well blended.
- Fold in the chocolate chips, stirring gently to ensure even distribution throughout the dough.
- Press the dough into the bottom of a baking pan to create an even layer for the cookie base.
- Melt the caramels: In a saucepan over medium heat, combine the wrapped caramels and heavy cream, stirring continuously until smooth.
- Pour the caramel mixture over the cookie base, covering the entire surface.
- Bake for about 25 minutes until lightly golden.
- Cool the cookies before cutting them into squares.


