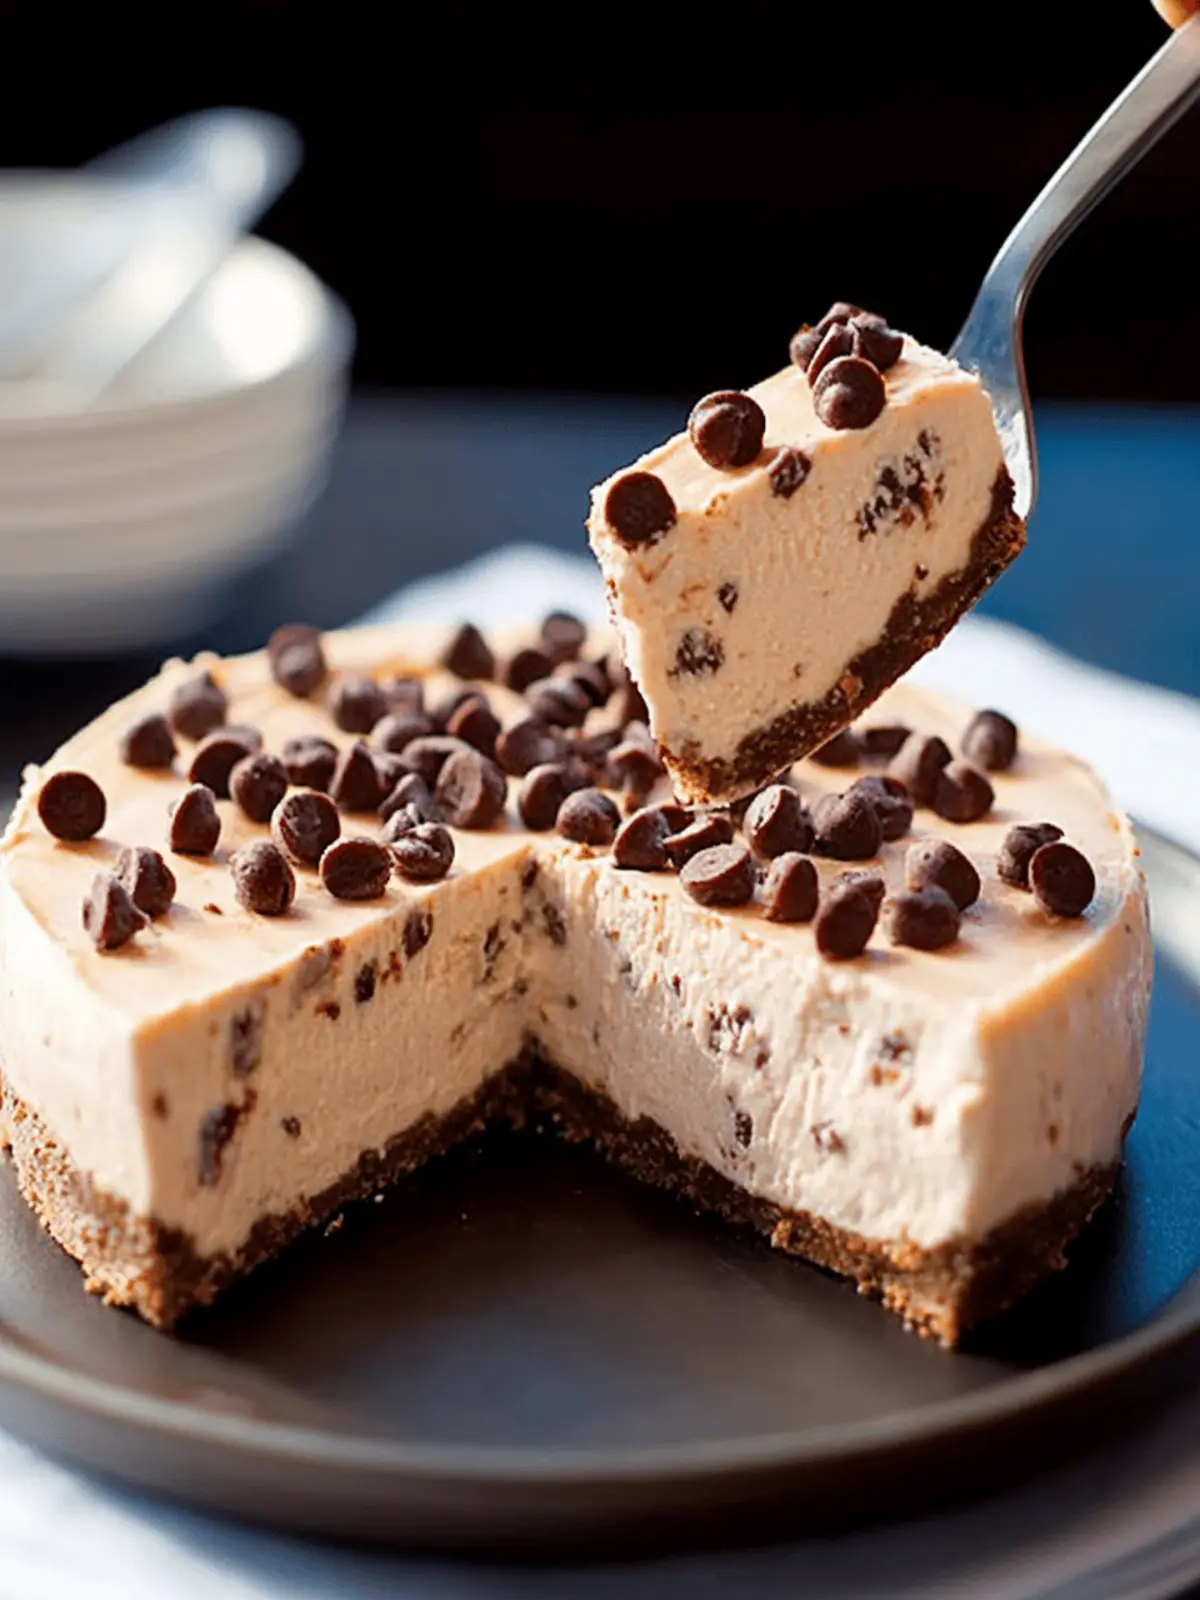
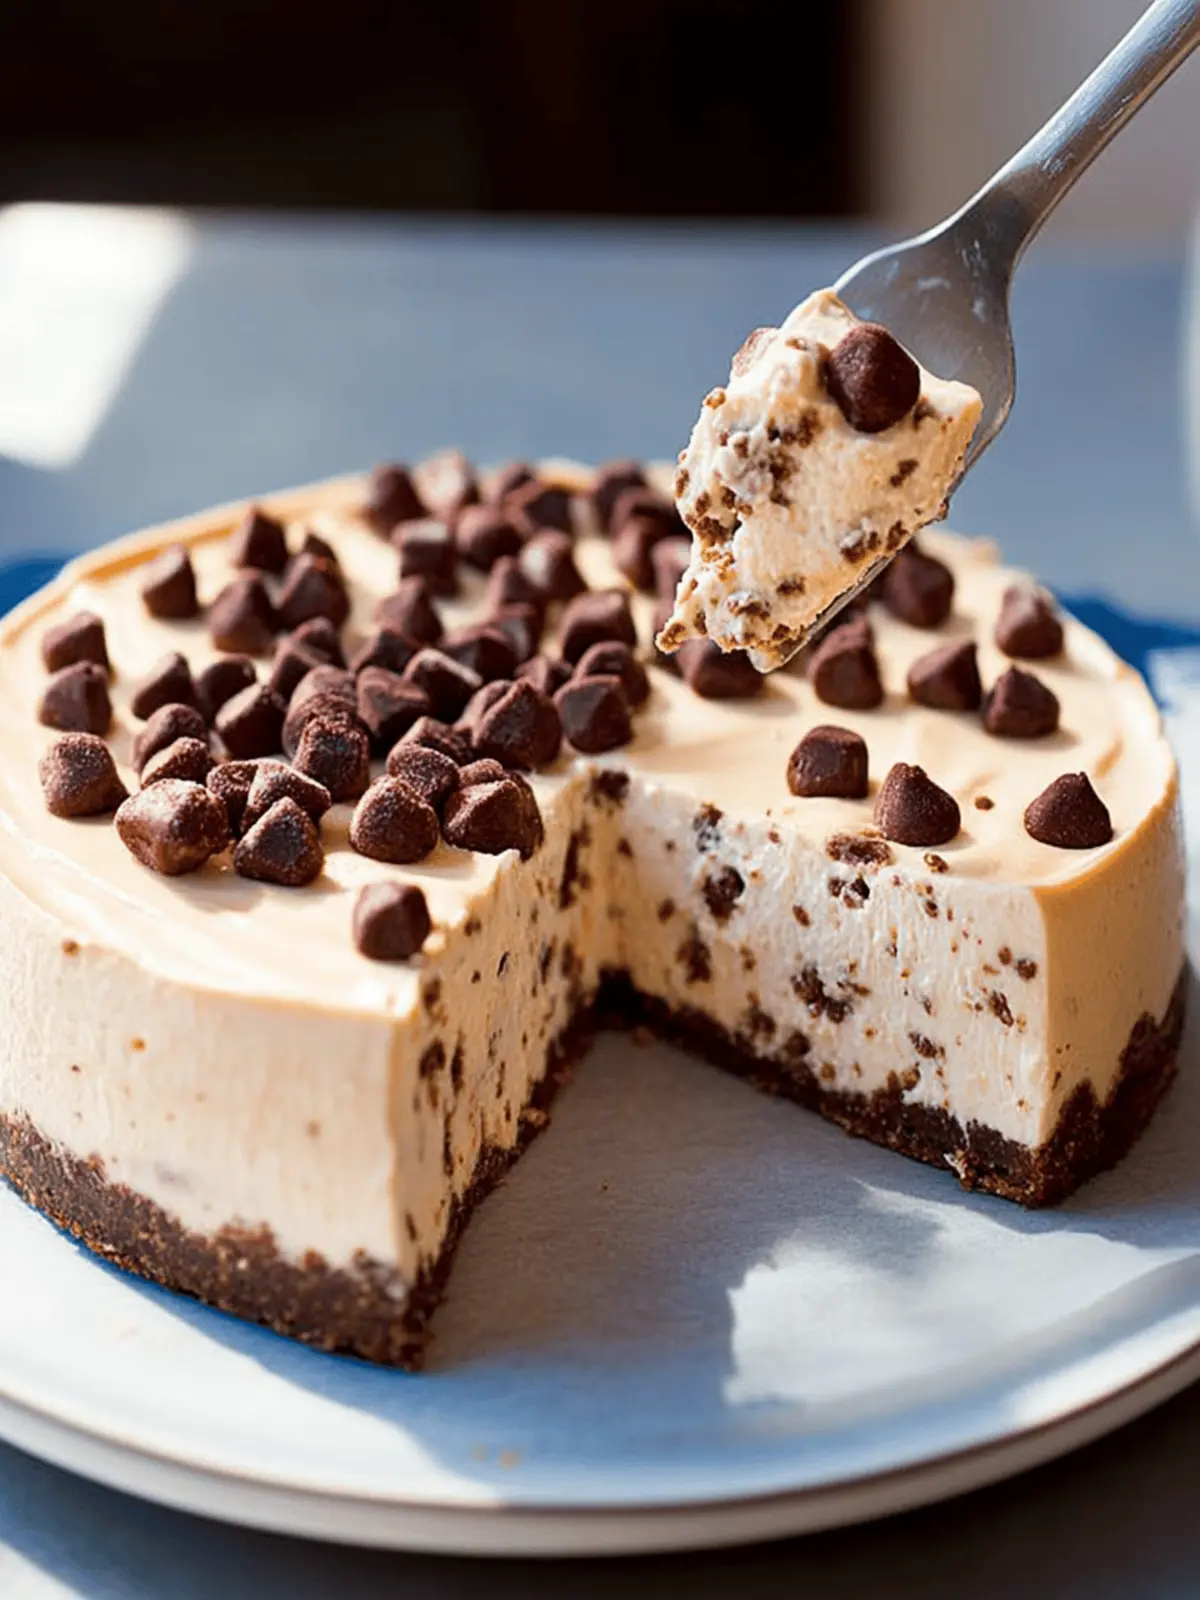
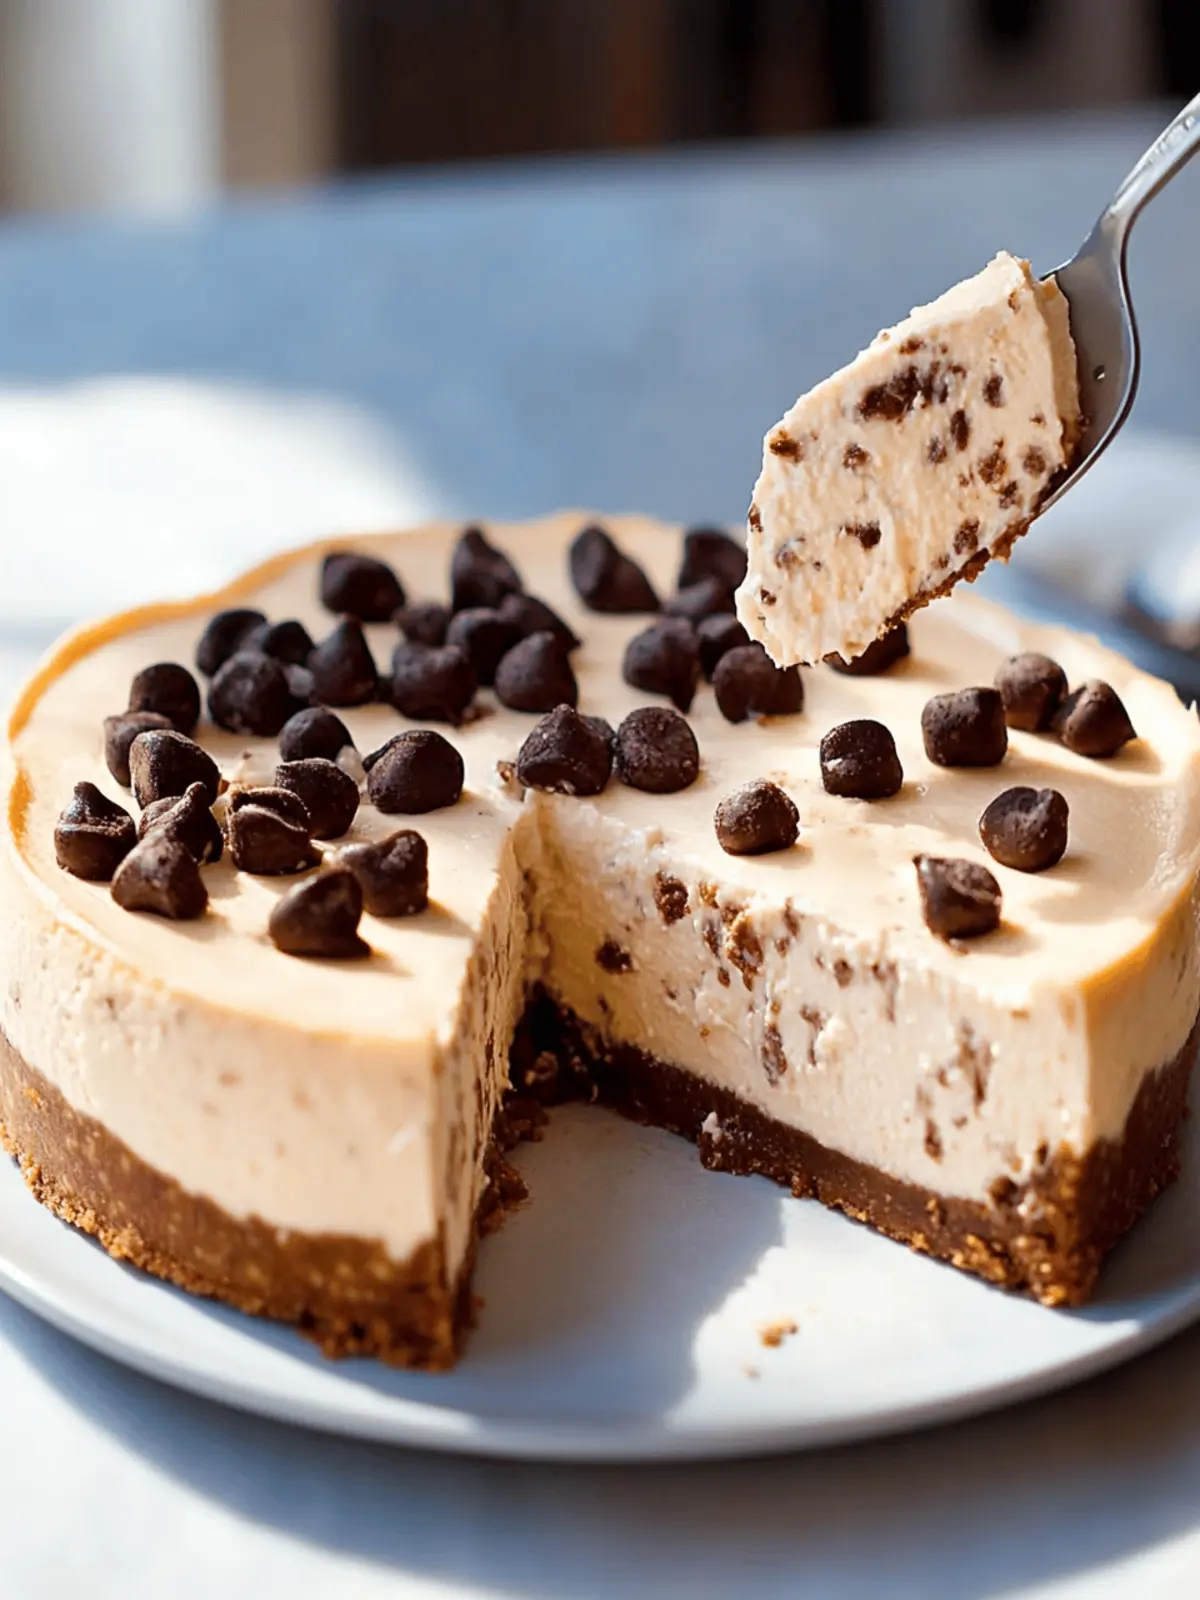
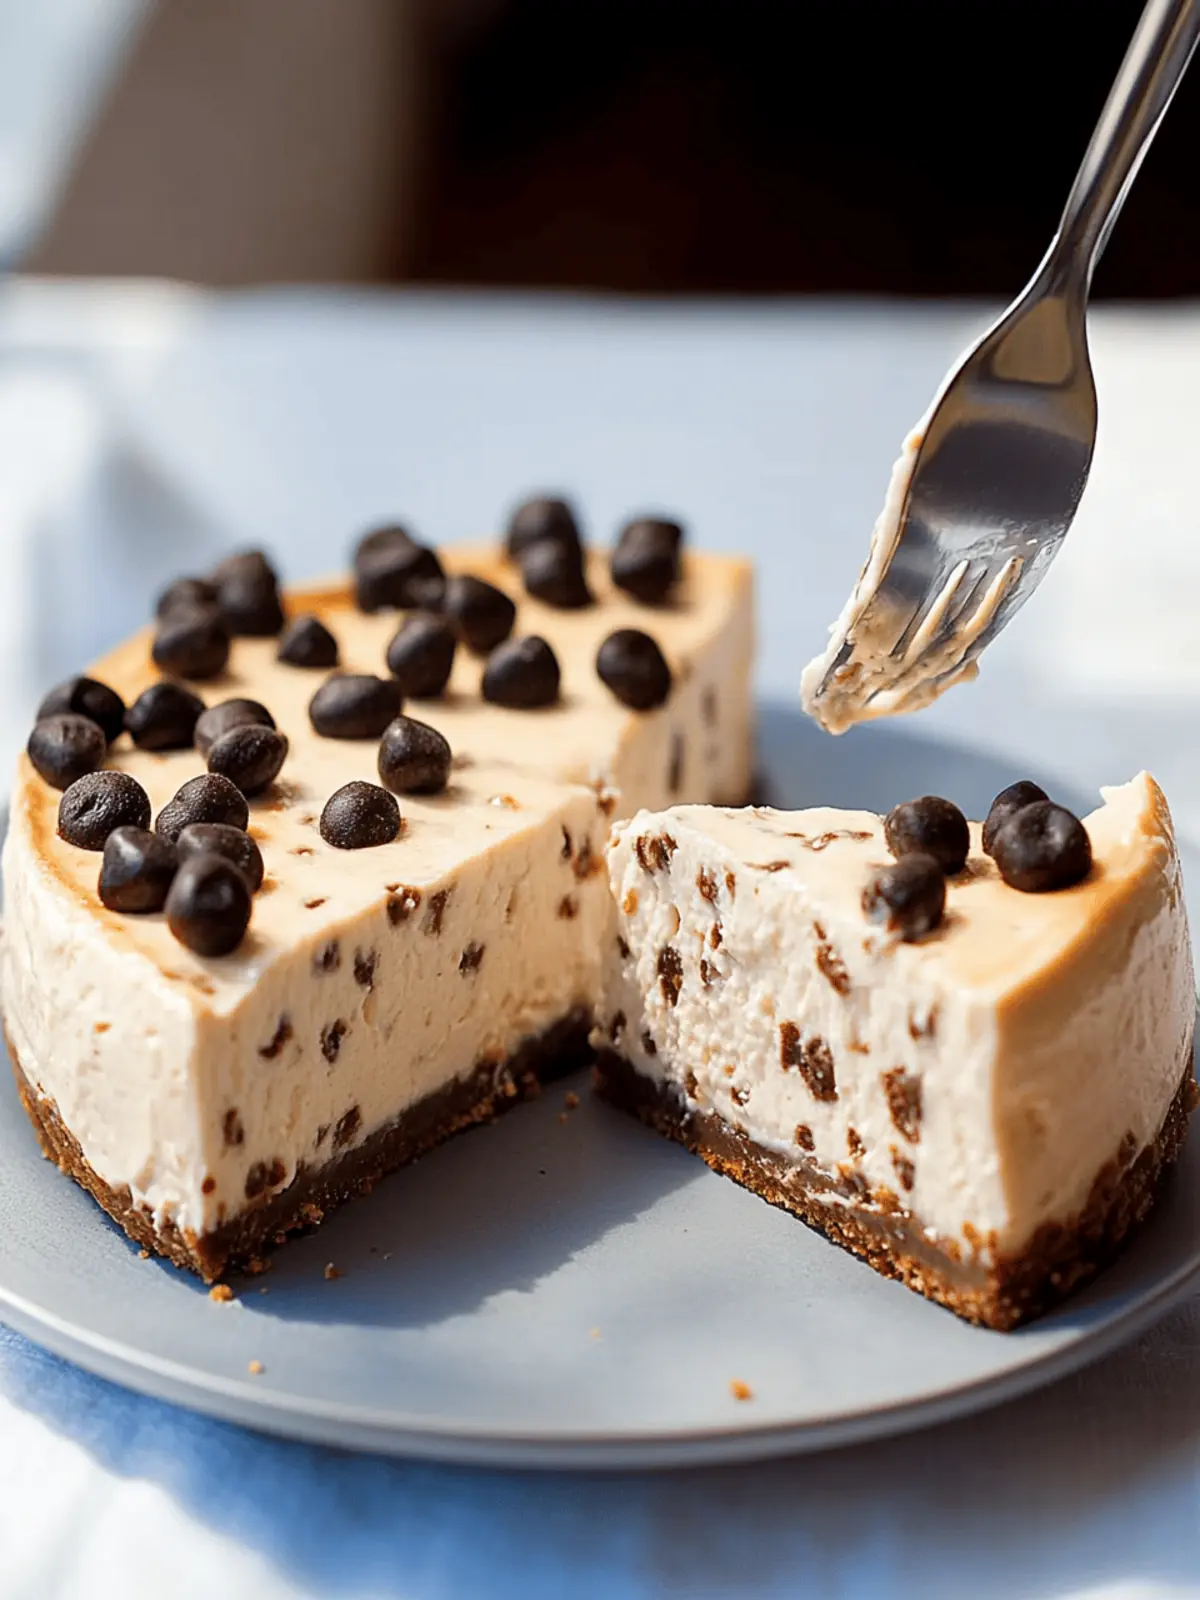
When the craving for something sweet strikes but the desire to eat healthy lingers, my mind often drifts toward a heavenly solution: protein cheesecake. Imagine slicing into a rich, creamy confection that satisfies your dessert desires without the guilt. This delightful twist on the classic New York cheesecake not only packs a punch of protein but is also low in calories and bursting with flavor.
Whether I’m hosting friends for a dinner party or treating myself after an intense workout, this versatile cheesecake recipe is my go-to. With easy substitutions for various diets, including gluten-free and vegan options, it’s a hit for everyone at the table. Trust me, you can indulge without compromise, because this cheesecake is as nutritious as it is delicious. So, let’s dive into making a dessert that promises to impress and keep your taste buds dancing!
Why is Protein Cheesecake a Must-Try?
Indulgence without Guilt: This protein cheesecake offers a creamy, decadent experience without the added calories, making it a delightful treat.
Quick & Easy: With straightforward steps, this recipe suits beginner chefs and busy bees alike.
Versatile Flavors: Customize your cheesecake with various mix-ins—think chocolate chips or fresh berries—to please every palate.
Healthy Ingredients: Packed with protein and swap options for gluten-free and vegan diets ensure everyone can enjoy.
Perfect for Any Occasion: Whether it’s a casual weeknight or a festive gathering, this cheesecake is sure to impress your guests!
Protein Cheesecake Ingredients
For the Cheesecake Filling
- Cream Cheese – Adds richness and creaminess; opt for vegan cream cheese for a dairy-free version.
- Greek Yogurt – Provides moisture and a slight tang; can be substituted with a dairy-free yogurt alternative.
- Protein Powder – Boosts protein content; select a flavor that complements the protein cheesecake, like chocolate or vanilla.
- Sweetener – Adds sweetness; feel free to use sugar, honey, agave, or a sugar-free alternative based on your preference.
- Pure Vanilla Extract – Enhances flavor; using a high-quality extract will give the best taste.
For the Crust (optional)
- Graham Cracker Crumbs – Traditional choice for a classic flavor; gluten-free versions are available if needed.
- Almond Flour – Great for a low-carb option; pairs well with the creamy filling.
- No-Bake Crust – Perfect for those who prefer not to bake; simply mix with a fat and press into the pan.
Feel free to mix and match ingredients as per your dietary needs, making this protein cheesecake a versatile delight!
How to Make Protein Cheesecake
-
Preheat the oven to 350°F (175°C). Place a baking pan filled with water on the lower rack to create a water bath, which helps keep the cheesecake moist while baking.
-
Prepare your cream cheese! Allow it to come to room temperature for easier blending, then set up your desired crust in a 9-inch springform pan if you’re using one.
-
Blend the filling by combining the cream cheese, Greek yogurt, protein powder, sweetener, and vanilla in a food processor. Mix until smooth, but be gentle—overmixing can introduce unwanted air bubbles.
-
Pour the cheesecake mixture into your prepared crust (if using), smoothing the top with a spatula for an even finish.
-
Bake for 30 minutes, then turn off the oven without opening the door. Let the cheesecake set in the residual heat for an additional 5 minutes for perfect texture.
-
Cool at room temperature for 20 minutes. Then, transfer to the refrigerator and chill for at least 6 hours to allow it to firm up beautifully before serving.
Optional: Top with fresh berries or a drizzle of chocolate syrup for an extra delight!
Exact quantities are listed in the recipe card below.
Make Ahead Options
These delicious protein cheesecakes are ideal for meal prep enthusiasts! You can prepare the cheesecake filling up to 24 hours in advance and store it in an airtight container in the fridge. Simply blend the cream cheese, Greek yogurt, protein powder, sweetener, and vanilla according to the recipe, then keep the mixture chilled until you’re ready to bake. The crust can also be made ahead—just prepare it and refrigerate until you’re ready to use it. When you’re ready to serve, pour the filling into the crust and bake as directed. This way, you’ll enjoy a fresh, guilt-free dessert with minimal effort and just as delicious results!
Protein Cheesecake Variations
Feel free to let your creativity shine and personalize your cheesecake adventure with these fun and delicious twists!
-
Dairy-Free: Substitute cream cheese and yogurt with vegan alternatives for a completely dairy-free option that’s just as creamy.
-
Nutty Flavors: Incorporate almond or hazelnut extracts for a warm, nutty aroma that pairs beautifully with the cheesecake’s sweetness.
-
Citrus Zing: Add fresh lemon or orange zest to the filling for a bright, zesty note that will awaken your taste buds.
-
Maple Sweetener: Use pure maple syrup instead of regular sweetener for a lovely, rich flavor that pairs well with the creaminess.
-
Espresso Kick: Mix in a tablespoon of instant espresso powder for a delightful coffee-flavored variation that coffee lovers will adore.
-
Spiced Delight: A pinch of cinnamon or nutmeg can elevate your cheesecake, adding warmth and inviting spice without overwhelming the original flavor.
-
Tropical Twist: Swap yogurt for coconut-based yogurt and fold in some crushed pineapple for a refreshing tropical cheesecake experience.
-
Hot & Spicy: For a daring twist, add a touch of cayenne pepper to the batter, enhancing the flavors while surprising your palette!
Expert Tips for Protein Cheesecake
-
Room Temperature Ingredients: Ensuring cream cheese and yogurt are at room temperature helps create a smooth filling without lumps.
-
Avoid Overmixing: Mixing too vigorously can incorporate air bubbles, leading to cracks during baking. Be gentle and blend just until combined.
-
Water Bath Magic: Using a water bath not only helps prevent cracks but also keeps the protein cheesecake moist and creamy. Don’t skip this step!
-
Cool Gradually: Let the cheesecake cool in the oven with the door closed to allow it to set gradually, reducing the risk of unwanted cracks.
-
Chill Before Serving: Refrigerating for at least 6 hours is essential for achieving the perfect texture. This patience pays off with every slice!
What to Serve with Protein Cheesecake?
Indulge in a full meal experience with delightful accompaniments that elevate your protein cheesecake into a memorable treat.
- Fresh Berries: The vibrant burst of strawberries, blueberries, or raspberries adds freshness and a pop of color, perfectly balancing the richness of the cheesecake.
- Whipped Cream: A dollop of light whipped cream lends a fluffy texture that complements the creamy aspect of the cheesecake, making it even more decadent.
- Chocolate Drizzle: A rich chocolate sauce drizzled on top provides a sweet contrast, enhancing each bite and making it feel like a special dessert.
- Nutty Granola: A sprinkle of nutty granola will add crunch, along with protein and healthy fats, creating a delightful texture contrast.
- Coconut Flakes: Toasted coconut flakes add a tropical flair that pairs beautifully with the cheesecake, enhancing its creamy and sweet flavors.
- Vanilla Ice Cream: The cool creaminess of vanilla ice cream alongside the cheesecake takes dessert to a whole new level of indulgence.
- Herbal Tea: Complement the sweetness with a soothing peppermint or chamomile tea, which offers a calming contrast to the rich dessert.
- Sparkling Water: Serve with a slice of lemon or lime in sparkling water to refresh your palate between bites, balancing the sweetness with a zing.
How to Store and Freeze Protein Cheesecake
Fridge: Store leftover protein cheesecake in an airtight container for up to 4 days. This will keep it fresh and delicious for you to enjoy later.
Freezer: To freeze, cut the cheesecake into individual slices and wrap each slice tightly in plastic wrap or aluminum foil. Place them in an airtight container, and they can last up to 4 months.
Thawing: When ready to enjoy a frozen slice, thaw it overnight in the refrigerator. This gentle thawing method keeps the protein cheesecake creamy and delectable.
Reheating: If desired, you can warm a slice in the microwave for about 15-20 seconds to soften the texture without ruining its delightful flavor.
Protein Cheesecake Recipe FAQs
What is the best way to select ripe cream cheese?
Choose cream cheese that is fresh and free from dark spots or cracks on the packaging. Look for a smooth, even surface and check the expiration date. It’s best to bring it to room temperature before using, as this helps achieve a creamier texture in your protein cheesecake.
How should I store leftover protein cheesecake?
Store the leftovers in an airtight container in the refrigerator for up to 4 days. Make sure it is well-sealed to prevent it from absorbing any odors from other foods. I find that enjoying it within the first couple of days keeps it tasting fresh and delicious!
Can I freeze protein cheesecake? What’s the best method?
Absolutely! To freeze, slice the cheesecake into individual portions, wrap each slice tightly in plastic wrap, and then place them in an airtight container or freezer bag. This method protects them from freezer burn, and they will last for up to 4 months. When you’re ready to enjoy, simply thaw overnight in the refrigerator for the best texture.
How can I prevent my protein cheesecake from cracking while baking?
To avoid cracks, I recommend two key steps: first, use a water bath by placing a baking pan filled with hot water on the rack below your cheesecake. This helps keep moisture in the oven. Secondly, be gentle when mixing your filling—overmixing can introduce air bubbles, which create cracks.
Are there any dietary considerations for this protein cheesecake?
Yes, you can easily make adjustments based on dietary needs! For a gluten-free version, use gluten-free graham cracker crumbs or almond flour for the crust. If you’re vegan, substitute cream cheese and yogurt with their dairy-free counterparts. Additionally, choose a plant-based protein powder and a sugar alternative that suits your dietary preferences.
What if I forgot to take my cream cheese out ahead of time?
No worries! If you need to soften cream cheese quickly, cut it into small cubes and let it sit at room temperature for about 20 minutes. Alternatively, you can microwave it in 10-second intervals, stirring in between, until it’s soft but not melted. This little trick will help you whip up your protein cheesecake without delay!

Delicious Protein Cheesecake: Guilt-Free Indulgence Awaits
Ingredients
Equipment
Method
- Preheat the oven to 350°F (175°C) and place a baking pan filled with water on the lower rack.
- Allow cream cheese to come to room temperature, then set up your crust in a 9-inch springform pan if using.
- Blend the cream cheese, Greek yogurt, protein powder, sweetener, and vanilla until smooth.
- Pour the cheesecake mixture into the prepared crust and smooth the top with a spatula.
- Bake for 30 minutes, then turn off the oven, leaving the door closed for 5 minutes.
- Cool at room temperature for 20 minutes, then refrigerate for at least 6 hours.


