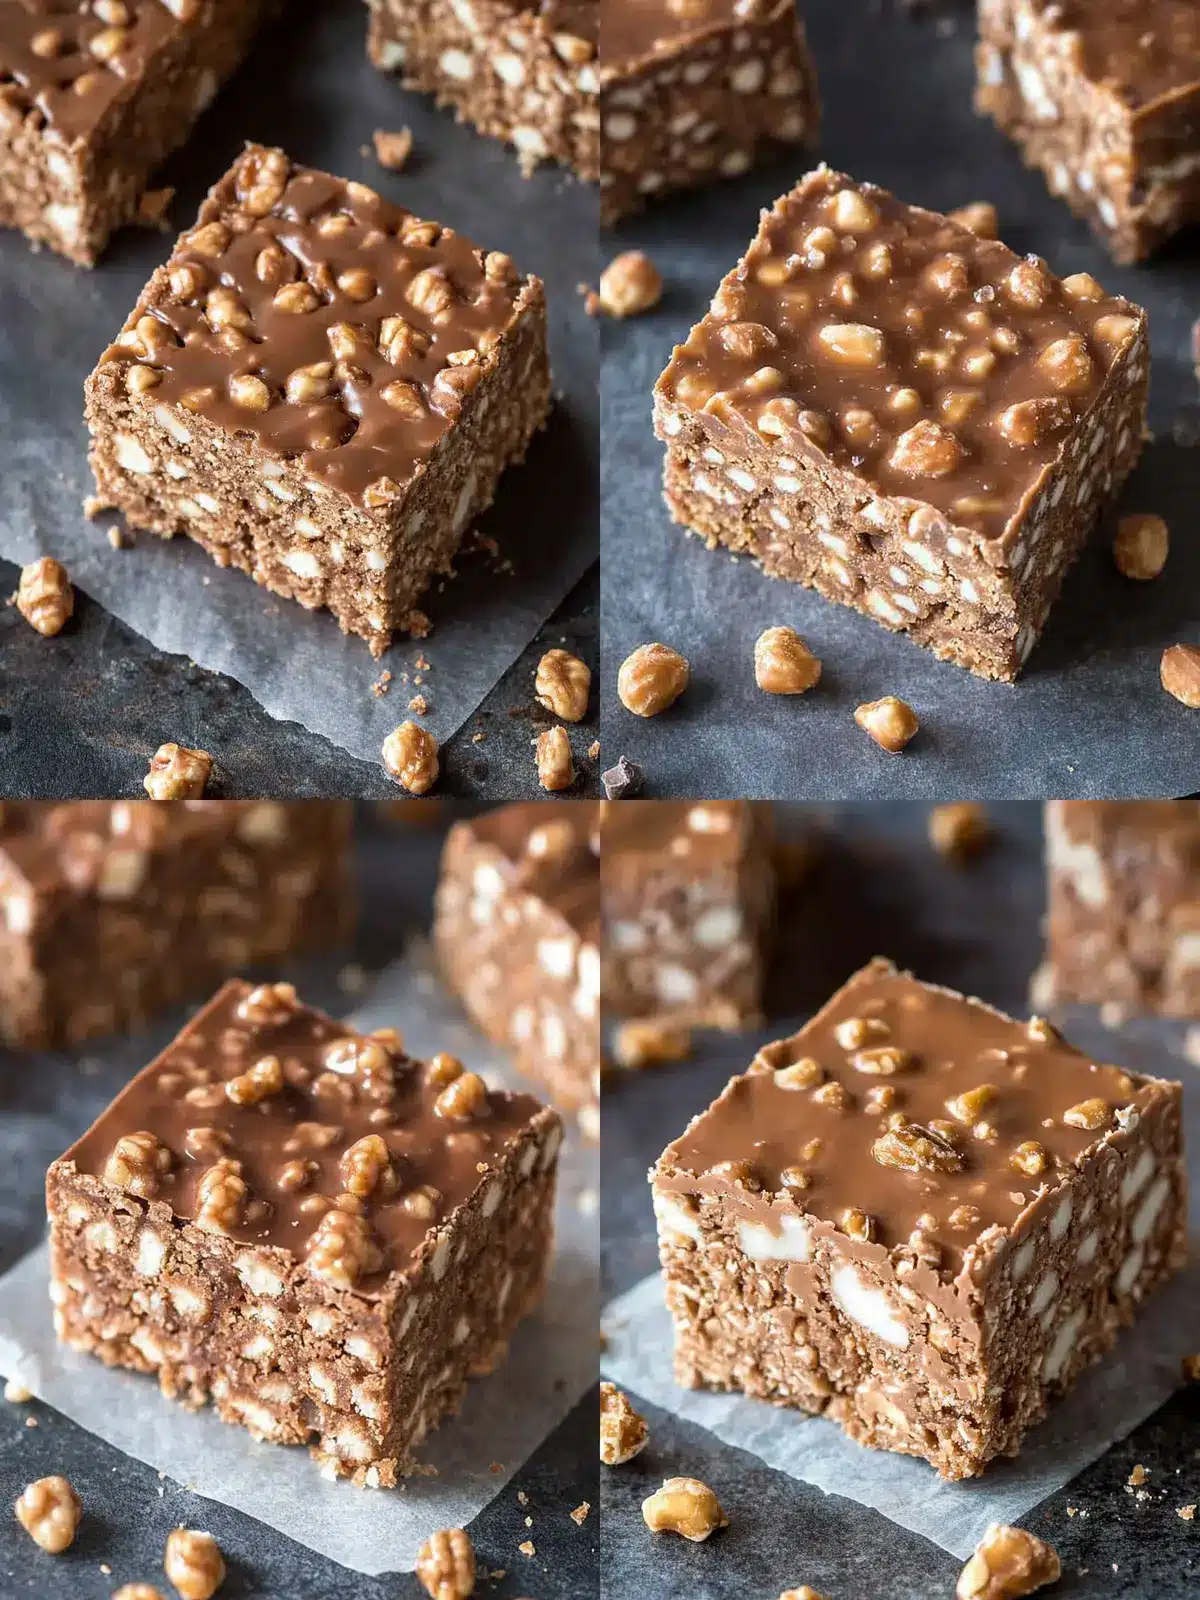
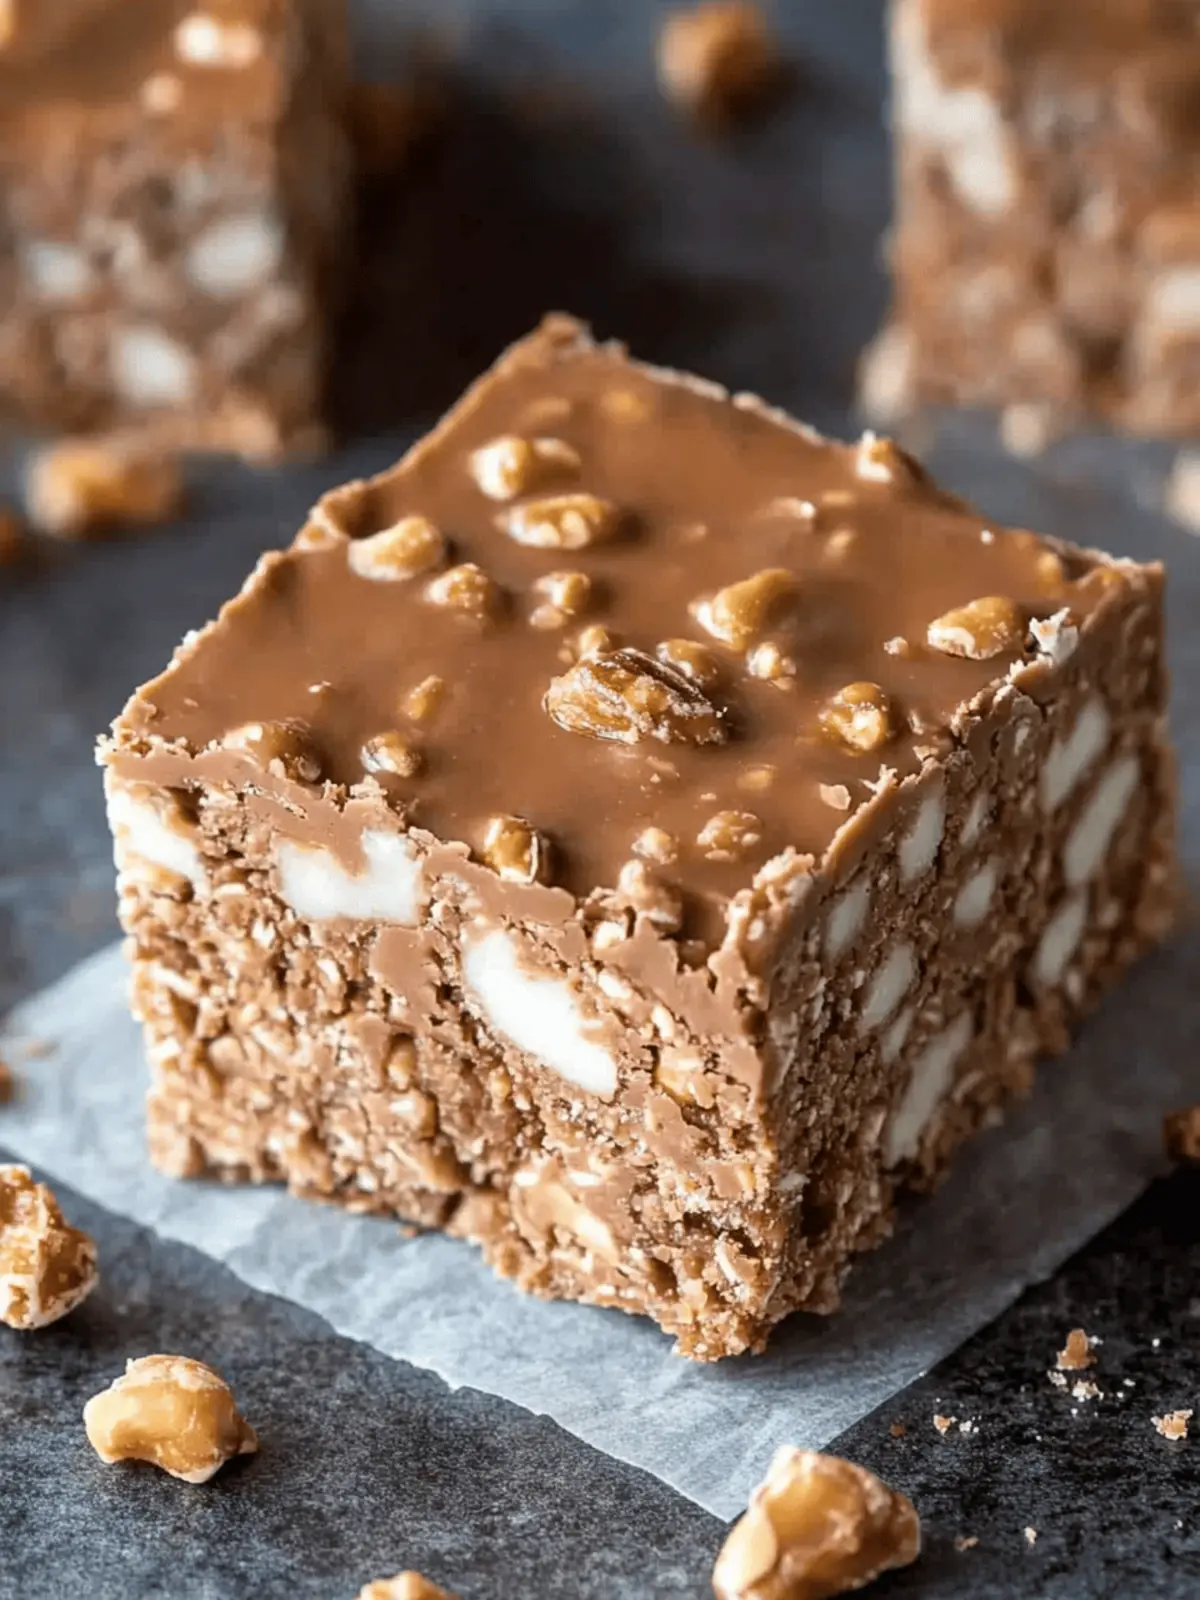
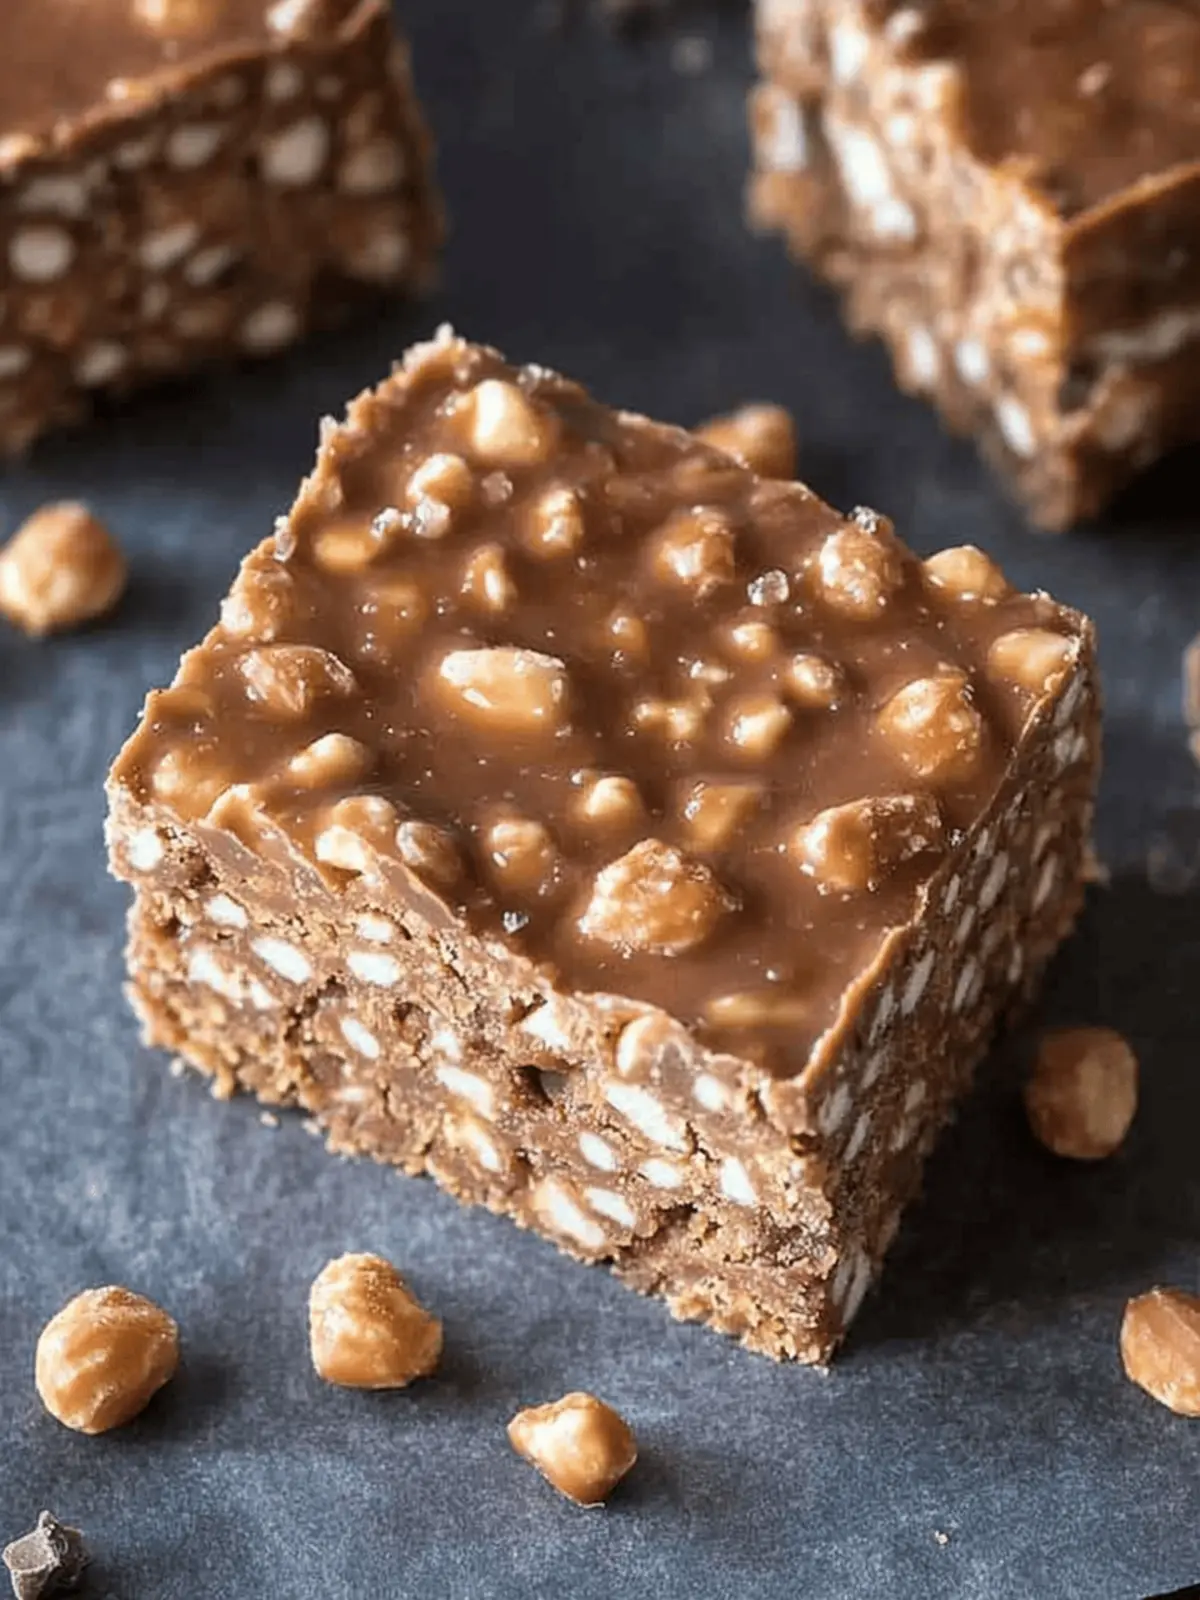
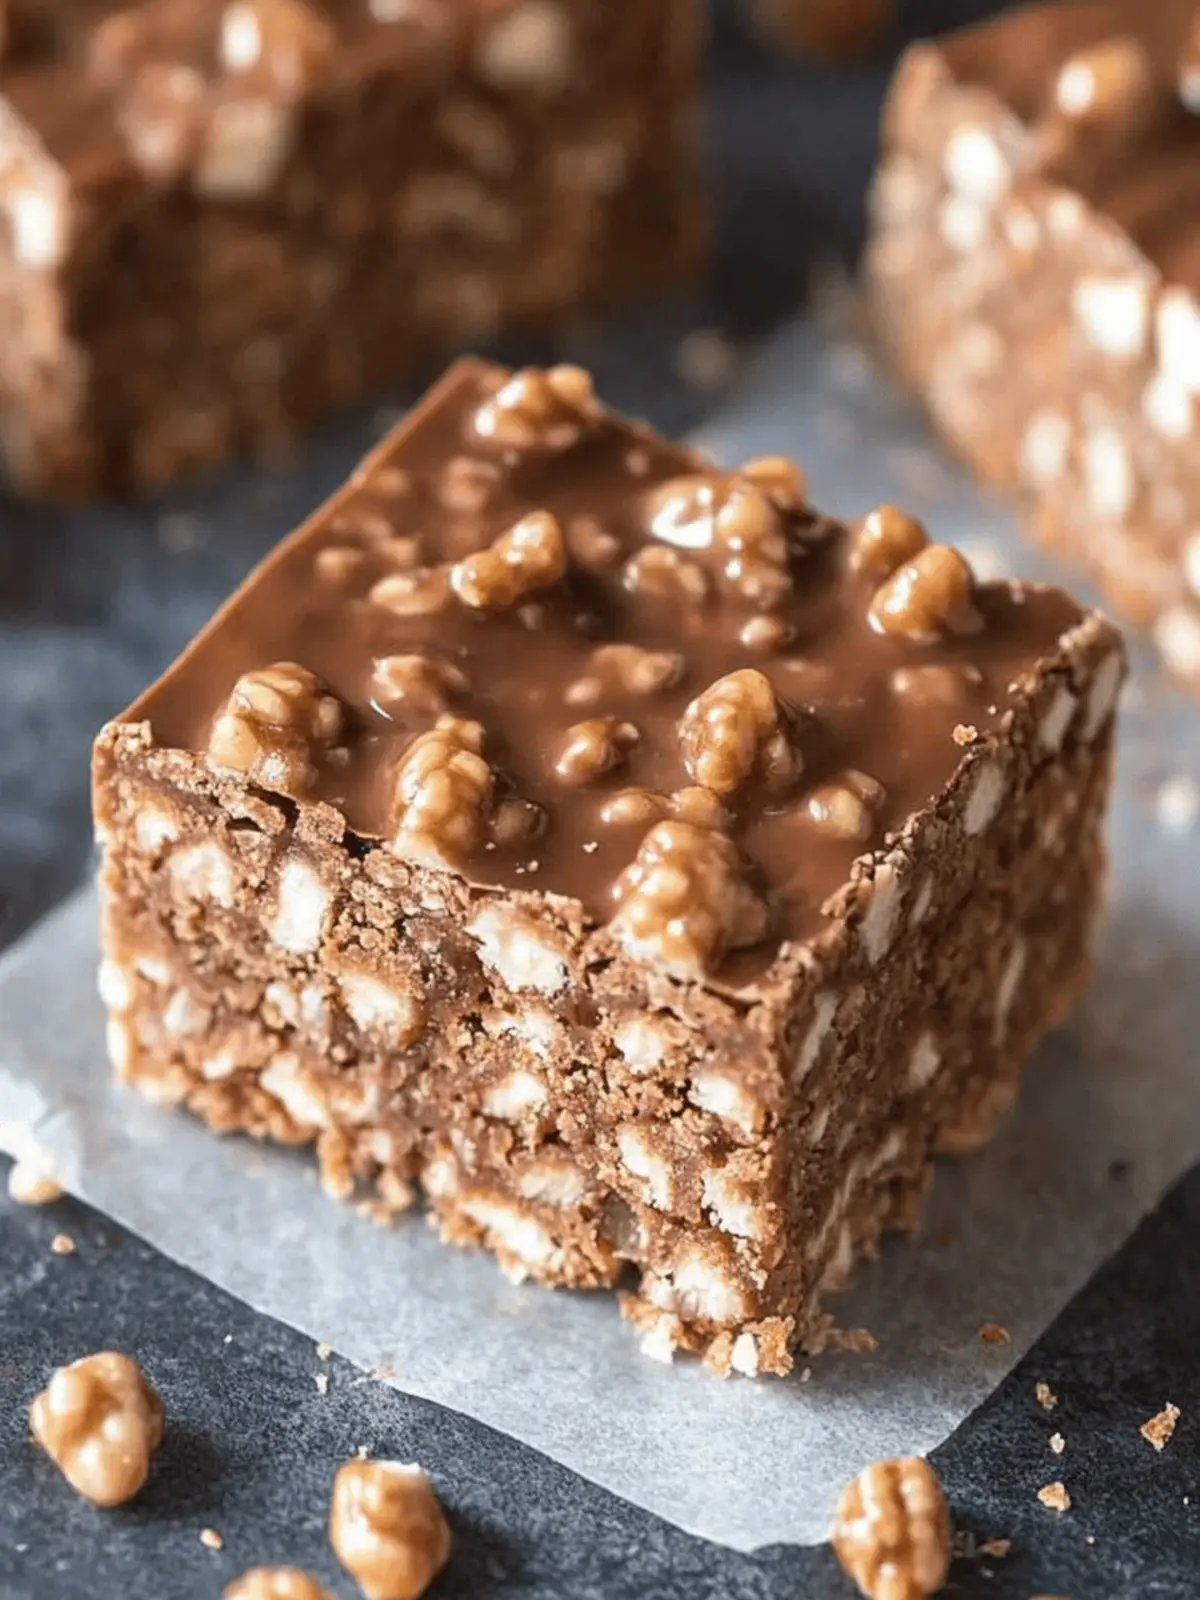
Every now and then, life calls for a little indulgence, and these homemade crunch bars are just the ticket! When I found myself hunting for a sweet yet satisfying treat that didn’t involve a trip to the local fast-food joint, I knew I could create something special right in my own kitchen. With a delightful combination of chocolate and peanut butter—two flavors that, let’s be honest, shouldn’t be separated—I whipped up these Chocolate Peanut Butter Crispy Treats. The first bite is a heavenly symphony of crunch and creaminess, making them an instant favorite for both kids and adults alike.
Whether you need a quick afternoon snack or an impressive dessert to share with friends, these bars are both simple and crowd-pleasing. The best part? They come together in no time and require minimal ingredients, so you’ll have more moments to savor the deliciousness without a lot of fuss. So, grab your apron, and let’s dive into the recipe for these delightful homemade crunch bars!
Why are Homemade Crunch Bars a Must-Try?
Irresistible flavors: The combination of rich chocolate and creamy peanut butter creates a treat that’s hard to resist.
Quick to make: With just a few steps, you’ll have these delicious bars ready in no time—perfect for any busy day!
Crowd-pleaser: Whether for a family gathering or a cozy night in, these bars will impress everyone.
Customization-friendly: Feel free to add your favorite nuts or dried fruits for a unique twist!
No-bake convenience: Simply mix the ingredients and chill—no oven needed, making cleanup a breeze.
These Homemade Crunch Bars are everything you need for a satisfying snack or dessert. Enjoy them as is or explore other variations to keep things exciting!
Homemade Crunch Bars Ingredients
These ingredients come together to create a deliciously satisfying treat.
For the Base
• Crispy Rice Cereal – 3 cups add the perfect crunch to your bars.
• Peanut Butter – 1 cup gives a creamy richness; try natural peanut butter for a healthier option.
For the Chocolate Mixture
• Chocolate Chips – 1 1/2 cups offer that sweet, melting flavor—dark chocolate works great too!
• Coconut Oil – 1/4 cup helps ensure a smooth texture in the chocolate mixture.
For Sweetness
• Maple Syrup – 1/2 cup provides natural sweetness; feel free to substitute with honey if desired.
Get ready to whip up these Homemade Crunch Bars—they’re sure to be a hit with everyone!
How to Make Homemade Crunch Bars
- Prepare the Dish: Line an 8 x 8-inch baking dish or deep baking tray with parchment paper. This will ensure your bars easily lift out after chilling and keeps cleanup a breeze.
- Mix the Cereal: In a large mixing bowl, add 3 cups of crispy rice cereal. This will be the delightful base of your homemade crunch bars, providing that satisfying crunch we all love!
- Melt Ingredients: In a microwave-safe bowl or using the stovetop, combine 1 1/2 cups of chocolate chips, 1 cup of peanut butter, 1/2 cup of maple syrup, and 1/4 cup of coconut oil. Heat until melted, stirring often until smooth.
- Whisk Together: Remove the bowl from the heat and whisk the melted mixture until fully incorporated. You should have a glossy and indulgent chocolate-peanut butter mixture that beckons you to dive in!
- Combine Mixtures: Pour the chocolate-peanut butter mixture over the crispy rice cereal in your large bowl. Gently mix until all the cereal is evenly coated, making sure every crunchy piece is a part of the sweet goodness!
- Set into the Dish: Transfer the mixture into your prepared baking dish, spreading it out evenly. Press it down gently to ensure it holds together well as it chills.
- Chill Time: Place the dish in the refrigerator for at least 1 hour until the mixture is firm. This helps the flavors meld and solidify into perfectly sliceable bars!
- Slice into Bars: Once set, remove from the refrigerator, lift the bars out using the parchment paper, and cut them into squares or rectangles that are perfect for sharing (or enjoying on your own!).
Optional: Drizzle some melted chocolate on top for an extra touch of sweetness.
Exact quantities are listed in the recipe card below.
How to Store and Freeze Homemade Crunch Bars
Room Temperature: Store your homemade crunch bars in an airtight container at room temperature for up to 3 days for optimal freshness and flavor.
Fridge: For extended freshness, keep the bars in the fridge for up to a week. This also ensures they maintain a firmer texture, especially during warmer weather.
Freezer: Wrap individual bars in plastic wrap and place them in a freezer-friendly bag for up to 3 months. Thaw in the fridge before enjoying for the best taste.
Reheating: If you prefer your bars warm, microwave them in short intervals (about 10-15 seconds) until just softened, but be careful not to overheat!
What to Serve with Homemade Crunch Bars?
Indulging in these delightful treats isn’t just about the bars themselves; it’s about creating a full, satisfying experience!
- Fresh Strawberries: Their natural sweetness and vibrant color elevate your dessert presentation while balancing the richness of the chocolate.
- Vanilla Ice Cream: Serve alongside a scoop of creamy vanilla ice cream for a dreamy contrast—imagine each crunchy bite paired with cold, velvety bliss!
- Milkshake: A classic chocolate or peanut butter milkshake makes this a nostalgic meal that takes you back to childhood diners and joyful moments.
- Chopped Nuts: Sprinkle roasted almonds or peanuts on top for added crunch and a nutty flavor that echoes the peanut butter base of the bars.
- Caramel Sauce: Drizzle warm caramel sauce over the bars for a luscious complement, adding layers of gooey sweetness that every sweet tooth will adore.
- Herbal Tea: A calming cup of chamomile or mint tea provides a fragrant, light contrast, making for a soothing after-dinner experience.
- Dark Chocolate Flakes: Garnish the bars with dark chocolate flakes for an elegant touch—each bite will dazzle with a rich and sophisticated flavor.
- Fruit Salad: A refreshing fruit salad with citrusy notes brightens up the table and balances out the sweetness, making it a wholesome accompaniment.
Expert Tips for Homemade Crunch Bars
- Quality Ingredients: Use high-quality chocolate chips and peanut butter for richer flavors. This will elevate your homemade crunch bars to a whole new level!
- Melt Carefully: When melting chocolate, heat it slowly to prevent burning. Stir frequently to achieve a smooth, creamy consistency for the best results.
- Uniform Mixing: Ensure all cereal pieces are thoroughly coated in the chocolate-peanut butter mixture. This prevents dry bites and ensures a delicious crunch in every bar!
- Chill Long Enough: Be patient during the chilling process. Allowing at least one hour in the fridge helps the bars set properly, making them easier to cut and enjoy.
- Cut with Care: Use a sharp knife to cut into neat squares. If your knife gets sticky, run it under warm water before slicing your homemade crunch bars!
Homemade Crunch Bars Variations
Explore the delightful twists you can give to your homemade crunch bars; let your creativity shine!
- Nut-Free: Substitute peanut butter with sunbutter or almond butter for a nut-free option that’s still creamy and delicious.
- Extra Crunch: Add 1/2 cup of chopped nuts, like almonds or walnuts, to the cereal mixture for a crunchy texture that will elevate each bite.
- Fruity Delight: Mix in 1/2 cup of dried fruits such as cranberries or raisins for a sweet and chewy contrast to the crispy bars.
- Cacao Boost: Swap chocolate chips for 1 cup of cacao nibs for an intense chocolate flavor, perfect for dark chocolate lovers.
- Spicy Kick: Add a pinch of cayenne pepper to the melted chocolate mixture for a surprising heat that pairs beautifully with the richness.
- Vegan-Friendly: Use vegan chocolate chips and maple syrup instead of honey to make these bars entirely plant-based and equally delicious.
- Minty Fresh: Add a few drops of peppermint extract to the chocolate mixture for a refreshing minty twist that complements the chocolate and peanut butter beautifully.
- Caramel Swirl: Drizzle some caramel sauce over the top before refrigerating for an indulgent treat that will leave everyone craving more!
Make Ahead Options
These Homemade Crunch Bars are perfect for busy home cooks who want to save time without sacrificing flavor! You can prepare the chocolate-peanut butter mixture up to 3 days in advance. Simply melt and mix all the ingredients (chocolate chips, peanut butter, maple syrup, and coconut oil) earlier in the week, then pour over the crispy rice cereal and store in an airtight container in the refrigerator. When you’re ready to serve, just press the mixture into the prepared baking dish, chill until firm (at least an hour), and slice into bars. This way, you’ll have delicious, ready-to-enjoy treats on hand that stay just as tasty as when freshly made!
Chocolate Peanut Butter Crispy Treats Recipe FAQs
How do I choose the best crispy rice cereal for the recipe?
Absolutely! Look for a brand that promises light and airy texture without any dark spots or burnt pieces. This ensures your bars will be crisp and delightful. If you’re feeling adventurous, you can even try brown rice crisps for a healthier twist!
How long can I store my homemade crunch bars?
You can keep your homemade crunch bars at room temperature in an airtight container for up to 3 days. For maximum freshness, I recommend storing them in the fridge, where they’ll last up to a week!
Can I freeze the crunchy treats, and how should I do it?
Very! To freeze your bars, wrap them individually in plastic wrap and then place them in a freezer-safe bag. They can stay good for up to 3 months. When you’re ready to indulge, simply thaw them in the fridge overnight.
What should I do if my chocolate mixture isn’t melting properly?
If your chocolate mixture is clumping or not melting as expected, try heating it in smaller increments (15-20 seconds) and stir between each session. If it still won’t melt smoothly, add a teaspoon of coconut oil to help create a creamy consistency. Remember, patience is key!
Are there any allergy-friendly substitutes I can use?
Absolutely! For nut allergies, you can substitute peanut butter with sunflower seed butter or almond butter. If you’re avoiding chocolate, try using carob chips for a unique flavor. Always check labels to ensure they fit your dietary needs.
How can I add different flavors or textures to my bars?
The more the merrier! You can mix in chopped nuts, dried fruit, or even a dash of sea salt before chilling for an extra flavor burst. Just make sure that any additions balance with the chocolate and peanut butter to keep those delicious flavors intact!

Irresistible Homemade Crunch Bars for Your Sweet Tooth Bliss
Ingredients
Equipment
Method
- Line an 8 x 8-inch baking dish with parchment paper.
- In a large mixing bowl, add 3 cups of crispy rice cereal.
- In a microwave-safe bowl, combine 1.5 cups of chocolate chips, 1 cup of peanut butter, 0.5 cup of maple syrup, and 0.25 cup of coconut oil. Heat until melted, stirring often.
- Remove from heat and whisk the melted mixture until fully incorporated.
- Pour the chocolate-peanut butter mixture over the cereal and mix gently until all are coated.
- Transfer to the baking dish, spread evenly, and press down gently.
- Place in the refrigerator for at least 1 hour until firm.
- Once set, remove and cut into bars.


