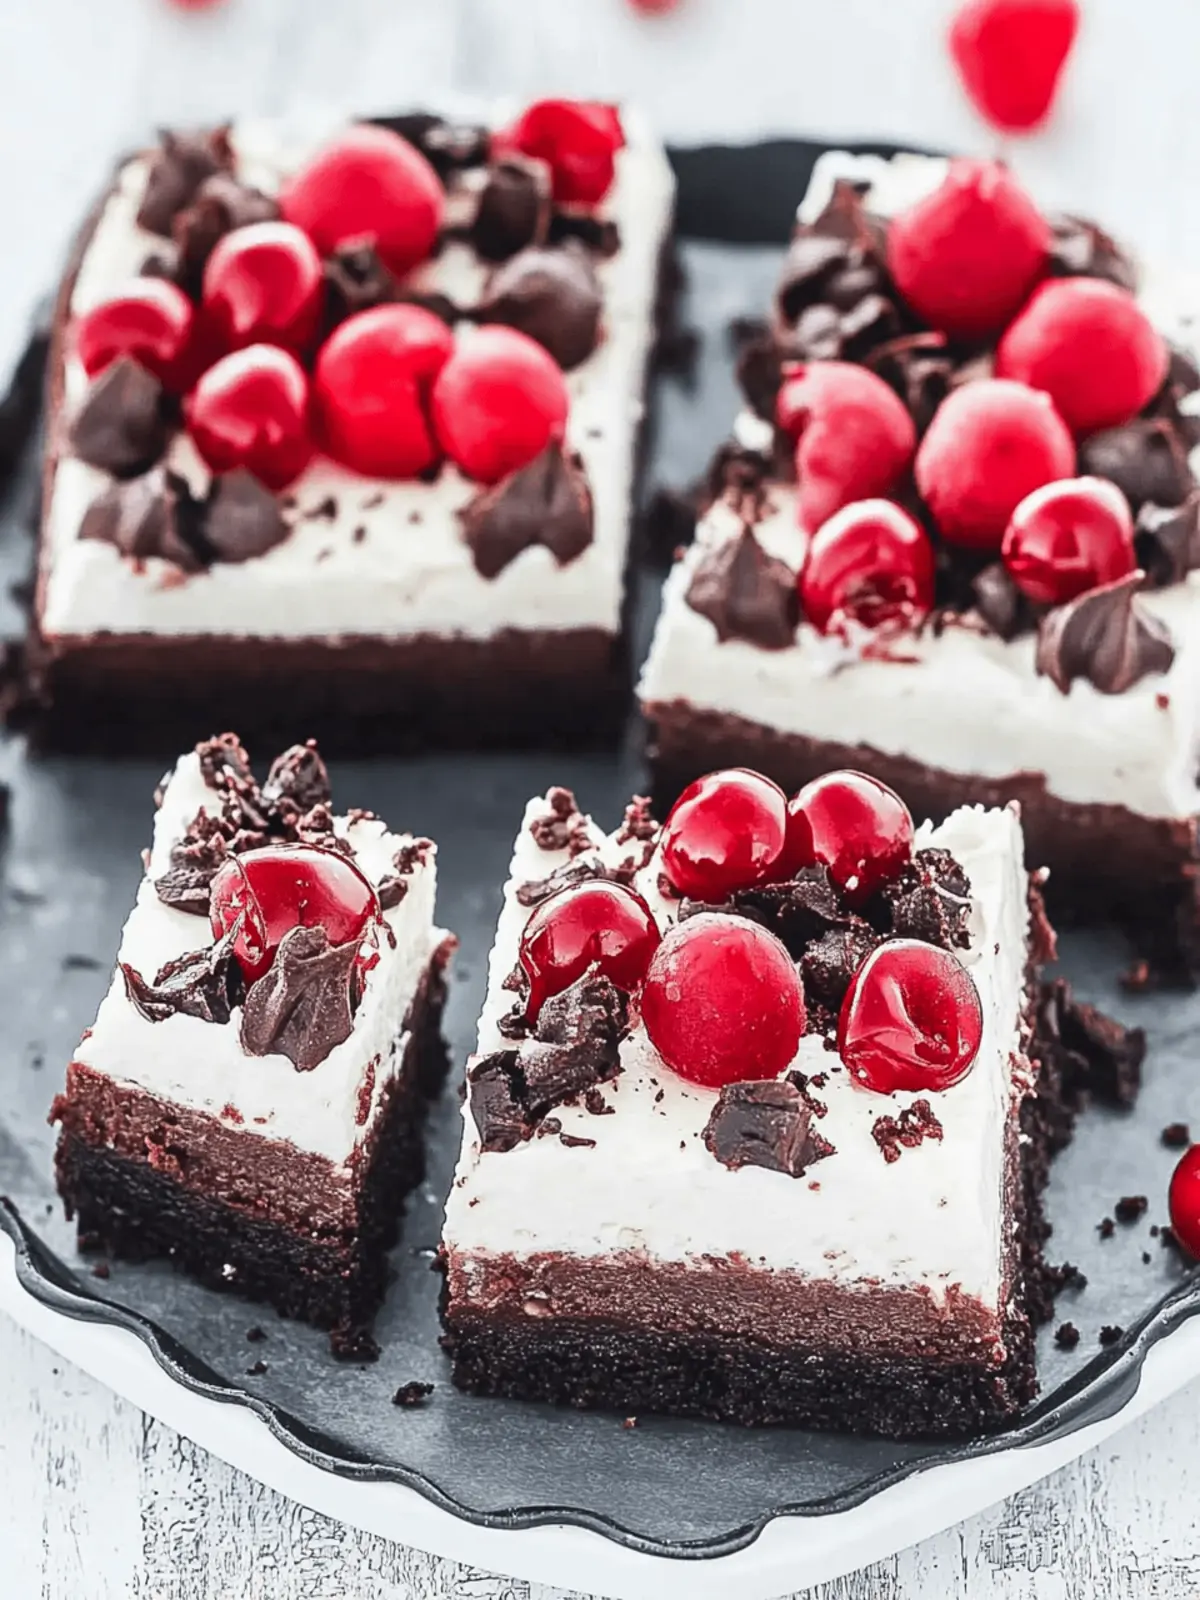
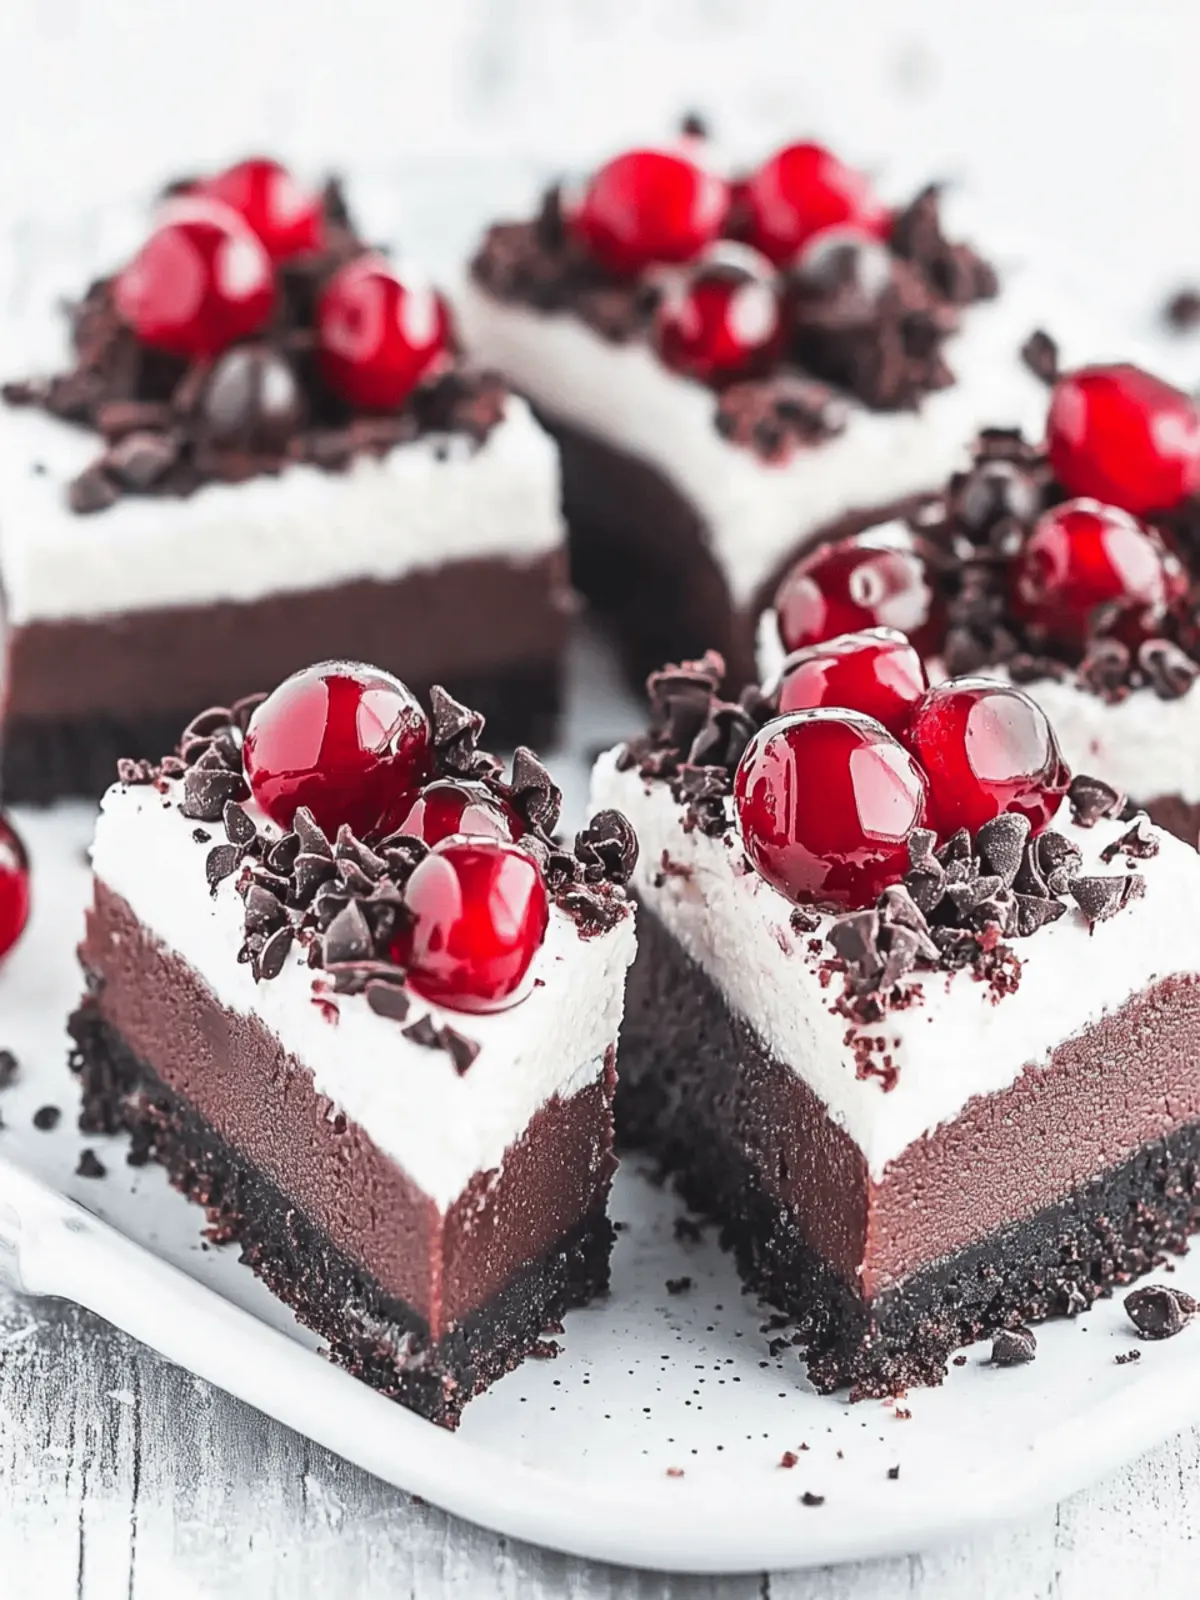
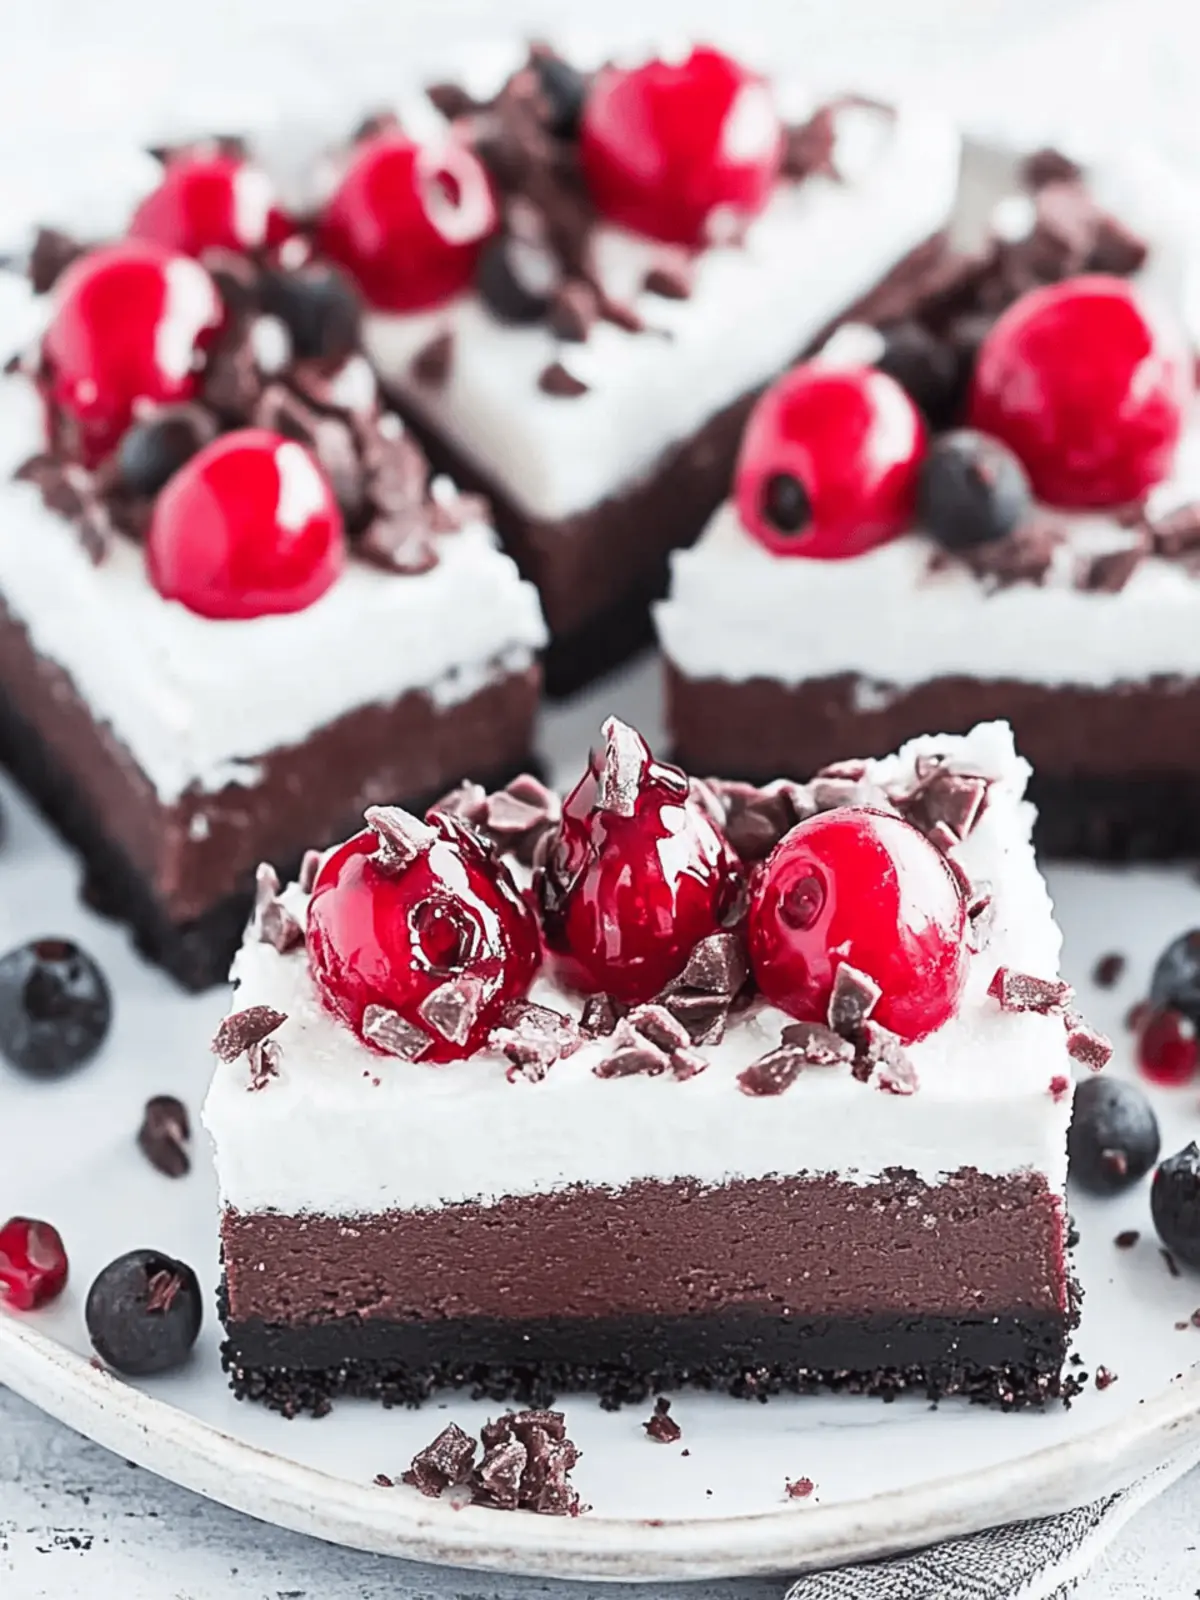
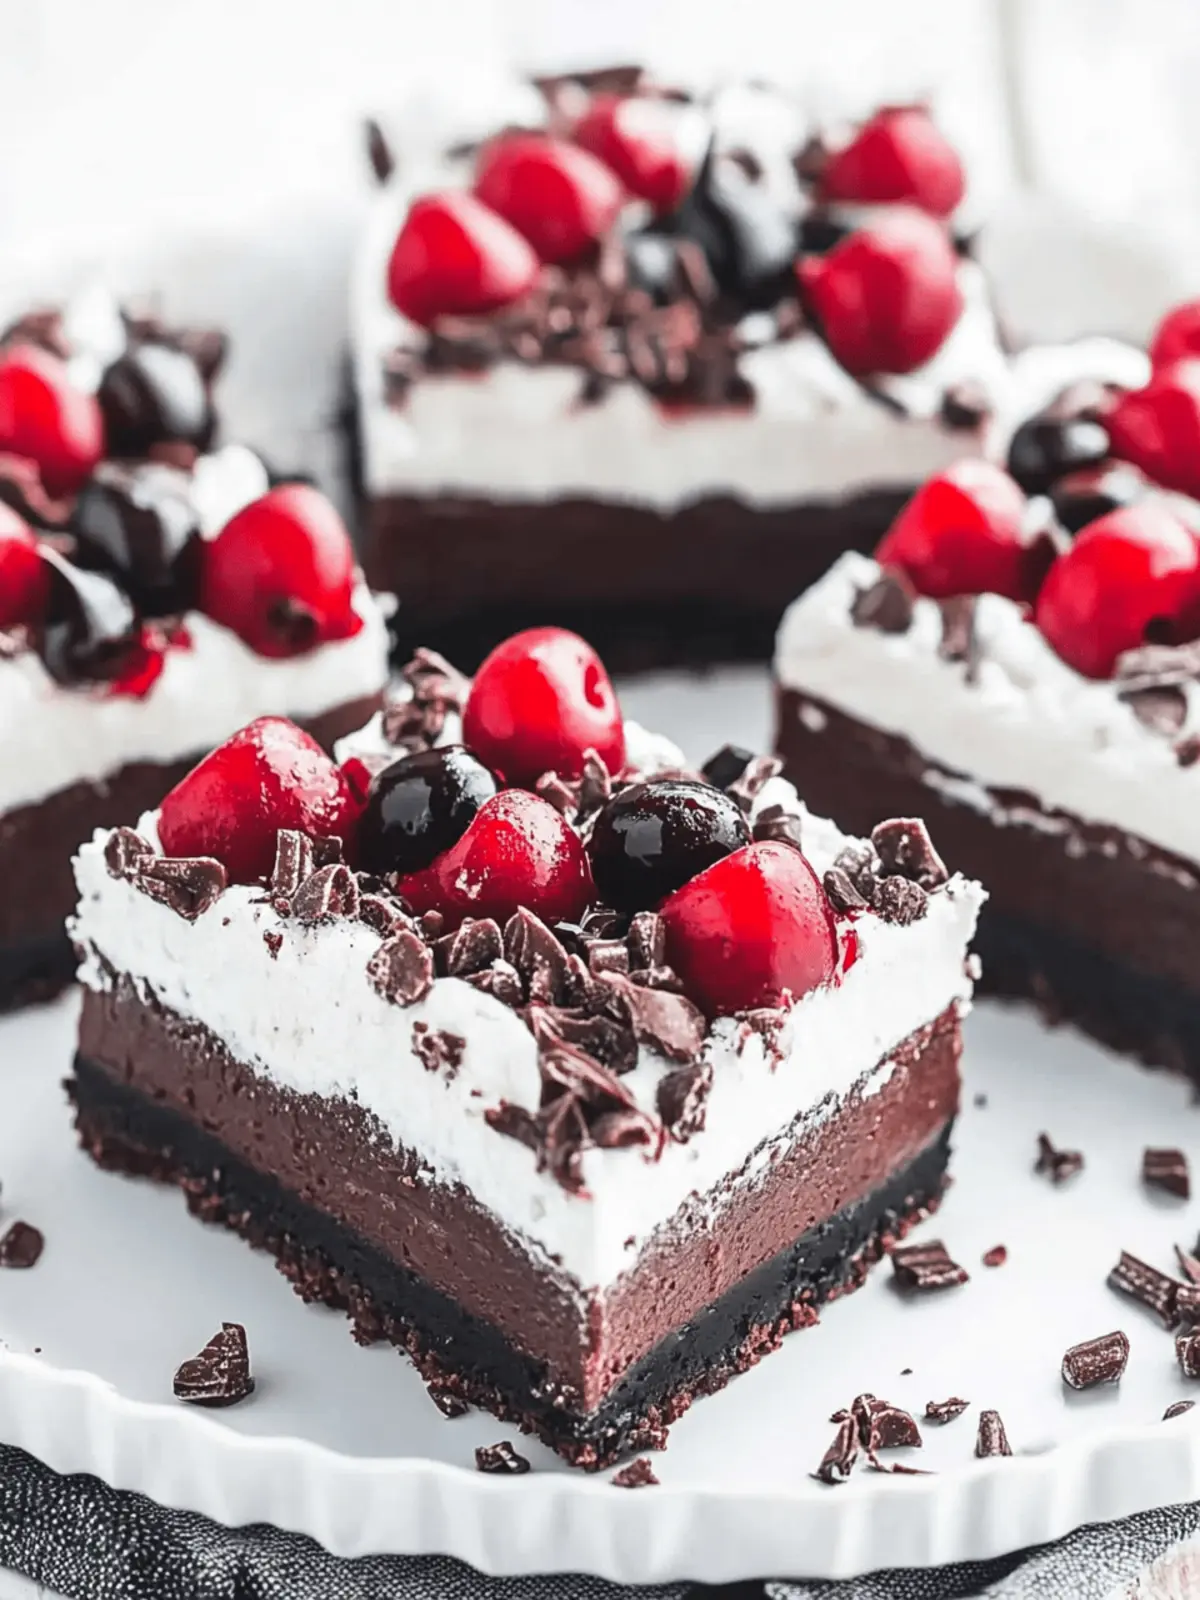
There’s something truly uplifting about the combination of chocolate and cherries—it’s like a celebration of flavors in every bite! When cravings strike for something indulgent yet simple, I often turn to my beloved Black Forest Cheesecake Bars. With an irresistible Oreo crust and a creamy chocolate filling, these bars are not only a feast for the eyes but also a treat that warms the heart. Imagine slicing into a dense, velvety cheesecake, topped generously with fluffy whipped cream, tart cherries, and delicate chocolate shavings.
Perfect for gatherings or a cozy night in, these bars bring the joy of a classic dessert without the fuss of layers and elaborate presentations. Ready to embark on a delightful baking adventure? Let’s dive into this decadently delicious recipe that promises to impress everyone from the toughest critics to your closest friends!
Why Are Black Forest Cheesecake Bars So Special?
Indulgence at Its Finest: These bars marry rich chocolate and tart cherries for an unforgettable taste experience.
Effortless to Make: With just a few simple steps, you can whip up this delightful dessert without any baking stress.
Perfect for Any Occasion: Whether it’s a party or a cozy night in, these bars are the ultimate crowd-pleaser.
Texture Harmony: Enjoy a crunchy Oreo crust combined with creamy, dense cheesecake and fluffy whipped cream on top.
Versatile Sweetness: Try adding different fruit fillings for a unique twist, such as swapping cherries for berries.
Elevate your dessert game with these flavorful Black Forest Cheesecake Bars that everyone will rave about!
Black Forest Cheesecake Bars Ingredients
A delightful mix for your baking pleasure!
For the Crust
- Oreo Cookies – The sweet and crunchy base that holds everything together; ensures a rich chocolate flavor.
- Unsalted Butter – Helps bind the crust for perfect firmness; melt for easier mixing.
For the Filling
- Cream Cheese – Provides the luscious, creamy texture; use at room temperature for smooth blending.
- Granulated Sugar – Sweetens the cheesecake filling beautifully; brown sugar can add depth if desired.
- Melted Dark Chocolate – Infuses the bars with rich chocolate flavor; opt for semi-sweet for balanced sweetness.
- Eggs – Holds the filling together; beat just until combined to avoid cracks.
For the Topping
- Heavy Cream – Whipped to create a light, fluffy topping; can be substituted with whipping cream if necessary.
- Cherry Pie Filling – Adds the signature fruity layer that complements the chocolate; fresh or frozen cherries are also great!
- Chocolate Shavings – Enhances the visual appeal and adds extra chocolate richness; create shavings using a vegetable peeler.
These carefully selected ingredients come together to create the most delightful Black Forest Cheesecake Bars that are sure to impress!
How to Make Black Forest Cheesecake Bars
-
Prepare the Crust: Begin by crushing Oreo cookies in a food processor until fine crumbs form. Mix these crumbs with melted unsalted butter until fully combined, then press the mixture into the bottom of a baking dish to form a solid crust.
-
Make the Filling: In a mixing bowl, beat room temperature cream cheese until smooth and creamy. Gradually mix in granulated sugar and melted dark chocolate until well-blended. Add the eggs one at a time, mixing gently just until combined to maintain a smooth texture.
-
Bake: Pour the delicious filling over the prepared crust and place it in a preheated oven at 325°F. Bake for approximately 45 minutes or until the edges are firm but the center remains slightly soft—this will ensure a creamy filling.
-
Cool: Once baked, let the cheesecake cool at room temperature before refrigerating. Chill for at least 4 hours or overnight to allow the flavors to deepen and the texture to set perfectly.
-
Top and Serve: Whip heavy cream to soft peaks and pipe it gracefully onto the chilled cheesecake bars. Finish by adding dollops of cherry pie filling on top and sprinkle with chocolate shavings before slicing into squares.
Optional: For added flair, drizzle a bit of chocolate sauce over the bars before serving.
Exact quantities are listed in the recipe card below.
Expert Tips for Black Forest Cheesecake Bars
-
Room Temperature Cream Cheese: Start with cream cheese at room temperature to ensure a smooth, lump-free batter. Cold cream cheese can lead to a clumpy texture.
-
Gentle Mixing: Mix the eggs in gently and avoid overmixing to prevent cracks in your cheesecake bars. Just combine them until no streaks of egg remain.
-
Chill Overnight: For the best flavor and texture, allow your Black Forest Cheesecake Bars to chill overnight. This lets the flavors meld beautifully and ensures a firmer set.
-
Oven Accuracy: Make sure your oven temperature is accurate. An oven thermometer can help, as baking at the wrong temperature affects the final texture of your cheesecake.
-
Don’t Skip the Cooling Step: Letting the cheesecake cool at room temperature before refrigerating helps prevent condensation, preserving the creamy topping’s fluffiness.
Black Forest Cheesecake Bars Variations
Discover delightful ways to customize these cheesecake bars to suit your taste buds and occasions!
-
Fruit Swaps: Substitute cherry pie filling with raspberry, blueberry, or strawberry for a fresh fruit twist. The berries add a natural sweetness and vibrant color that’s sure to impress.
-
Cheese Options: Use flavored cream cheeses like vanilla bean or chocolate to enrich the overall profile. This unlocks new dimensions of flavor, adding a delicious twist to each bite.
-
Nutty Addition: Fold in some finely chopped nuts like walnuts or pecans into the batter for a delightful crunch. This brings texture and earthiness, elevating your cheesecake experience.
-
Gluten-Free Crust: For a gluten-free option, utilize gluten-free cookie crumbs instead of Oreos. This way, everyone can indulge in the delightful flavors without concern.
-
Mini Bars: Create individual mini cheesecake bars by using a muffin tin. Simply adjust the baking time down to about 25-30 minutes for perfect bite-sized treats.
-
Caramel Drizzle: Drizzle some caramel sauce over the topped cheesecake bars for a sweet, gooey addition. It enhances flavors while adding a glossy finish that makes it irresistible.
-
Coffee Infusion: Mix in some instant coffee granules or espresso powder into the chocolate filling for a mocha-inspired version. The coffee adds depth and pairs beautifully with chocolate.
-
Spicy Kick: Add a pinch of cayenne pepper to the chocolate filling to give it a surprising heat. It’s a bold twist that makes for a memorable dessert experience!
What to Serve with Black Forest Cheesecake Bars?
The vibrant flavors of chocolate and cherries invite the perfect pairings to elevate your dessert experience.
-
Fresh Berries: Bright, tart berries can enhance the sweet richness of the cheesecake bars, providing a burst of freshness with every bite. Consider serving them alongside or as a garnish.
-
Vanilla Ice Cream: A scoop of creamy vanilla ice cream offers a delightful contrast to the cheesecake’s dense texture, creating a warm and cold sensation that’s utterly indulgent.
-
Chocolate Sauce: Drizzling rich chocolate sauce over the bars adds an extra layer of indulgence, perfect for chocolate lovers who crave that extra dose of sweetness.
-
Coffee: The deep notes of a freshly brewed coffee can complement the chocolate in the cheesecake bars beautifully, making for a perfect after-dinner treat.
-
Mint Leaves: A sprig of fresh mint adds a pop of color and a refreshing scent that cuts through the richness, helping to cleanse the palate.
-
Sparkling Water: Serve the decadent dessert with a chilled glass of sparkling water for a refreshing cleanse between each creamy bite.
-
Whipped Cream: Add extra whipped cream on the side for a light, airy companion to the rich texture of the cheesecake bars—think creamy clouds enhancing your sweet indulgence!
Let your imagination run wild and experiment with these combinations for an unforgettable dessert experience!
Make Ahead Options
These Black Forest Cheesecake Bars are perfect for meal prep enthusiasts looking to save time! You can prepare the crust and filling up to 24 hours in advance. Simply crush the Oreo cookies and mix with melted butter, then keep the crust covered in the refrigerator. For the filling, mix all ingredients as instructed, pour it over the crust, and bake. Once cooled, refrigerate the cheesecake for at least 4 hours or overnight to set properly. When you’re ready to serve, whip the cream, and pipe it on top, finishing with cherry pie filling and chocolate shavings. These steps ensure your bars remain just as delicious, making them ideal for busy weeknights or last-minute gatherings!
How to Store and Freeze Black Forest Cheesecake Bars
Fridge: Store these luscious cheesecake bars covered in an airtight container for up to 5 days. This ensures they stay fresh and delicious.
Freezer: For longer storage, you can freeze the bars tightly wrapped in plastic wrap and then placed in an airtight container for up to 2 months.
Thawing: When ready to enjoy, thaw the cheesecake bars in the refrigerator overnight before serving for the best texture and flavor.
Reheating: If you prefer your bars slightly warmed, gently heat them in the microwave for 10-15 seconds until just warm. Enjoy!
Black Forest Cheesecake Bars Recipe FAQs
What type of cherries should I use for Black Forest Cheesecake Bars?
Absolutely! For the best flavor, I recommend using cherry pie filling, as it’s sweet and complements the rich chocolate perfectly. If you’re feeling adventurous, you can also use fresh or frozen cherries; just make sure to pit and slice them before use. If using fresh, toss the cherries in a little bit of sugar to enhance their sweetness.
How should I store leftover Black Forest Cheesecake Bars?
Very! Store your cheesecake bars in an airtight container in the refrigerator for up to 5 days. If you cover them properly, they’ll keep their deliciousness and freshness, making sure every bite remains as tasty as the first. Just an extra tip: If you stack layers, place wax paper in between to prevent sticking!
Can I freeze Black Forest Cheesecake Bars?
The more the merrier! You can freeze your cheesecake bars for up to 2 months. Wrap them tightly in plastic wrap, then place them in an airtight container to prevent freezer burn. When you’re ready to enjoy, simply thaw them in the refrigerator overnight. This allows them to maintain their creamy texture while ensuring they’re at the perfect temperature to serve.
What if my cheesecake bars crack during baking?
No worries! If you notice cracks in your cheesecake bars, it’s often due to overmixing or baking at too high a temperature. To prevent this, mix your eggs just until combined for a smooth batter and ensure your oven isn’t running too hot. If cracks do occur, you can still top your bars with whipped cream or chocolate shavings to give them a beautiful finish—imperfections make them charming!
Can I make Black Forest Cheesecake Bars in advance?
Absolutely! These bars can be made up to 2 days in advance. Prepare them as usual, let them chill properly, and then store in the fridge covered. This makes them perfect for parties or gatherings since you can prepare them ahead of time and simply enjoy the occasion!

Irresistible Black Forest Cheesecake Bars for Ultimate Indulgence
Ingredients
Equipment
Method
- Prepare the Crust: Crush Oreo cookies in a food processor until fine crumbs form. Mix with melted unsalted butter and press into the bottom of a baking dish.
- Make the Filling: Beat cream cheese until smooth. Gradually mix in granulated sugar and melted dark chocolate. Add eggs one at a time, mixing gently.
- Bake: Pour filling over crust. Bake in a preheated oven at 325°F for 45 minutes or until edges are firm.
- Cool: Let cheesecake cool at room temperature, then refrigerate for at least 4 hours or overnight.
- Top and Serve: Whip heavy cream and pipe onto chilled bars. Add cherry pie filling and chocolate shavings before serving.


