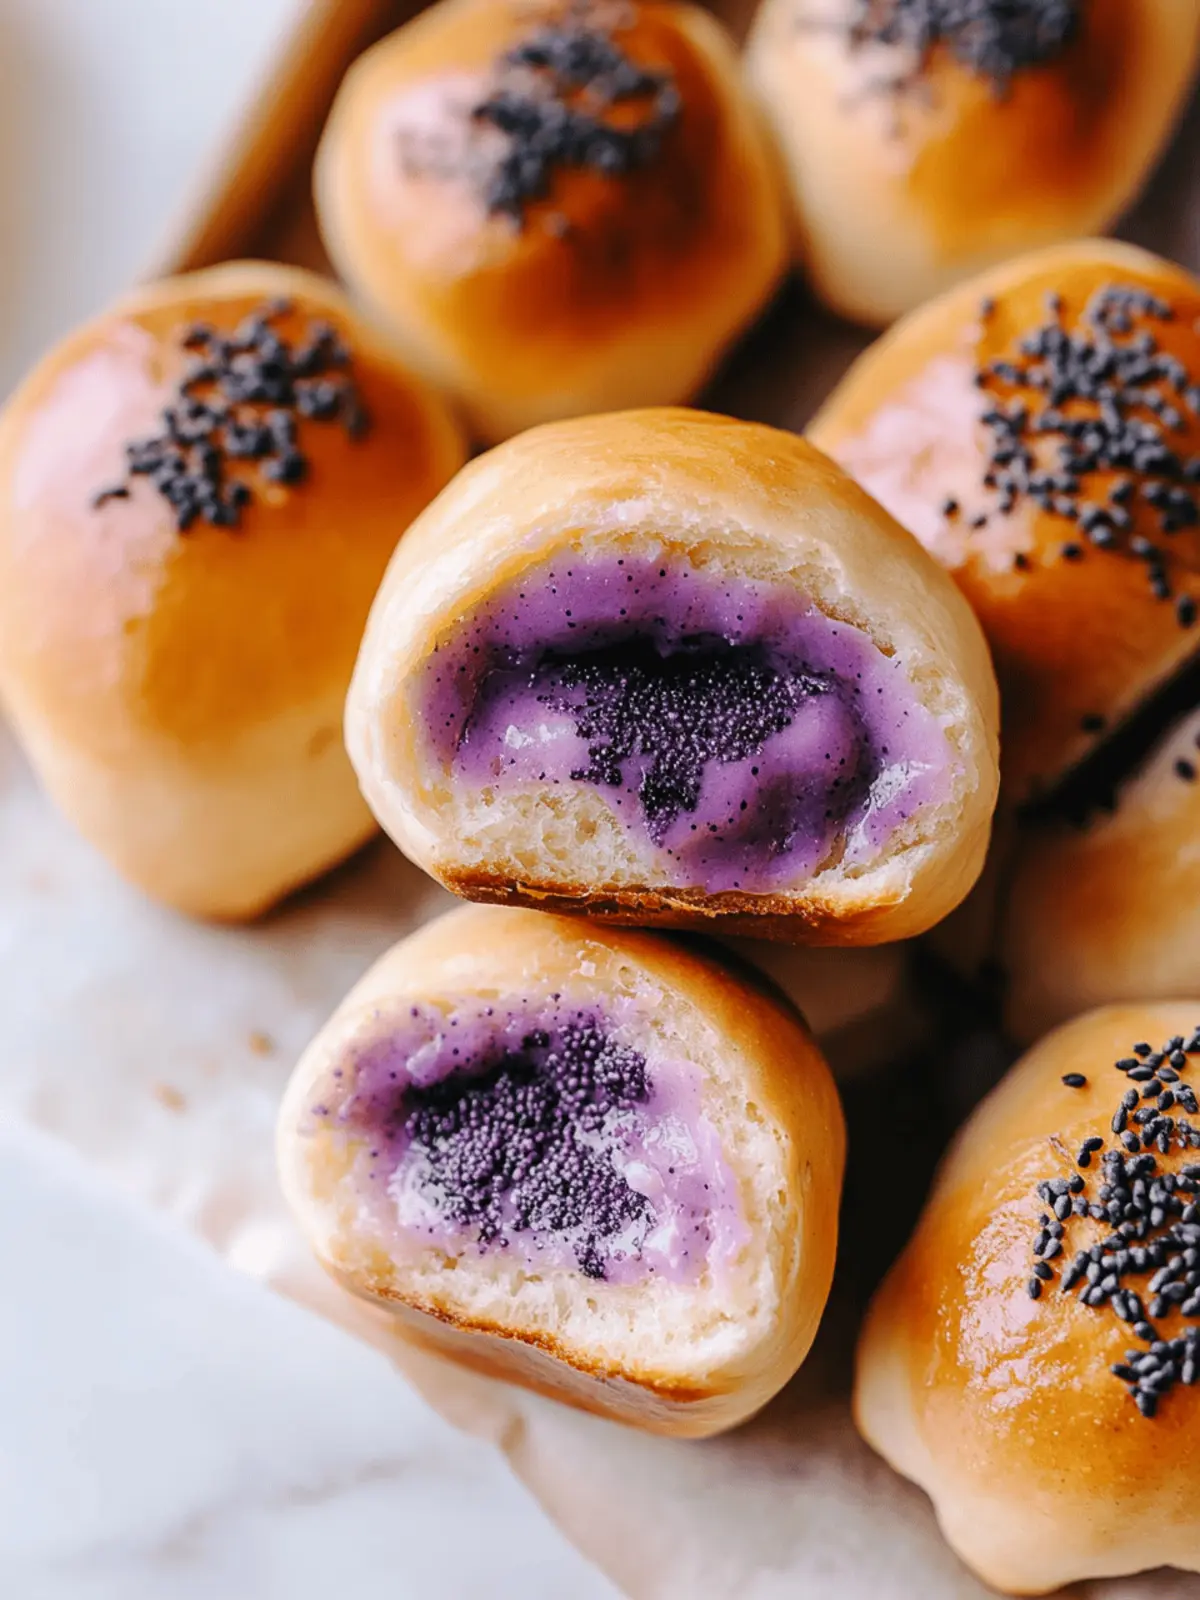
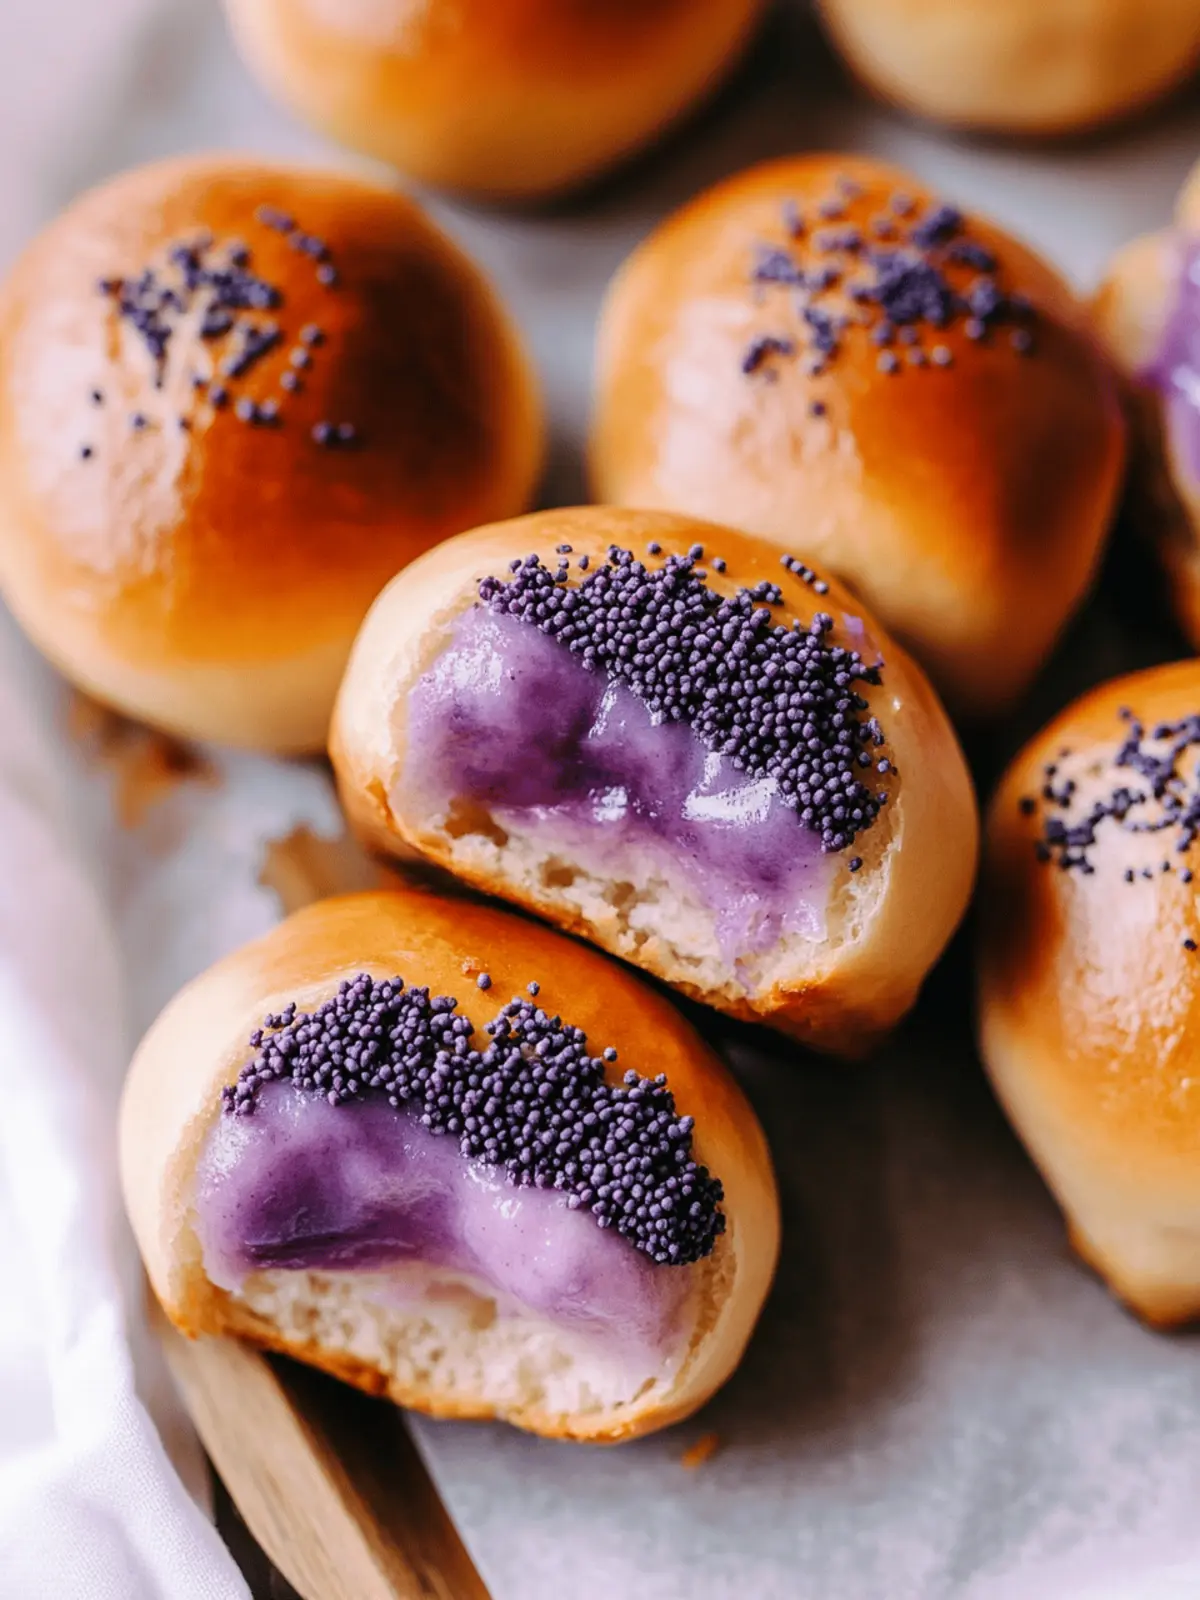
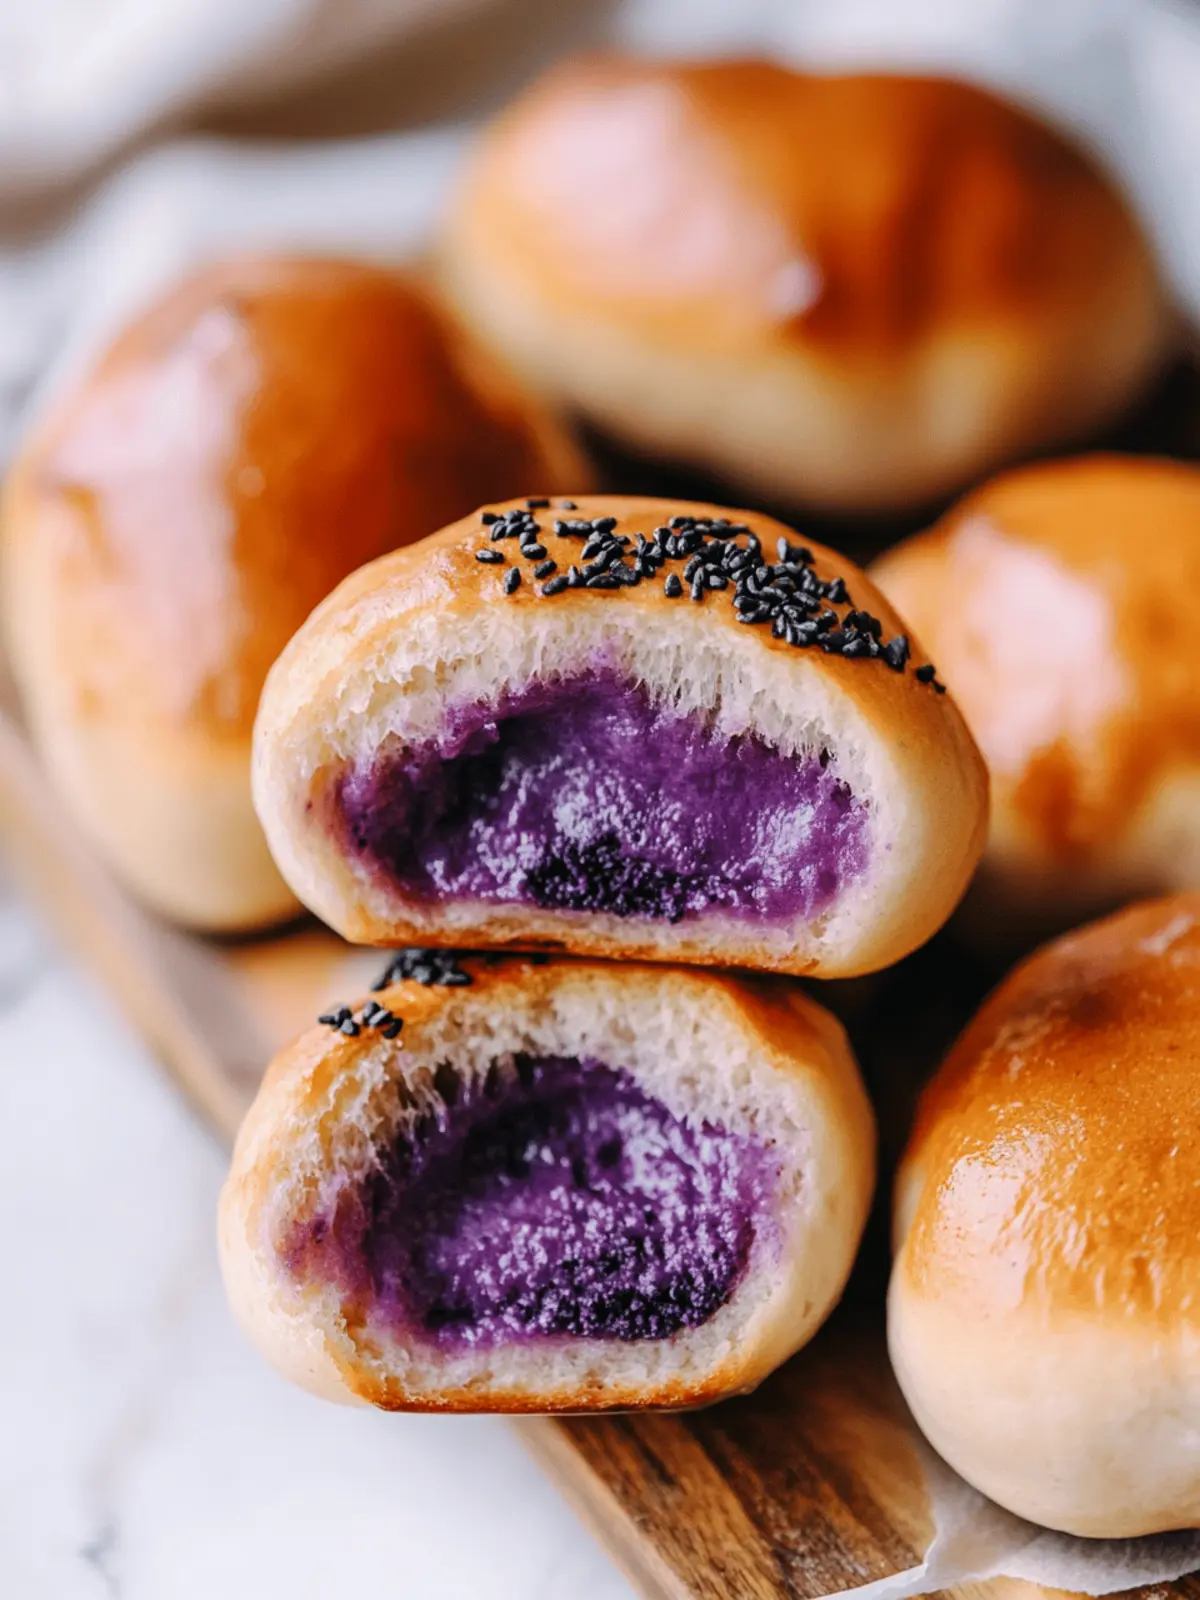
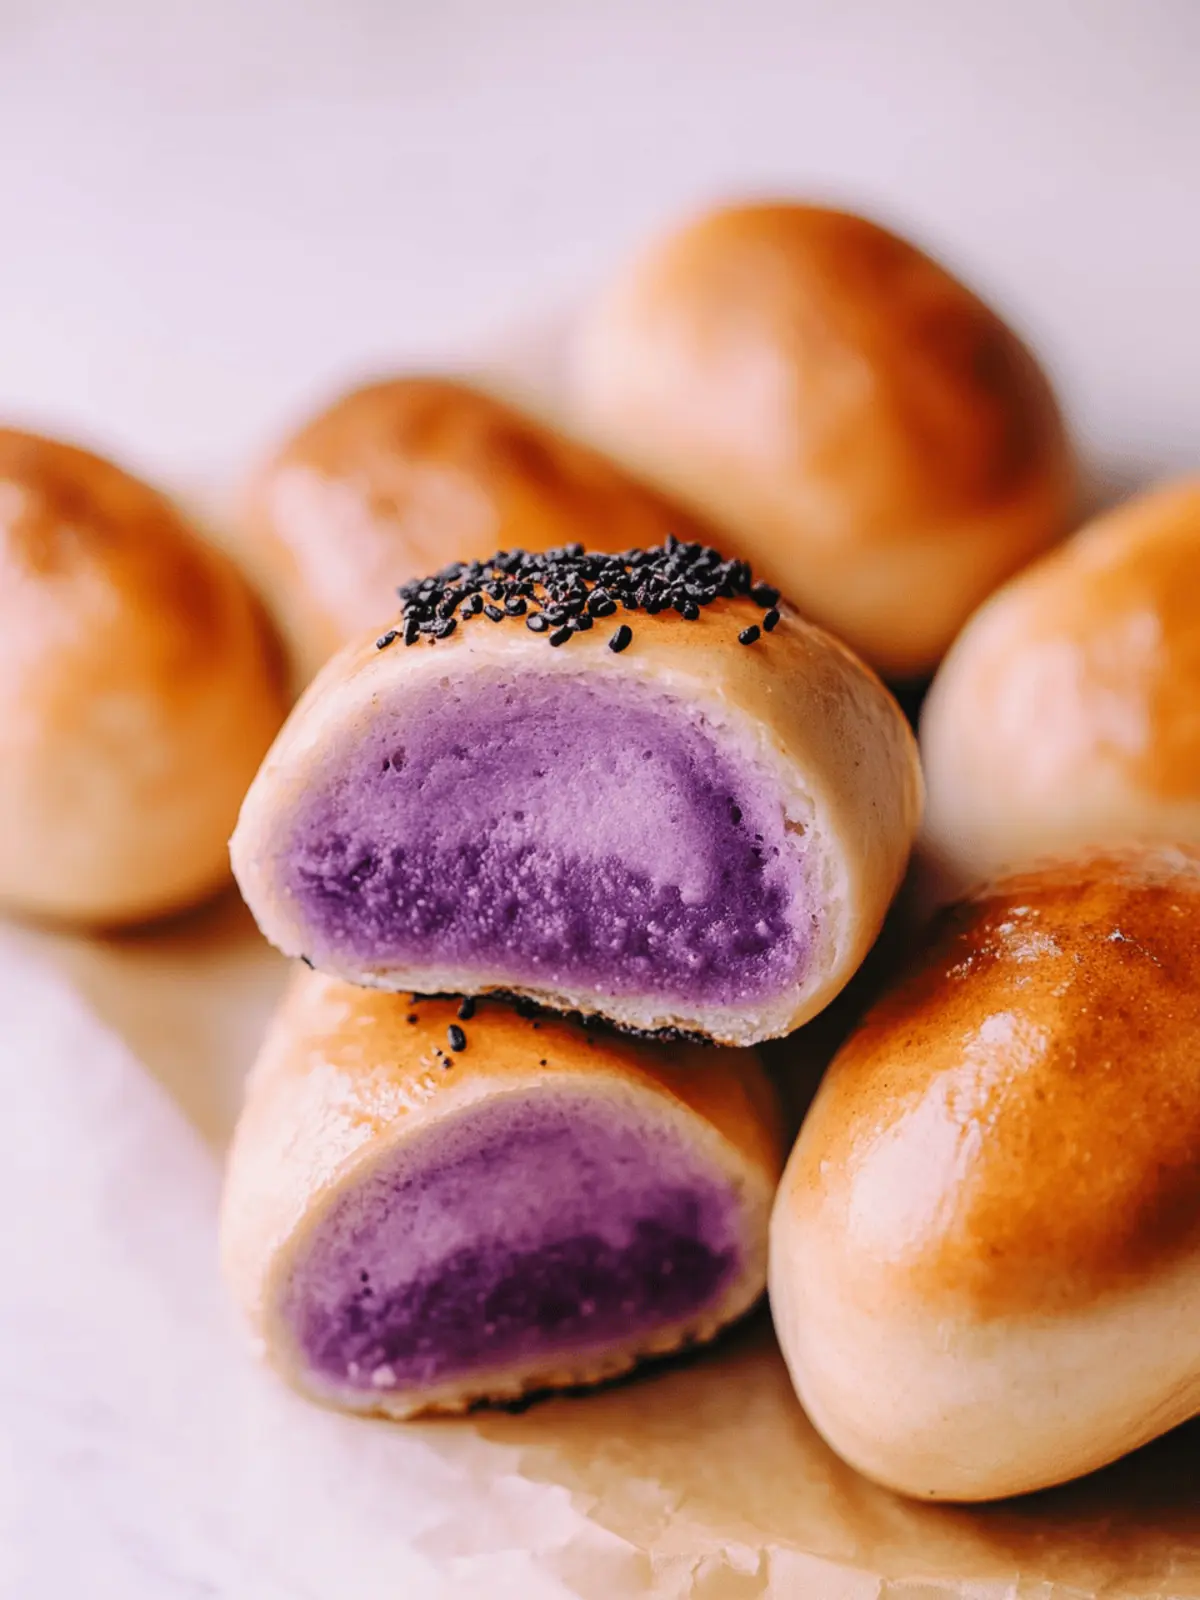
There’s a warmth and joy that fills my kitchen when baking these Coconut Ube Buns. The moment you combine the rich, creamy ingredients and watch the dough come together, it feels like a hug in culinary form. The soft, fluffy milk bread cradling that vibrant purple ube halaya filling is not just a feast for the eyes but a comforting treat that transports me straight to the streets of the Philippines.
When I first tried these delightful buns at a family gathering, I couldn’t believe how they combined a mellow sweetness with hints of coconut and a dash of vanilla. They were the star of the dessert table, perfectly suited for casual snacking or festive celebrations. Imagine pulling a warm bun apart, revealing that gorgeous filling, and savoring a bite that feels like a slice of happiness. Ready to experience this soft, sweet, and utterly delightful treat? Let’s dive into making your own batch of Coconut Ube Buns!
Why Are Ube Buns a Must-Try?
Softness that melts in your mouth: These ube buns have a wonderfully airy texture, ensuring every bite feels like a warm embrace.
Vibrant Flavors combine to create magic: The sweet ube halaya and subtle coconut notes blend seamlessly, making for a unique taste experience.
Crowd-Pleaser for any occasion: Whether it’s a family gathering or a simple tea time, these buns are sure to impress everyone.
Easy to Make: With straightforward steps, even novice bakers can create these delicious treats with confidence.
Versatile fillings: Not only can you savor the classic ube, but you can also experiment with other flavor combinations to delight your taste buds! Enjoy exploring new variations using ideas from the ingredient breakdown.
Ube Buns Ingredients
For the Dough
• Heavy Cream – Adds richness and moisture to the dough. Substitution: Can be replaced with additional milk.
• Milk – Provides hydration and necessary structure in the dough. Use whole milk for best results, but 1% or 2% is acceptable.
• Egg – Acts as a binder and enhances the bread’s texture. Ensure it’s at room temperature for better mixing.
• Granulated Sugar – Sweetens the dough. Adjust quantity to taste; for less sweetness, reduce by a tablespoon.
• Cake Flour – Contributes to a tender crumb. Substitution: Use all-purpose flour if necessary.
• Bread Flour – Provides elasticity and structure. Substitution: Can use all-purpose flour, but the texture will change slightly.
• Active Dry Yeast – Leavening agent that helps the dough rise. Ensure the yeast is fresh for effective rising.
• Salt – Enhances flavor and regulates yeast activity.
For the Ube Filling
• Ube (Purple Yam) – Main flavor component, providing sweetness and color. Make sure to use fresh or frozen ube.
• Coconut Oil – Enhances the tropical aroma and moisture of the filling. Can substitute with vegetable oil.
• Unsalted Butter – Adds richness and flavor to the ube filling.
• Vanilla Extract – Adds depth of flavor.
Optional Toppings
• Sesame Seeds – Adds a nutty flavor when baked.
Indulge in these fluffy Ube Buns that not only satisfy your sweet tooth but also create memories with every bite!
How to Make Ube Buns
-
Combine Ingredients: In a stand mixer, mix heavy cream, milk, egg, sugar, cake flour, bread flour, yeast, and salt. Use the dough hook on stir for about 15 minutes until the dough is sticky yet elastic.
-
Proof the Dough: Cover the bowl with a damp towel and place it in a warm location. Allow the dough to rise for 1-2 hours or until it has doubled in size, becoming fluffy and airy.
-
Prepare Ube Filling: Steam the peeled and cubed ube for 30 minutes until fork-tender. Once cooked, mash it together with sugar, salt, coconut oil, and butter until it’s smooth and creamy.
-
Knead & Shape: When the dough has risen, knead it for about 5 minutes. Divide the dough into 12 equal pieces, shape them into balls, then flatten and roll into rectangles. Spread the delicious ube filling, roll tightly, and pinch the ends to seal.
-
Second Proof: Allow the shaped buns to rise again in a warm area for about an hour, letting them puff up before baking.
-
Bake: Preheat your oven to 350°F (175°C). Brush each bun with an egg wash and sprinkle with sesame seeds for that nutty touch. Bake for 16-18 minutes until golden brown and fragrant.
-
Finish: For added sweetness and shine, brush the tops of the warm buns with sugar water right after removing them from the oven.
Optional: For a fun twist, add a sprinkle of toasted coconut flakes on top before baking.
Exact quantities are listed in the recipe card below.
How to Store and Freeze Ube Buns
Room Temperature: Keep the ube buns in an airtight container at room temperature for up to 2 days to maintain their soft texture and flavor.
Fridge: For longer storage, place the buns in the refrigerator for up to 6 days. Just be sure to wrap them well to prevent drying out.
Freezer: Ube buns freeze beautifully! Store them in a freezer-safe bag or container for up to 3 months. Make sure to wrap them tightly to prevent freezer burn.
Reheating: When ready to enjoy, reheat the buns in the microwave for about 15-20 seconds or in an oven preheated to 350°F (175°C) for a few minutes until warm. Enjoy the deliciousness of your Ube Buns!
Make Ahead Options
These Ube Buns are perfect for busy home cooks looking to save time! You can prepare the dough and ube filling up to 24 hours in advance. Simply make the dough as instructed, then wrap it tightly in plastic wrap and refrigerate. For the ube filling, follow the cooking instructions and store it in an airtight container in the fridge. To maintain quality, allow the dough to come to room temperature for about 30 minutes before shaping and proofing. When you’re ready to finish, shape the buns and let them rise for the second proof, then bake as directed for that wonderfully fluffy texture you crave, just like fresh!
What to Serve with Ube Buns?
Serve these fluffy delights alongside a medley of flavors and textures to create a memorable meal or snack experience.
-
Coconut Milk Tea: A warm cup of coconut milk tea enhances the tropical essence of ube, making for a comforting pairing with every bite.
-
Fresh Mango Slices: The sweetness of ripe mango complements the ube’s mellow flavor, balancing each mouthful beautifully with a fruity freshness.
-
Grilled Pork Skewers: Savory and charred, these skewers create a delightful contrast to the soft sweetness of the buns, elevating your meal experience.
-
Adobo Chicken: The rich, savory notes of this classic Filipino dish act as the perfect counterpart to the sweet, fluffy ube buns.
-
Tropical Fruit Salad: A bright mix of pineapple, papaya, and kiwi brings vibrant colors and refreshing tastes that harmonize with the sweet buns.
-
Coffee with Cream: Brewed coffee, perhaps with a splash of cream, offers a robust flavor that balances the sweet, light nature of the ube buns, making each bite even more enjoyable.
Imagine cozying up with a plate of these combinations, each one adding its own twist to your delightful ube bun experience!
Expert Tips for Perfect Ube Buns
-
Temperature Matters: Ensure all ingredients, especially the egg, are at room temperature to promote better mixing and dough consistency.
-
Sticky Dough Solution: If the dough feels too sticky, gradually add flour a little at a time until you reach an elastic, workable consistency.
-
Proofing Perfection: Create a warm, humid environment by placing the dough in a microwave with a bowl of hot water to enhance its rising ability.
-
Yeast Freshness: Always check that your active dry yeast is fresh. If it bubbles when mixed with warm water and sugar, you’re good to go!
-
Filling Variations: Don’t hesitate to explore beyond the ube! Try fillings like red bean paste or sweet cream cheese for exciting new flavor profiles.
-
Baking Watch: Keep an eye on your buns as they bake, as oven temperatures can vary. Remove them once they turn golden for that perfect fluffy texture.
Ube Buns Variations & Substitutions
Feel free to explore your creativity in the kitchen and craft these delightful buns to suit your taste buds.
- Dairy-Free: Substitute heavy cream and milk with almond or oat milk for a plant-based option without compromising on texture.
- Whole Wheat: Swap all-purpose flour with whole wheat flour for a heartier, nuttier flavor that enhances the bun’s depth.
- Additional Sweetness: Add a touch of coconut sugar to the filling for a caramel-like flavor that beautifully complements the ube.
- Stuffed Surprises: Try filling these buns with sweetened cream cheese or chocolate ganache for a decadent twist that spices up the traditional recipe.
- Spicy Kick: Incorporate a hint of chili flakes into the filling for an unexpected heat that balances the sweetness of the ube.
- Nutty Flavor: Mix in finely chopped toasted nuts, such as almonds or macadamia nuts, for added crunch and richness in every bite.
- Zesty Infusion: Add a dash of citrus zest, like orange or lemon, to wake up the ube filling with bright, zesty notes that tantalize the palate.
- Coconut Flakes: Fold in shredded coconut into the filling for an extra tropical touch that enhances the bun’s coconut notes.
Let your individuality shine through these variations and make each batch of ube buns a unique culinary adventure!
Ube Buns Recipe FAQs
What should I look for when selecting ube?
Absolutely! When selecting ube, choose vibrant, firm purple yams without any dark spots or soft areas. Fresh ube should feel heavy for its size, and if using frozen ube, ensure it’s defrosted completely and free of ice crystals before cooking.
How do I store leftover ube buns?
You can keep your ube buns in an airtight container at room temperature for about 1-2 days to preserve their delightful softness. If you want to extend their freshness further, moving them to the refrigerator will keep them good for up to 6 days; just make sure they’re wrapped well to prevent drying out.
Can I freeze the ube buns? If so, how?
Absolutely! To freeze your ube buns, first let them cool completely. Then, wrap each bun tightly in plastic wrap or aluminum foil and place them in a freezer-safe zip-top bag. They can be stored for up to 3 months. When you’re ready to enjoy them, thaw in the fridge overnight, then reheat in the microwave for about 15-20 seconds or in a preheated oven for a few minutes until warm.
What if my dough is too sticky?
Very! If you find the dough too sticky after mixing, don’t worry. Just sprinkle a little flour, about a tablespoon at a time, into the bowl and continue mixing until it reaches a smooth, elastic consistency. It’s important to avoid adding too much flour initially, as that can lead to dense buns.
Are these buns suitable for people with dietary restrictions?
Yes! For those with allergies or dietary concerns, you can make these ube buns by substituting non-dairy milk for regular milk and using egg replacements like flaxseed meal or unsweetened applesauce. Always check labels for gluten if you opt for alternative flours, and ensure that all your ingredients are safe for your dietary needs.
Can I use all-purpose flour instead of cake and bread flour?
Absolutely! If you only have all-purpose flour on hand, you can use it as a substitute for both cake and bread flour in this recipe. Just keep in mind that the texture might be slightly different; the buns may not be as light and fluffy, but they’ll still be delicious!

Fluffy Ube Buns with Sweet Coconut Filling You’ll Love
Ingredients
Equipment
Method
- Combine heavy cream, milk, egg, sugar, cake flour, bread flour, yeast, and salt using a stand mixer with a dough hook for about 15 minutes.
- Cover the bowl with a damp towel and place it in a warm location for 1-2 hours until the dough rises and doubles in size.
- Steam the peeled and cubed ube for 30 minutes until fork-tender, then mash it with sugar, salt, coconut oil, and butter until smooth.
- Knead the risen dough for about 5 minutes, divide into 12 pieces, shape into balls, and flatten into rectangles.
- Spread the ube filling, roll tightly, and pinch the ends to seal.
- Allow the shaped buns to rise again for about an hour in a warm area.
- Preheat your oven to 350°F (175°C) and brush each bun with an egg wash, sprinkling with sesame seeds.
- Bake for 16-18 minutes until golden brown and fragrant.
- Brush the tops with sugar water right after removing from the oven.


