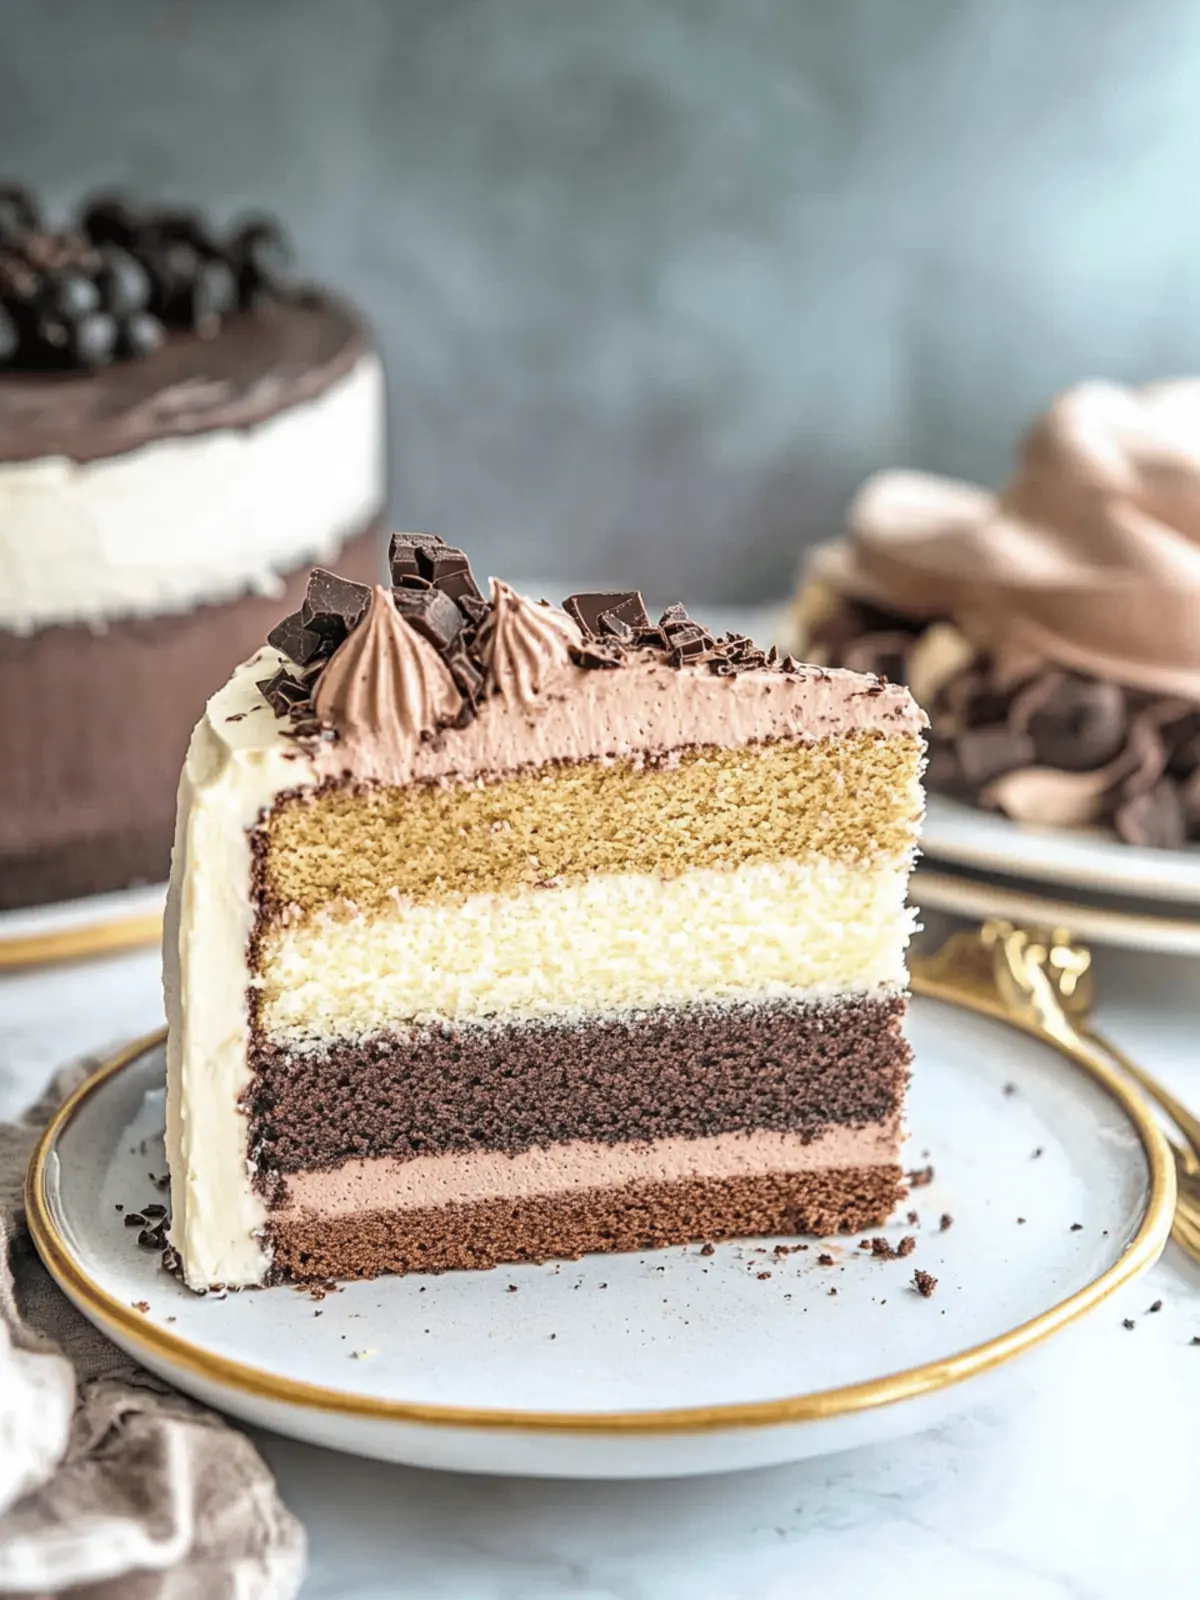
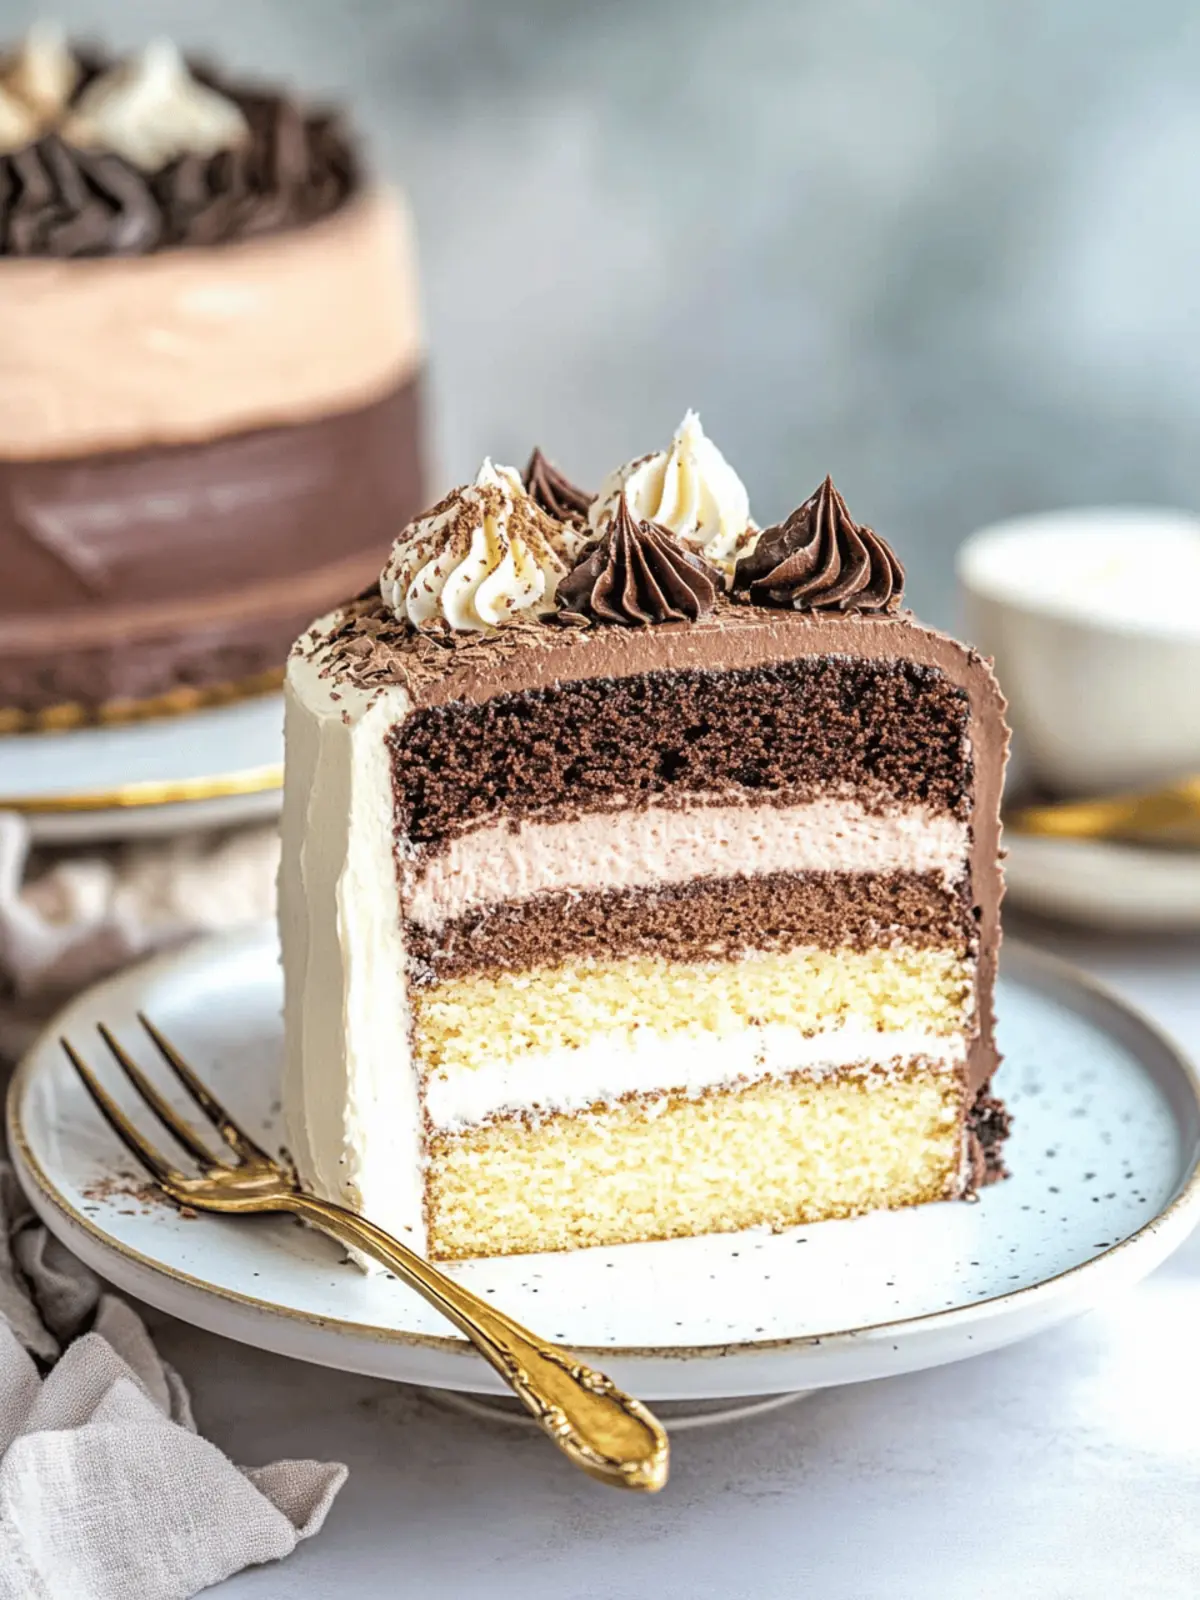
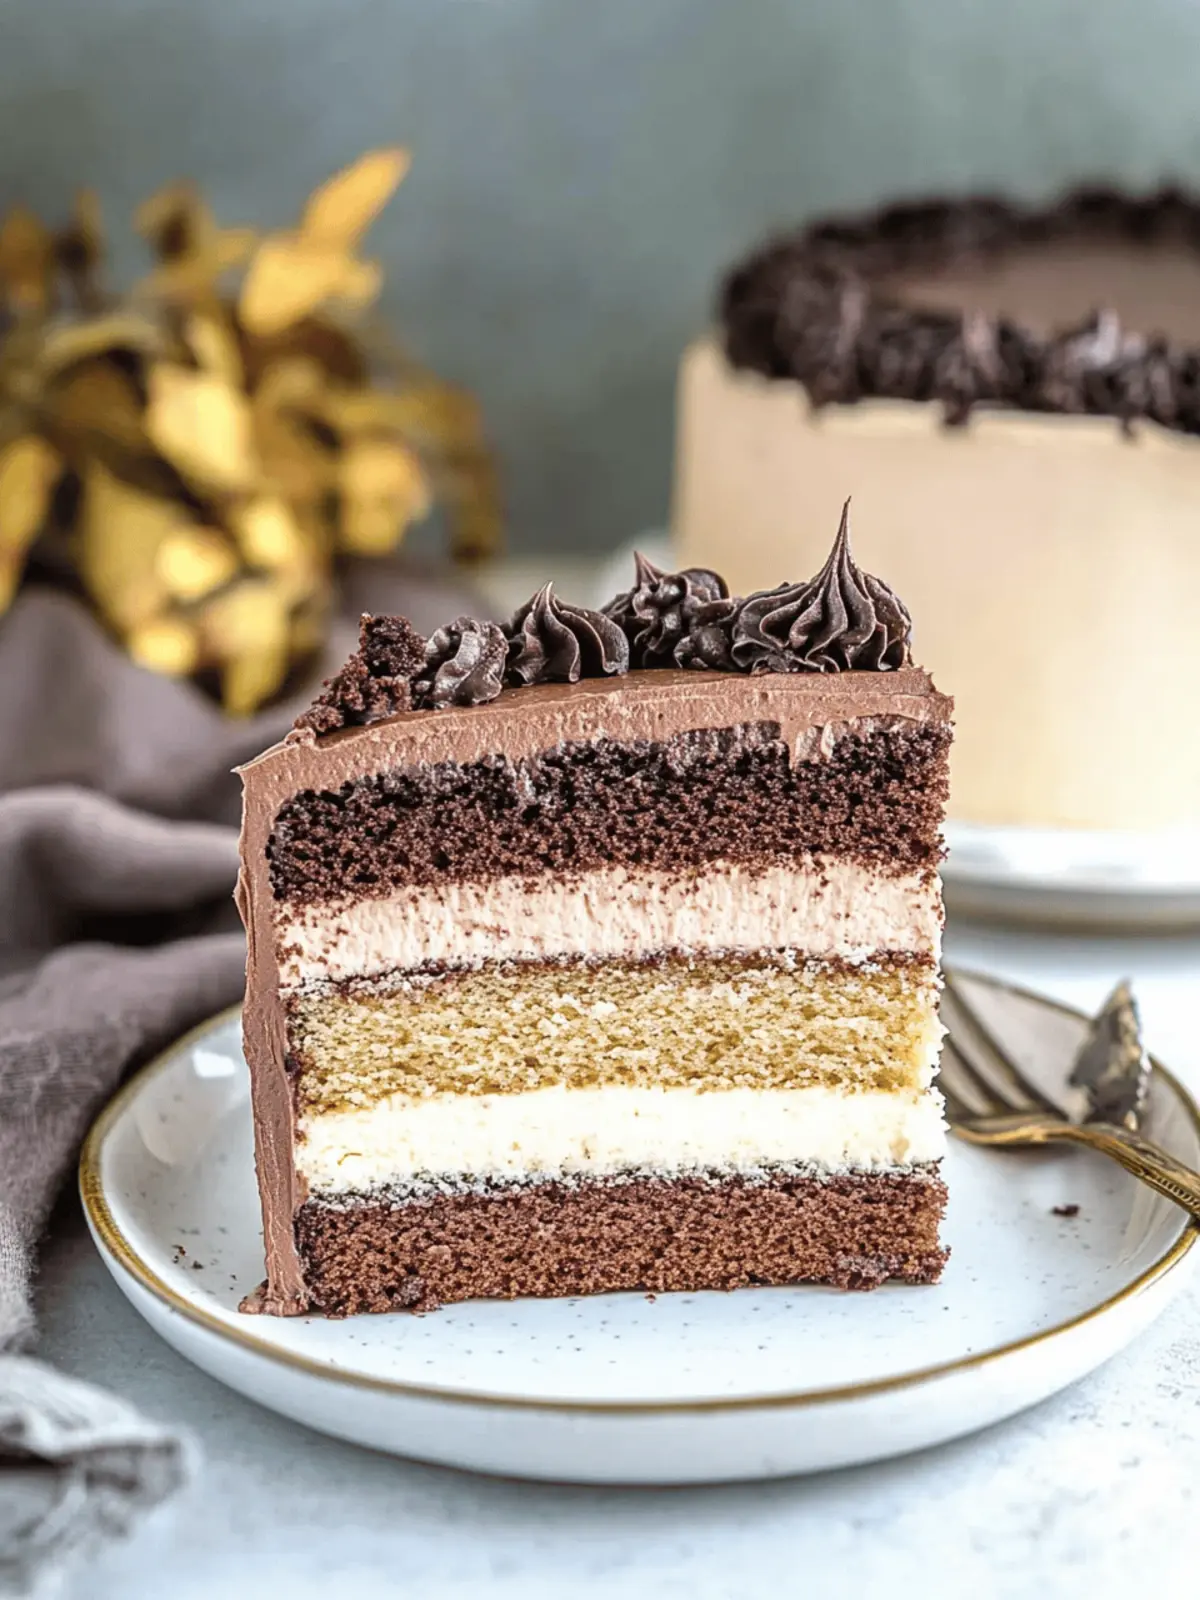
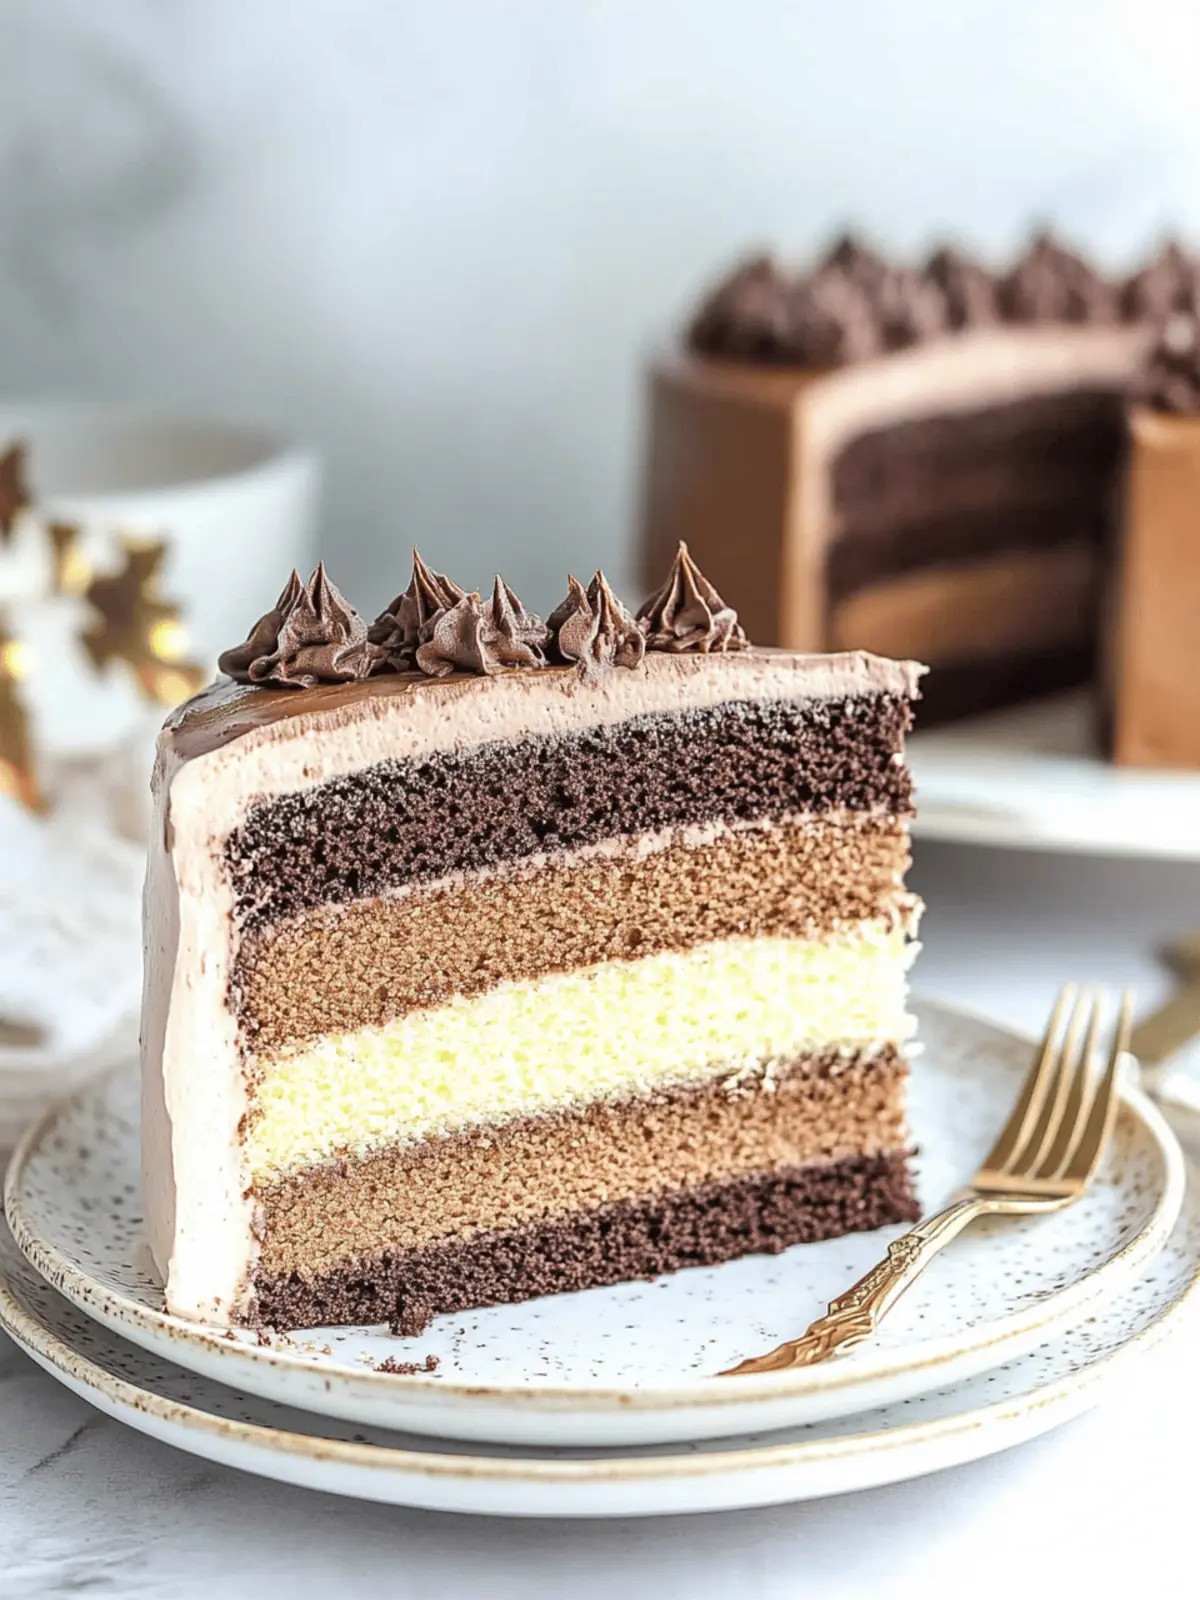
There’s a certain charm that comes with baking the perfect cake, and my Ombre Chocolate Cake is no exception. Picture this: four luxurious layers, each transitioning seamlessly from light vanilla to rich, dark chocolate. Just the thought of slicing into this stunning dessert makes my heart skip a beat. The combination of Dutch and black cocoa powders creates a depth of flavor that’s simply irresistible. Whether you’re celebrating a birthday, an anniversary, or just indulging in a sweet treat to brighten your day, this cake offers not just a feast for the eyes but also a delight for the palate.
I found myself dreaming up this recipe during a cozy afternoon, inspired by the vibrant colors of a sunset. That moment sparked a delicious quest in my kitchen, where I combined technique and flavors to create a cake that is as beautiful as it is tasty. So, if you’re ready to impress your friends and family with an easy, yet luxurious dessert that leaves fast food behind for good, let’s dive into this delightful ombre adventure!
Why is Ombre Chocolate Cake a must-try?
Visual Appeal: The striking ombre effect makes this cake a showstopper, perfect for any celebration.
Delicious Layers: Each layer blends light vanilla with deep chocolate, resulting in a taste sensation that’s hard to resist.
Simple Steps: Even novice bakers can achieve professional-looking results with this straightforward method.
Versatile Treat: It’s not just a birthday cake; serve it for anniversaries, holidays, or casual gatherings, and wow your guests!
Make-Ahead Friendly: Prepare layers in advance and freeze, saving you time on busy days.
Embrace the charm of this Ombre Chocolate Cake, and elevate your dessert game with a cake that looks as good as it tastes!
Ingredients for Ombre Chocolate Cake
Dive into the layers of flavor with these essential ingredients that create our stunning ombre masterpiece.
For the Cake
- Butter – Provides moisture and richness; ensure it’s at room temperature for better incorporation.
- Granulated Sugar – Sweetens the cake and helps with the batter structure.
- Eggs – Essential for binding and moisture; use large eggs at room temperature for best results.
- All-Purpose Flour – The main structure for the cake; can substitute with cake flour for a lighter texture.
- Baking Powder/Baking Soda – Fresh leavening agents help the cake rise perfectly.
- Salt – Enhances the flavor balance; always include to complement sweet ingredients.
- Buttermilk – Adds moisture and a slight tang; substitute with milk and vinegar if needed.
- Vanilla Extract – Provides a warm, sweet flavor; opt for pure vanilla for the best taste.
- Dutch Process Cocoa Powder – Adds rich chocolate flavor and dark color; essential for achieving the ombre effect.
- Black Cocoa Powder – Used in the darkest layer, creating depth of flavor and color.
- Vegetable Oil – Contributes moisture to the chocolate layers, preventing dryness from added cocoa.
For the Frosting
- Unsalted Butter – The base for creamy frosting; must be at room temperature for optimal mixing.
- Confectioners’ Sugar – Sweetens and thickens the frosting; sift before using for a smoother texture.
- Heavy Cream – Gives a smooth consistency to the frosting; adjust according to your desired thickness.
Gather these ingredients, and let’s start our adventure with the Ombre Chocolate Cake that will definitely steal the show at your next celebration!
How to Make Ombre Chocolate Cake
-
Prepare the Cake Pans: Preheat your oven to 350°F (175°C). Line and spray four 8-inch round cake pans with cooking spray, ensuring they’re ready for the delicious batter.
-
Make the Cake Batter: In a mixing bowl, cream the butter and granulated sugar until light and fluffy. Add in the eggs one at a time, mixing well after each addition until the mixture is smooth and creamy.
-
Combine Dry Ingredients: In another bowl, whisk together the flour, baking powder, baking soda, and salt. Gradually add this dry mixture to the wet ingredients, alternating with buttermilk and vanilla to ensure a smooth batter.
-
Create Ombre Layers: Divide the batter into four equal bowls. Mix in varying amounts of Dutch and black cocoa powders to achieve a gradient effect—from the lightest vanilla layer to the deepest chocolate layer.
-
Bake Layers: Pour each layer into the prepared pans, starting with the lightest. Bake for 23-25 minutes or until a toothpick inserted in the center comes out moist with crumbs, not wet batter.
-
Make the Frosting: Beat the unsalted butter in a bowl until fluffy. Gradually sift in the confectioners’ sugar and mix until incorporated. Add vanilla extract and heavy cream for a smooth texture. Divide the frosting into two bowls and mix in cocoa powder for the ombre effect.
-
Assemble the Cake: Once the layers are cooled, trim the tops for evenness. Stack the layers according to the gradient, spreading the corresponding frosting between each layer. Frost the sides, creating a beautiful ombre effect that showcases the delightful colors.
Optional: Garnish with chocolate shavings for an extra touch of elegance.
Exact quantities are listed in the recipe card below.
How to Store and Freeze Ombre Chocolate Cake
Room Temperature: Store leftover cake covered at room temperature for up to 3 days. Ensure it’s wrapped tightly to maintain freshness.
Fridge: If you prefer, you can refrigerate the cake for up to a week. Just be sure to use an airtight container to prevent it from absorbing odors.
Freezer: For longer storage, freeze the cake layers individually wrapped in plastic wrap for up to 3 months. Thaw in the refrigerator before serving.
Reheating: If you wish to enjoy the cake warm, gently heat individual slices in the microwave for about 10-15 seconds, and enjoy the rich flavors of your Ombre Chocolate Cake!
Make Ahead Options
These Ombre Chocolate Cake layers are perfect for meal prep enthusiasts! You can bake the cake layers up to 3 months in advance and freeze them individually wrapped in plastic wrap and aluminum foil to maintain freshness. For a quicker solution, the un-frosted layers can be refrigerated for up to 3 days before assembly. Simply allow the layers to come to room temperature before frosting to ensure a smooth finish. When you’re ready to serve, just whip up the frosting and assemble the cake with minimal effort, delivering restaurant-quality results at home! Enjoy the luxury of time-saving prep that leaves your guests in awe!
Expert Tips for Ombre Chocolate Cake
-
Room Temperature Ingredients: Ensure all your ingredients, especially butter and eggs, are at room temperature for better incorporation and a fluffy texture in your ombre chocolate cake.
-
Even Layers: Use a serrated knife to carefully trim the tops of the cake layers. This ensures even stacking and enhances the overall presentation of your beautiful ombre chocolate cake.
-
Frosting Consistency: If your frosting seems too stiff while trying to create the ombre effect, add a little milk, a teaspoon at a time, until you achieve the desired smoothness.
-
Baking Time: Keep a close eye on your cake layers in the oven. Remember, every oven is different, so start checking for doneness a few minutes earlier to avoid overbaking.
-
Gradual Cocoa Addition: When creating your ombre layers, gradually mix in the cocoa powders. This method not only helps achieve the perfect color gradient but also balances the chocolate flavor beautifully.
-
Make-Ahead Layers: For convenience, bake your cake layers in advance and freeze them. This not only saves time but also allows the flavors to settle, making the layers even more delicious!
Variations & Substitutions for Ombre Chocolate Cake
Feel free to unleash your creativity and adapt this delightful recipe to suit your taste or dietary needs!
- Dairy-Free: Replace butter and buttermilk with coconut oil and coconut milk for a creamy, dairy-free alternative.
- Gluten-Free: Use a gluten-free flour blend to keep the cake moist and delicious while accommodating those with gluten sensitivities.
This ensures that everyone can indulge in your stunning creation without worry. - Lower Sugar: Substitute part of the granulated sugar with applesauce or a natural sweetener like agave nectar for a lighter option.
- Flavored Frosting: Experiment with flavored extracts like almond, orange, or peppermint to give your frosting an exciting twist.
This simple addition can elevate your cake’s flavor profile and surprise the taste buds! - Extra Chocolate: Add chocolate chips or chunks to some of the batter for a delightful melt-in-your-mouth experience.
The additional texture can bring a wonderful surprise to every bite! - Nutty Crunch: Fold in finely chopped nuts, such as walnuts or hazelnuts, into the batter for added texture and flavor.
This is perfect for those who love a little crunch in their cakes! - Fruity Layers: Introduce fruit purees like raspberry or strawberry in some layers to add a fruity zing that perfectly complements the chocolate.
- Spicy Heat: For a warm kick, mix in a pinch of cayenne pepper or chili powder into your chocolate layers, creating a delightful contrast to the sweetness.
Each of these variations will bring a unique twist to your Ombre Chocolate Cake, keeping it fresh and exciting every time you bake!
What to Serve with Ombre Chocolate Cake?
Pairing this stunning cake with complementary flavors and textures creates a memorable meal experience.
-
Vanilla Ice Cream: The creamy sweetness of vanilla ice cream balances the rich chocolate layers beautifully, providing a delightful contrast. A scoop on the side creates a classic pairing that’s hard to resist.
-
Fresh Berries: Light and refreshing, berries like strawberries and raspberries add a tangy touch that cuts through the cake’s richness, enhancing its flavor with a burst of freshness.
-
Chocolate Ganache: Drizzling warm chocolate ganache over the top deepens the indulgence and looks visually stunning! This extra layer of chocolate elevates the dessert to chocolate lover’s heaven.
-
Milk or Coffee: A glass of cold milk or a cup of coffee pairs perfectly with the chocolate flavor of the cake, enhancing the overall experience. The warmth of coffee complements the cocoa layers wonderfully.
-
Whipped Cream: Light and airy whipped cream adds a cloud-like texture to each bite. It balances sweetness while allowing the rich chocolate layers to shine.
-
Nutty Biscotti: For a delightful crunch, serve the cake with biscottis. Their nutty flavor brings a different dimension that beautifully complements the soft layers of the cake.
-
Chocolate-Covered Strawberries: These elegant treats make for a lovely garnish beside your slice, offering an extra touch of luxury and sweetness that pairs well with the cake.
Each of these pairings enhances the experience of your Ombre Chocolate Cake, making each bite a delightful journey!
Ombre Chocolate Cake Recipe FAQs
What’s the best way to select ripe ingredients for this cake?
Absolutely! For the best flavor, ensure your butter is at room temperature before starting. Use fresh eggs as they contribute to the cake’s rise and texture. When it comes to buttermilk, make sure it’s within its expiration date for optimal moisture and taste.
How should I store leftover Ombre Chocolate Cake, and for how long?
You can keep leftover cake covered at room temperature for up to 3 days. If you want to extend its life, store it in the refrigerator, where it will stay fresh for up to a week. Be sure to use an airtight container to keep out any unwanted odors and maintain its deliciousness!
Can I freeze Ombre Chocolate Cake, and how do I do it?
Yes, you can freeze the cake layers! Wrap each layer tightly in plastic wrap and then again in aluminum foil to prevent freezer burn. They will last for up to 3 months. When you’re ready to enjoy, simply thaw the layers in the refrigerator overnight before assembling your cake.
What should I do if my cake layers dome while baking?
Very! If you notice that your cake layers are doming, you can use a serrated knife to level them once they’re completely cool. This creates an even surface for stacking. If doming happens often, consider lowering your oven temperature by 25°F and bake them slightly longer for better results.
Are there any dietary considerations with this recipe?
Definitely! If you have dietary restrictions, you can substitute buttermilk with a mixture of milk and vinegar for a similar tang effect. For a gluten-free option, use gluten-free all-purpose flour. Remember to check for any allergies related to the ingredients, especially the eggs and dairy.
What’s the best way to maintain the ombre effect when frosting the cake?
For a stunning ombre effect, start by frosting the darkest layer with the darkest colored frosting, then gradually transition to lighter colors as you stack the layers. Use an offset spatula to smooth each layer, and if you find your frosting getting too stiff, add a teaspoon of milk until it reaches that perfect consistency.

Ombre Chocolate Cake: Elevate Your Desserts with Style
Ingredients
Equipment
Method
- Preheat your oven to 350°F (175°C) and prepare four 8-inch round cake pans with cooking spray.
- Cream the butter and granulated sugar until light and fluffy. Add eggs one at a time, mixing well after each addition.
- Whisk together flour, baking powder, baking soda, and salt in another bowl. Gradually add to wet ingredients, alternating with buttermilk and vanilla.
- Divide the batter into four bowls and mix in varying amounts of Dutch and black cocoa powders for ombre layers.
- Pour each layer into prepared pans, starting with the lightest. Bake for 23-25 minutes or until a toothpick comes out moist with crumbs.
- Beat the unsalted butter until fluffy. Gradually sift in confectioners' sugar and mix until incorporated. Add vanilla and heavy cream.
- Trim tops of cooled layers for even stacking. Assemble the layers with corresponding frosting in between.


